Don’t know what settings to use on a material? The only way to be sure is to test. Good news! You can effectively test on a thin strip on the edge of your material, it’s fast and easy.
I use this shape to do so (SVG attached):

Or click here for the ZIP: Material_test.zip (3.3 KB)
To use:
-
Clean your optics first. You want a good baseline, dirty optics will affect your test results. Official cleaning instructions can be found here: https://support.glowforge.com/hc/en-us/sections/11792691970075-Cleaning
-
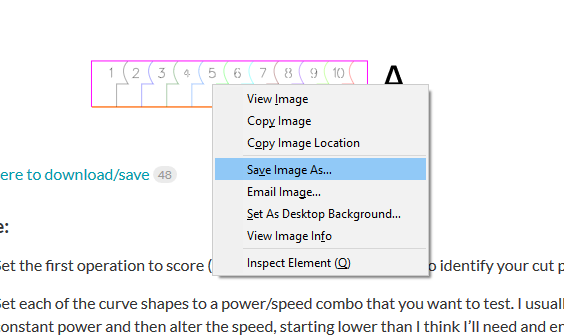
Set the first operation to score (the numbers). You’ll use these to identify your cut pieces later.
-
Set each of the curve shapes to a power/speed combo that you want to test. I usually set a constant power and then alter the speed, starting lower than I think I’ll need and ending higher in steps of ten. For example: speed 150, 160, 170…240. (this typically works well at full power on a pro for most 1/8" (~3mm) hardwoods and plywoods)
-
Alternatively you can set a constant speed and vary the power. There are some cut shapes that might work better at a known lower speed, this would let you back into the correct power. This is useful especially in very tight tolerance inlay projects with complex shapes. 95+% of the time I use the first method.
-
(Optional) I usually cut the yellow outline at the lowest speed in my example (150 in this case). This will cut the entire test out of the material and leave a cleaner edge.
-
Align it on the edge of your material, and cut away.
Once it runs, inspect your cuts and decide which one looks best, the scored numbers will let you trace the settings back in the GFUI. Now write the settings down. I often get excited and forget to do this; I always regret it.
It’s scaled to be 0.5" tall and just over 3" wide, but you can alter it to fit your needs.