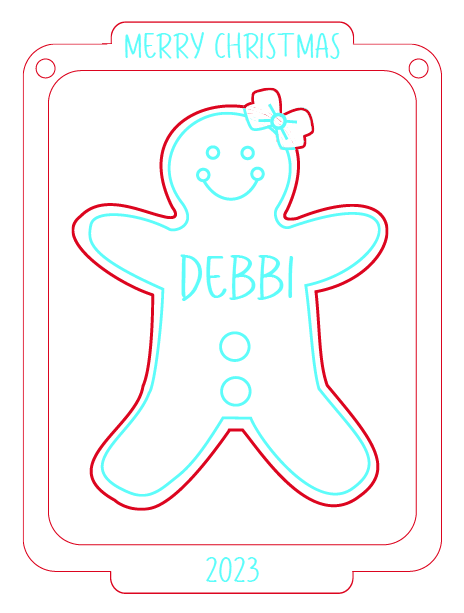
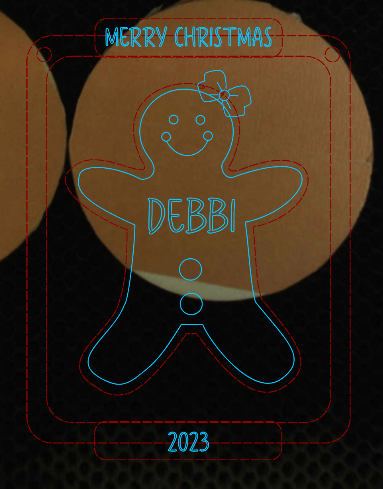
I created an svg in Inkscape but when I imported it to Glowforge the lines I erased came back. It also added an outline for the text when that’s not what I designed. I tried importing the file as a pdf and the same problem happened. What do I need to do to fix this problem? Thanks for your help!
Without seeing the actual file, it is hard to determine what erased lines came back. How was the ornament drawn and what kind of lines were erased? Also, text is treated as a filled shape which will engrave. It looks like the inside and outside of the letters exist to score. If you select the item to engrave, what happens?
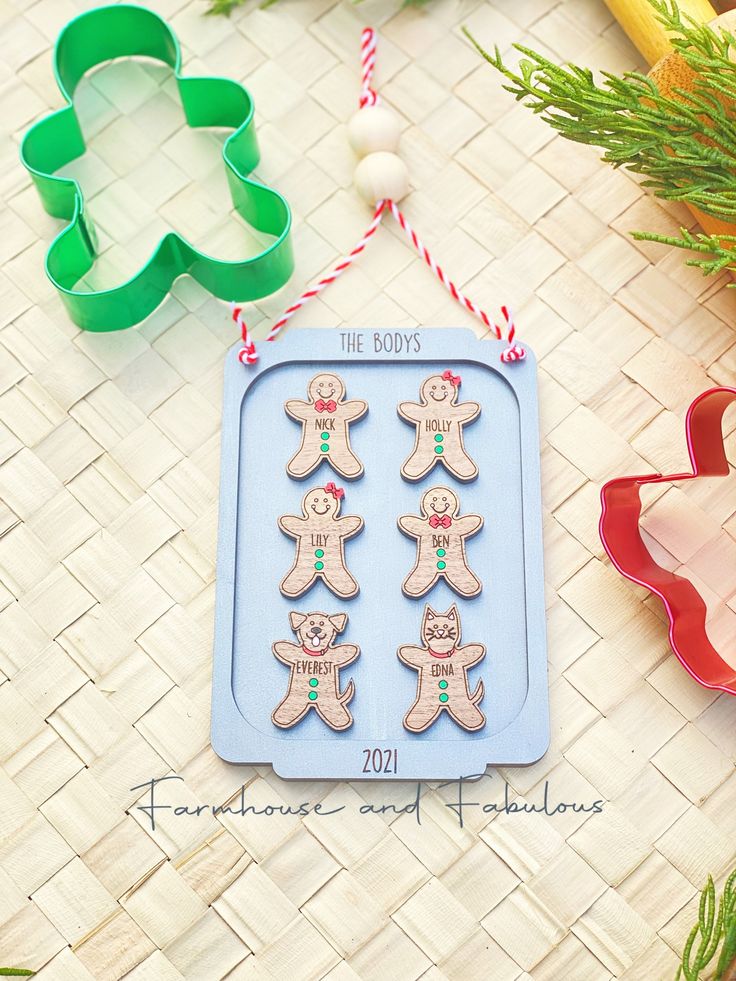
Thank you for your help. I tried to attach the file. The “handles” of the cookie sheet were rectangles that I erased part of, but the whole rectangle came back when I uploaded to glowforge.
The cut and score lines in the hair bow also changed from the design.
I converted the text with “Object to Path” – should I make all the text a different color to engrave rather than score?
The file is not available for sale. I’m just making ornaments for my family and trying to learn how to use the tools on Glowforge and Inkscape at the same time. I’ve never made anything like this before.
Thank you! I was looking for the file and couldn’t find it anywhere, so I thought it was not available. That would have saved me so much time!! I really appreciate your help.
I learn a lot by seeing something and thinking about how it was made, and/or trying to reproduce it. It’s great that you’re trying to learn the tools. Without starting an ethics debate, I want to come back to your original question:
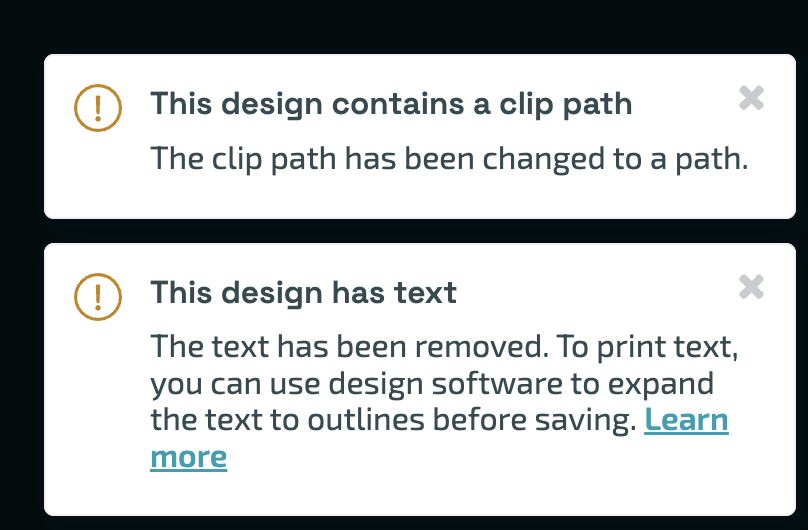
The reason it’s doing that is because you didn’t really erase the lines you didn’t want. You drew another shape on top of it to use as a mask or clipping path.
Clip paths are a feature that Glowforge doesn’t support, and it pops up a warning when you try to load this file, and it treats the underlying shapes as un-clipped:
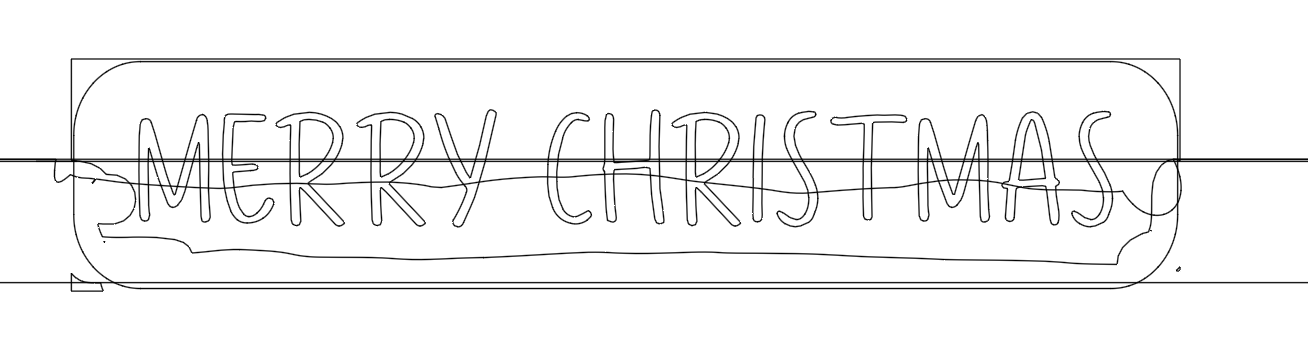
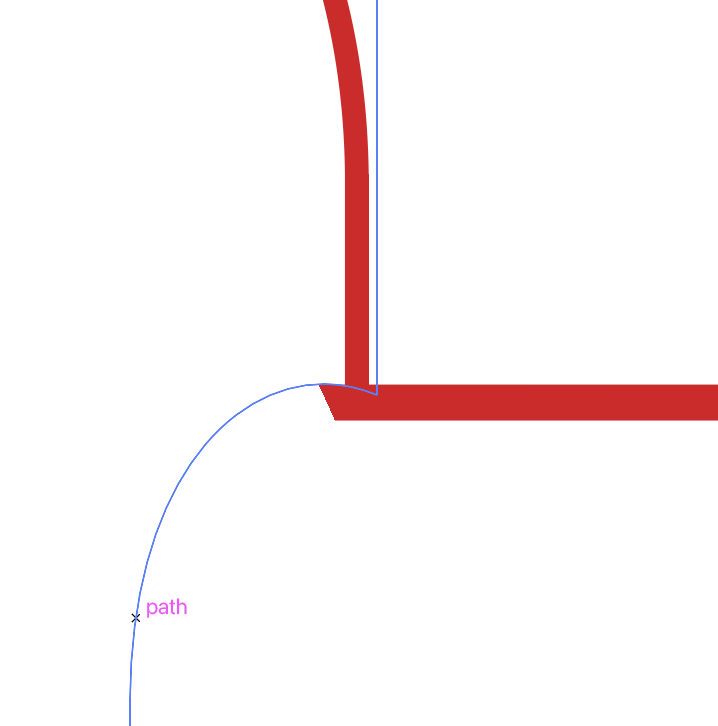
There are a few ways around this. I’m not an Inkscape user, but I assume there’s some way to flatten the object so instead of a rectangle plus a clip path, it just contains the clipped rectangle. But that’s not the right approach. If we look closely at your file, it’s a little bit janky in places like this corner:
You really don’t want to freehand something like this when using a laser cutter. You’re just starting out, so you can develop good habits and not end up creating files that have all sorts of weird problems to fix. The best way to create this handle effect is to combine the two shapes with a Union operation (I think – I’m not an Inkscape user). That will give you a mathematically perfect corner, and it’s also just good to practice with, because combining paths is going to be a technique you’ll use every time you design something. For more specific instructions, there are tons of tutorials on this forum and on the web. Since I don’t know Inkscape, I’ll leave it there.