It sounds like you might have had several issues going on. So to take them one at a time:
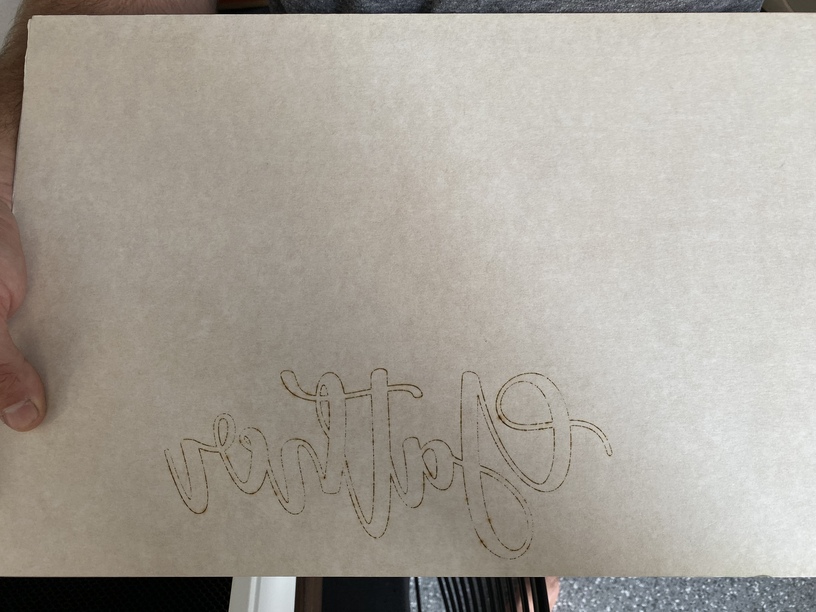
1. Regarding the laser not cutting through after six tries…
Did you click on the Manual settings button for the draftboard when you cut the text that took six passes? Maybe just to see what it looked like? Sometimes when you do that, or if it does not recognize the material from the sticker on the corner, the settings will default to 1% power as a safety measure. And 1% power won’t even make it through the masking.
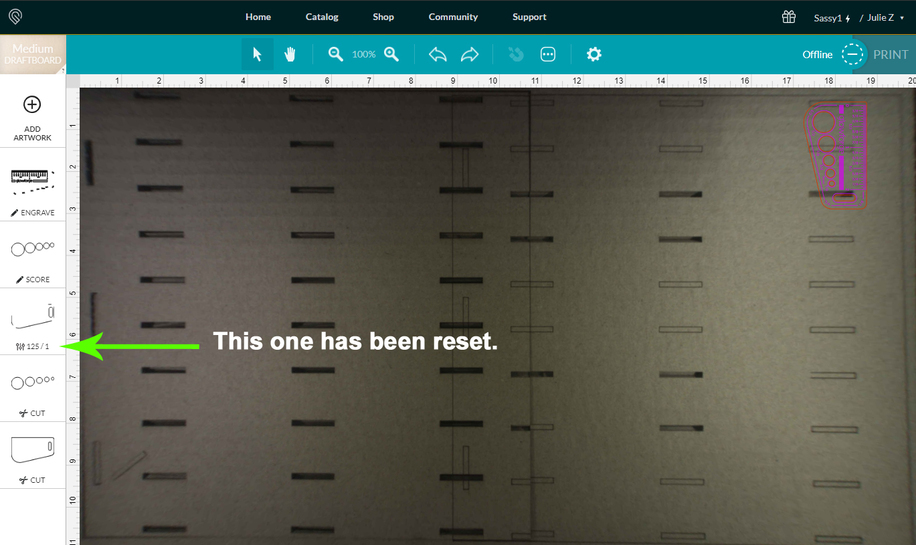
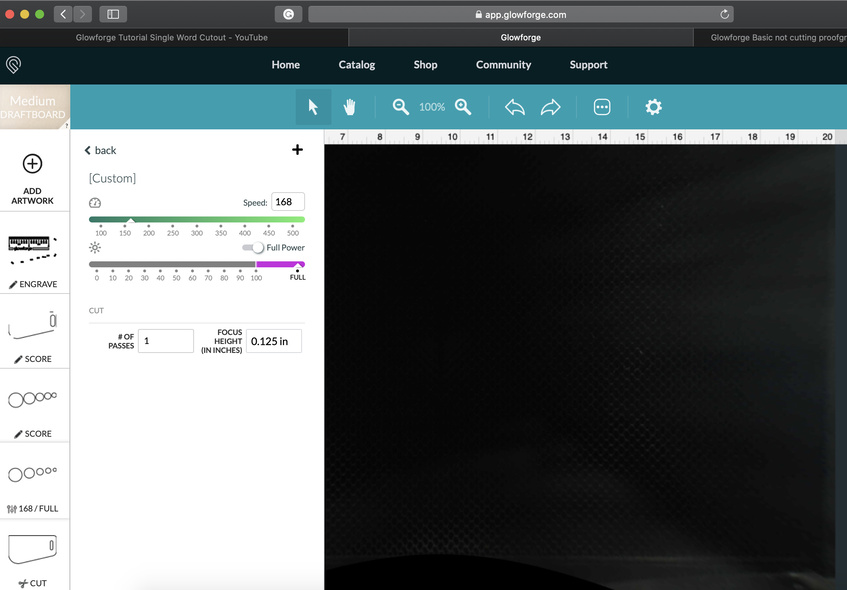
The way to check for it is…if you are using default Proofgrade settings, you will see the words Cut, Engrave, and Score underneath the thumbnails for the various operations in the thumbnail column at the left of the screen. If you have accidentally reset it to something else, there will be two numbers with a slash under the thumbnail representing the Speed/Power% settings for that operation.
In order to restore it to the default Proofgrade settings for that material, do the following steps:
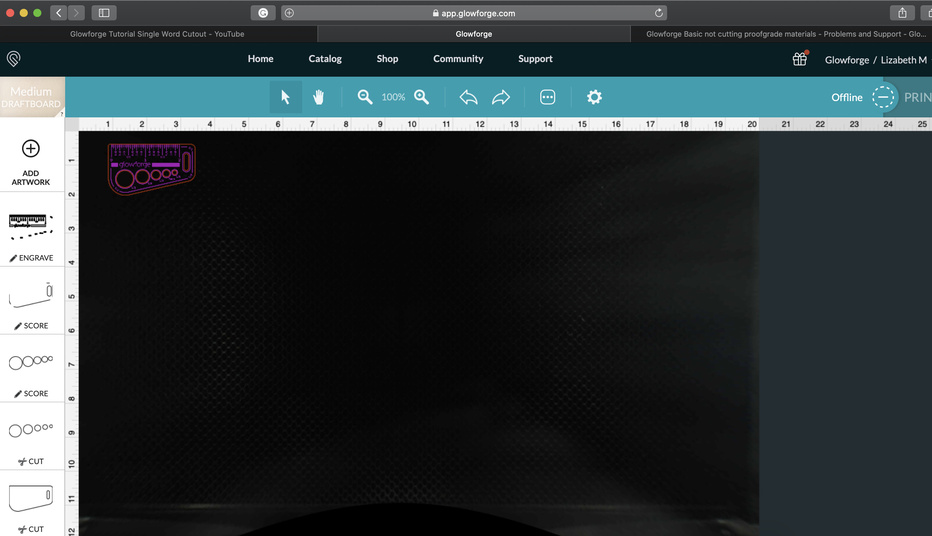
- Click on the Materials button at the top of the column and make sure that the correct material is selected.
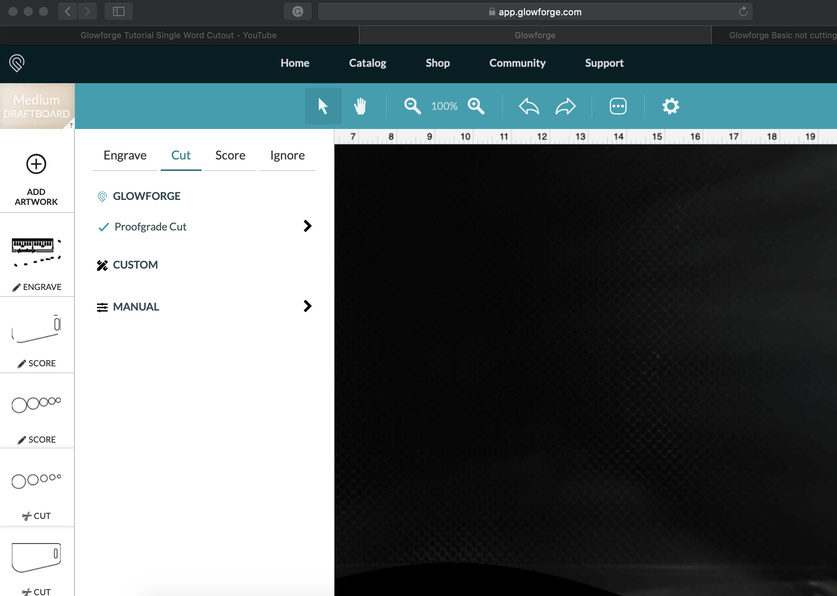
- Click on the operation thumbnail that you want to change.
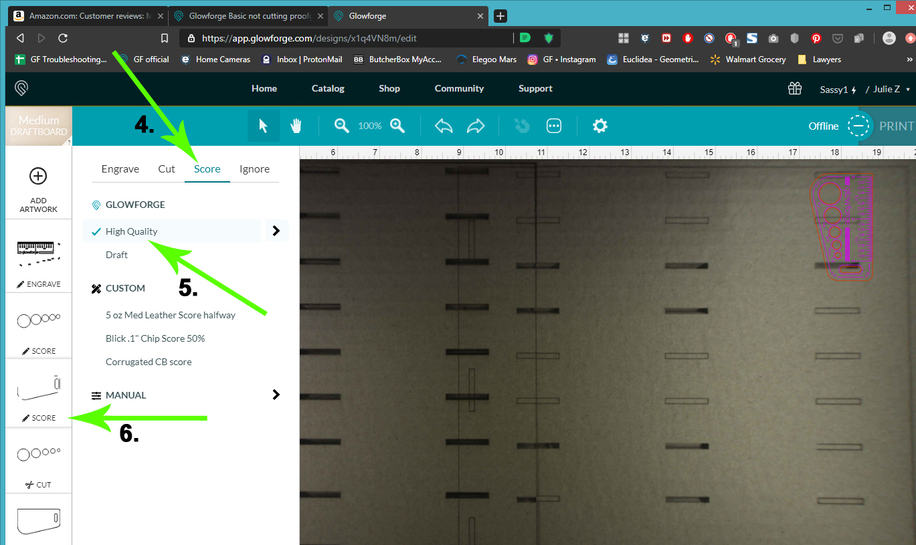
- Click on the Back button at the top of the flyout.
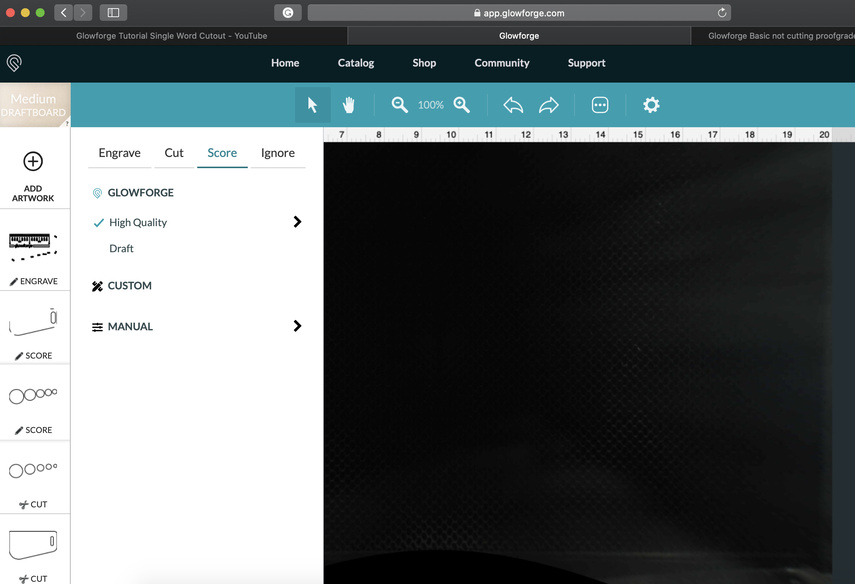
- Click on the operation that you want to perform - Engrave, Cut or Score. (Or Ignore if you want it ignored.)
- Click on whether you want to use Draft or High Quality settings.
- The word Score will appear for that operation, so you now know the default is in use.
That’s how you set it back to the Proofgrade defaults.
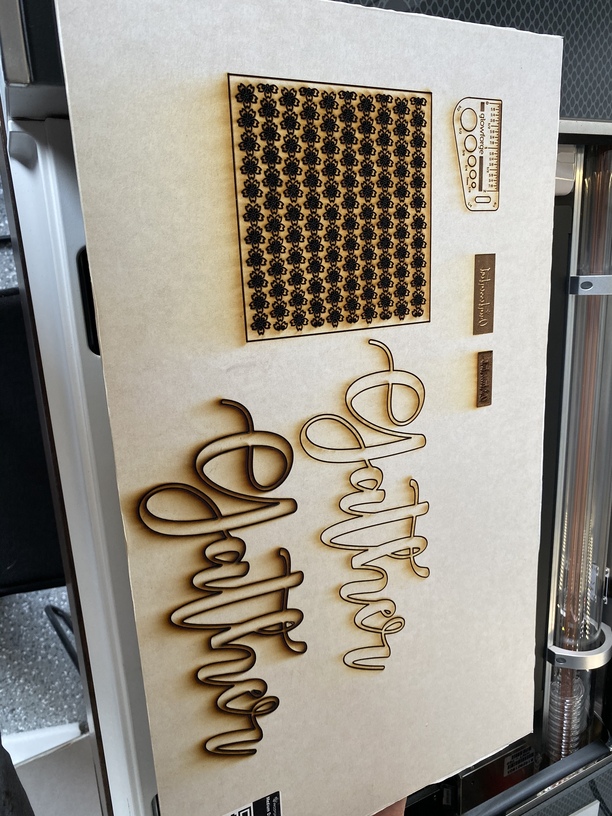
2. Second Issue…the fact that it’s not cutting through in one pass when the Proofgrade defaults are selected.
You live in LA, which has 65% average humidity. I live in Houston which is similar, if not a little worse. I have to slow down the cuts a little because of the humidity level here and you are likely going to have to do that also. Generally about 5 to 10 points slower on the speed is enough to get a clean cut on most materials. Draftboard is going to be the worst offender, the plywoods generally aren’t going to be too bad. (It’s the price we pay for having fewer wrinkles as we age.) 
You can set up your own settings for materials, including the Proofgrade, and save them for future use, and it’s literally one click easy, although the initial keying in can take a bit of time to set up. Still, there are usually only one or two materials that will tend to be problematic…set those up and you’re good to go. The instructions for how to set and save your own settings are here:
Testing and Saving Settings
If you prefer to not set up your own settings, you can send a second pass without moving the material on the bed or the image on the screen, and it should land right where the first one did.
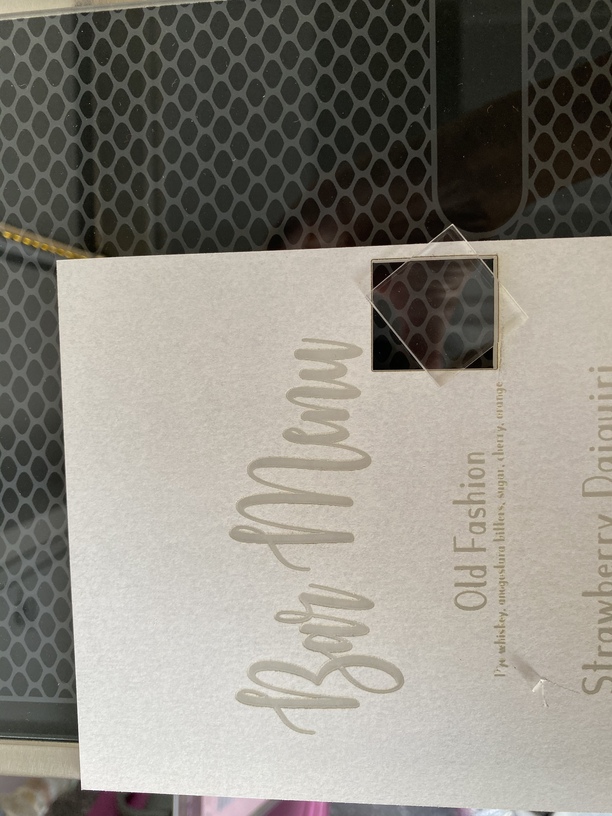
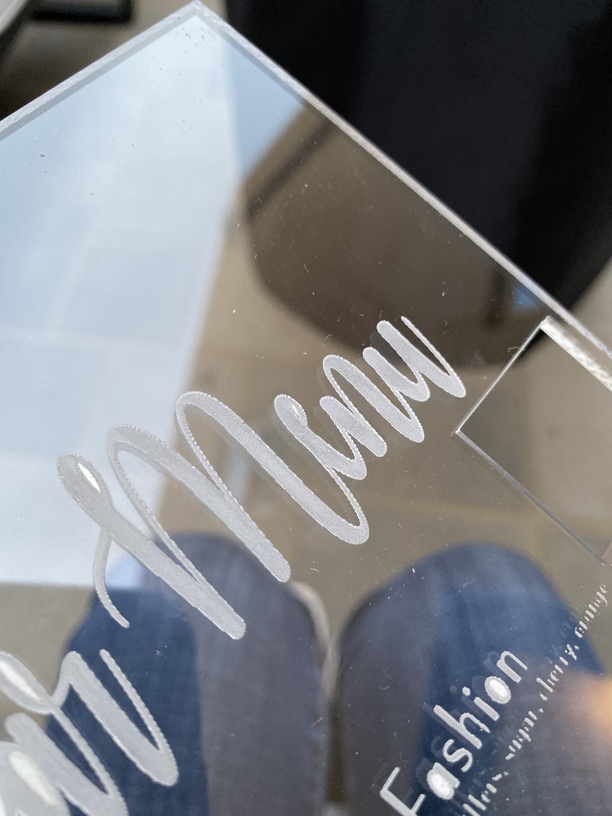
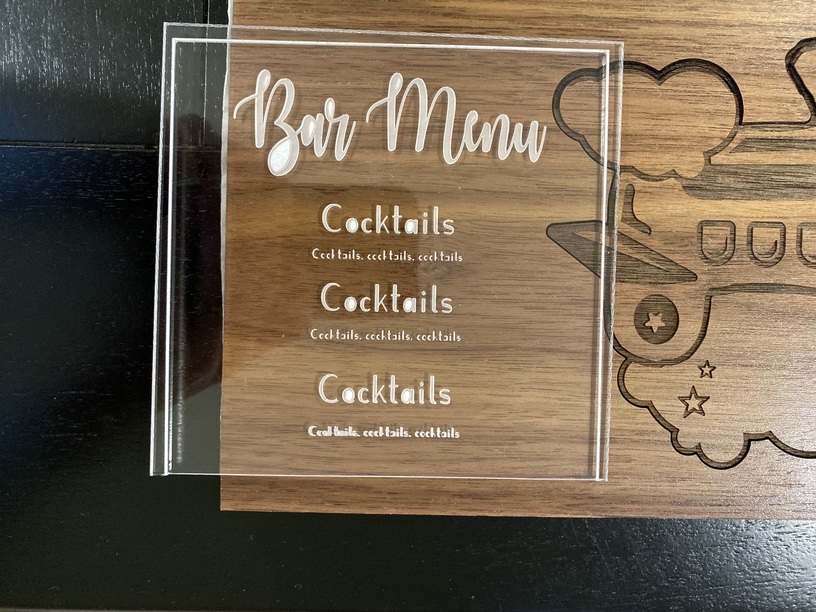
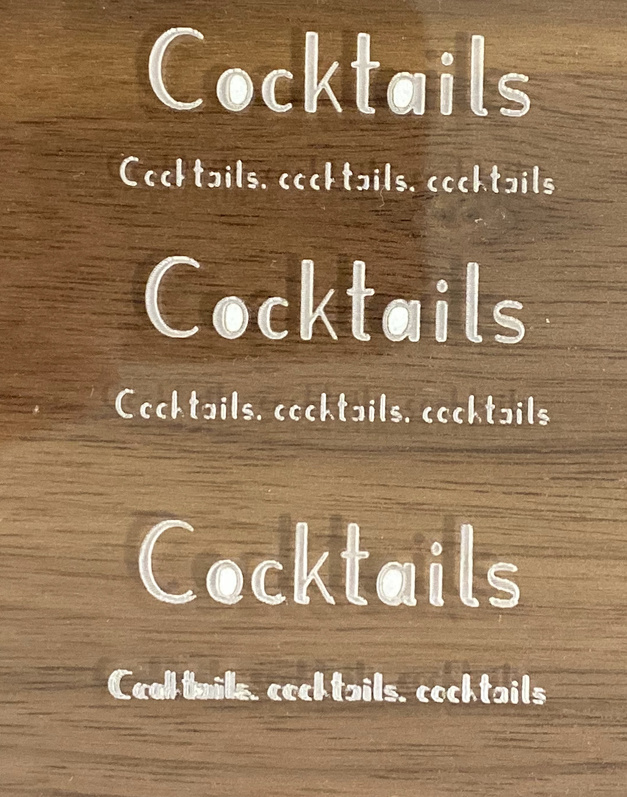
3. Lines on the acrylic engraves.
Yes, they happen. They are going to be dependent on the LPI you choose to use, and more is not better because acrylic retains heat and melts. There are various methods and techniques for getting rid of them. One of the most used is to run a fast defocused engrave as a second pass to kind of level things out a bit. There are plenty of threads on it on the forum, just do a quick Search using the magnifying glass at the top right.
Hope that helps some.