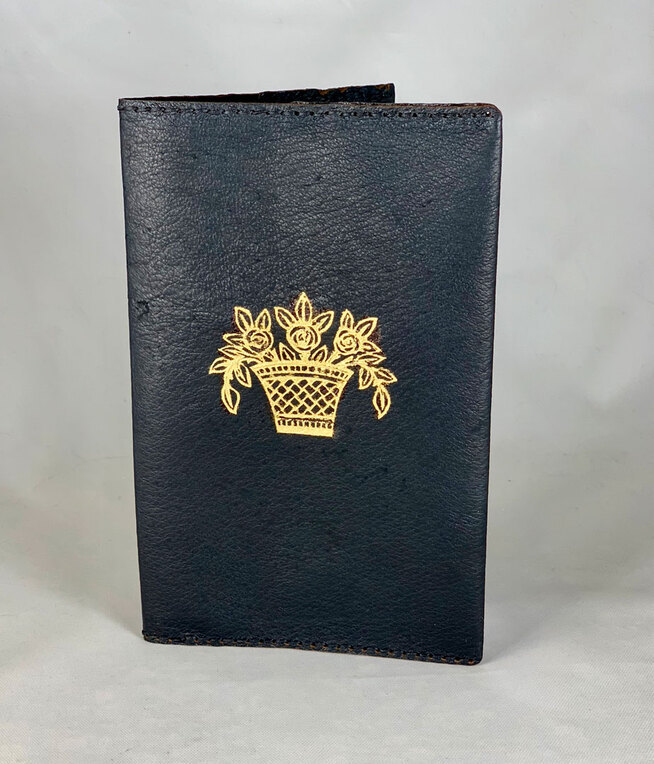
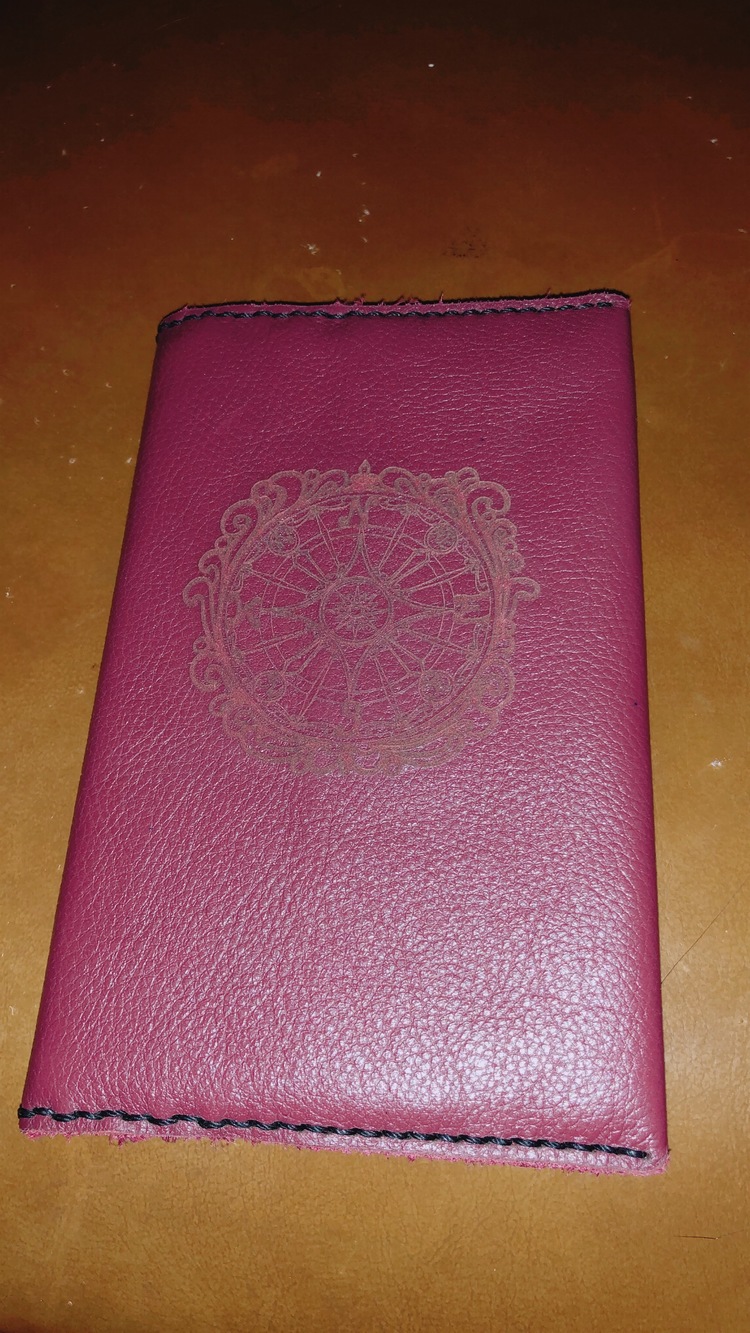
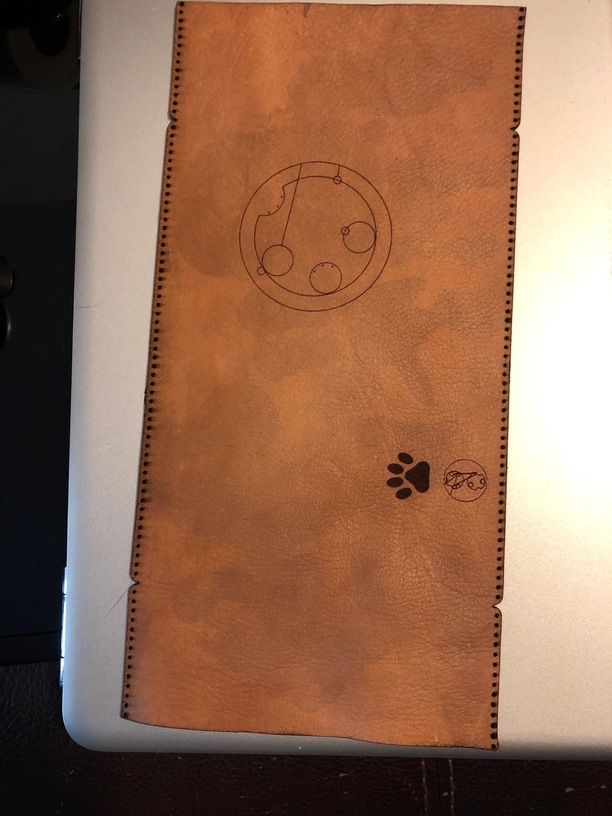
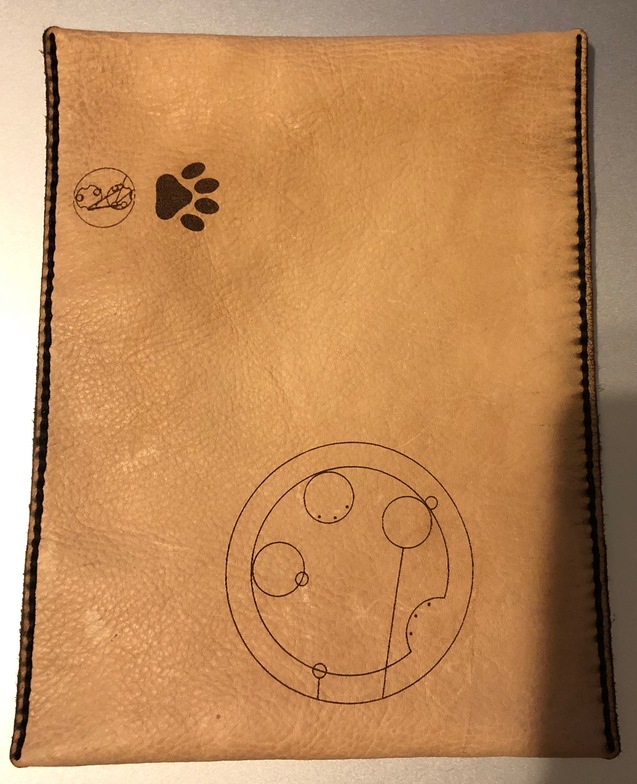
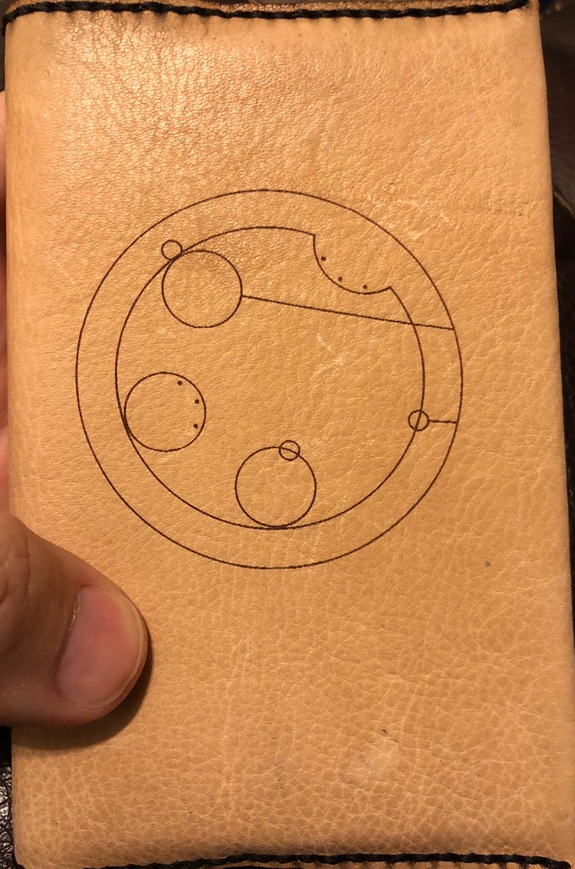
I’ve been wanting to try the free Compass Rose Notebook Cover ever since they loaded it to my home page. I did substitute a different design (from one of my Dover Design books) for engraving on the front, just to be contrary.
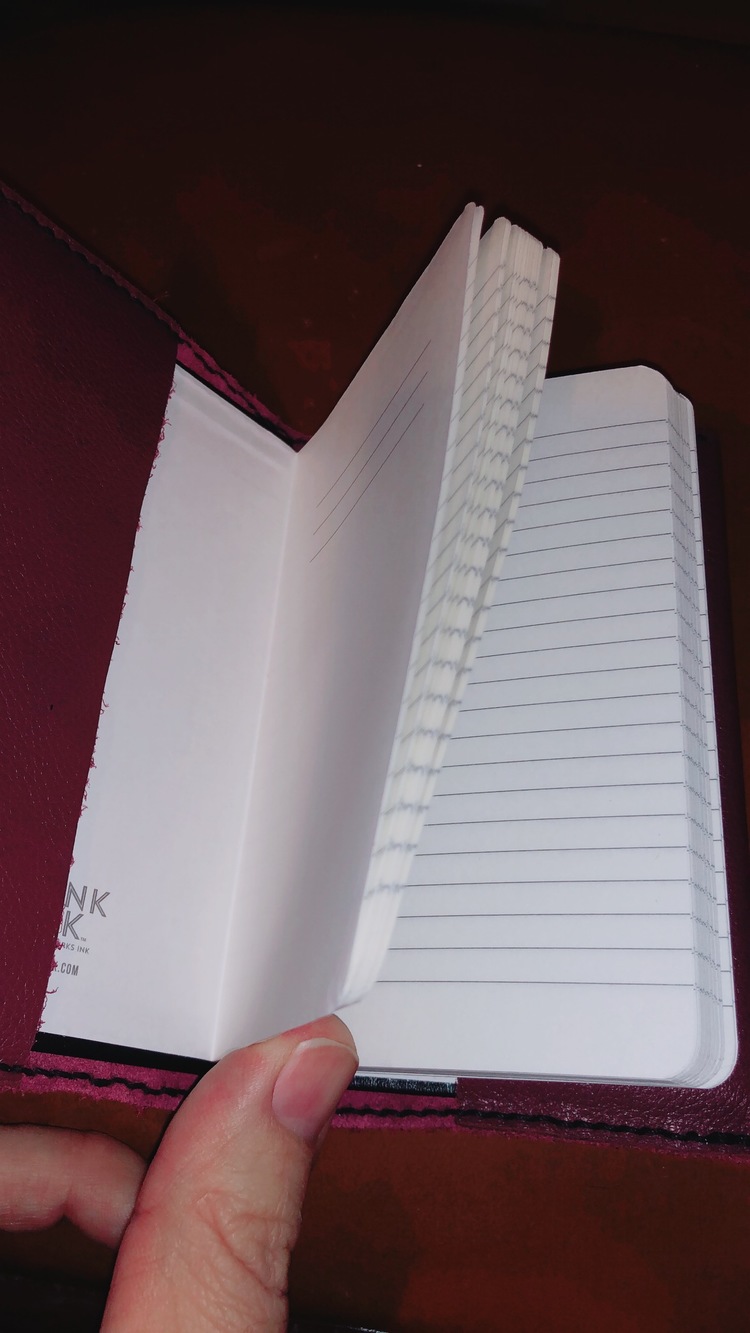
The leather is from Tandy and is a veg-tanned black pigskin lining leather, very thin and floppy. I originally bought it for a different project but it turned out to be way too thin for that but it works okay for this project. I applied some masking to the leather in the area of the engraving, then after engraving I gently tapped it with a Q-tip dipped in gold acrylic paint (Golden Fluid Acrylic paint in Iridescent Gold). The thread is Ritza Tiger thread in the 0.6mm size, from Amazon. I saddle-stitched the notebook, then filled it with an inexpensive 3.5x5" paper notebook from Michaels ($5 for a pack of 3). That’ll do until I get my hands on a Field notebook.
I still haven’t jumped into leather. I have the tools now but just can’t get myself to learn another technique. So much commitment these hobbies require, but then I see a simple, elegant project like this and get one step closer to making the jump.
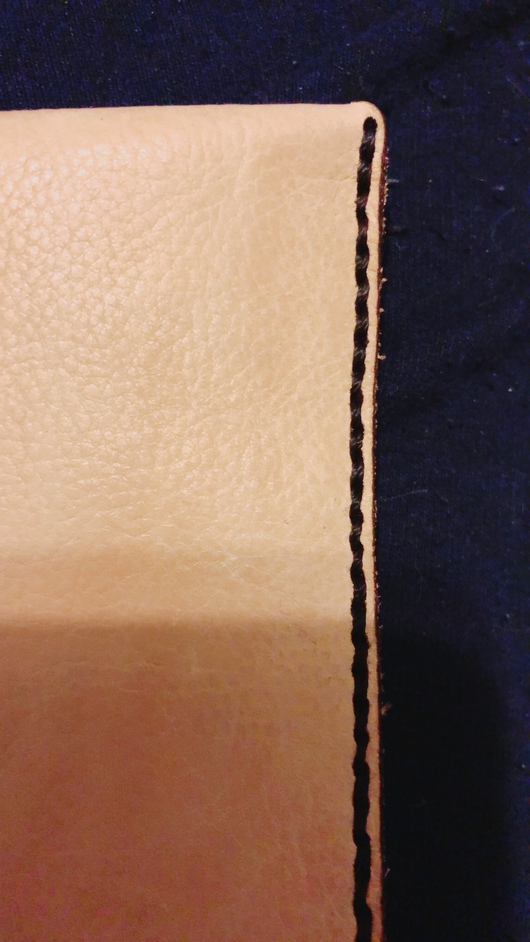
Thanks, I might try that! Part of the reason the edges look terrible is because the thin leather curled up at the edges when the laser made the second pass for the holes, some of which ruined the edge. I was going to just toss the leather then decided, what the heck, might as well finish it as a learning experience. So I made new holes with an awl where needed and stitched it up. The other thing is, this leather is so thin I was thinking it wouldn’t hold up to any type of edge treatment. But maybe I’ll give it a go anyway.
Next time I do this pattern I will place magnets along the inside edge to prevent curling.
Been planning to do similar, but with a different leather. Now my hand has been forced. No painting in my plan, though. Laser will show through fine on the color I have. I’m also planning to use the original design, first.
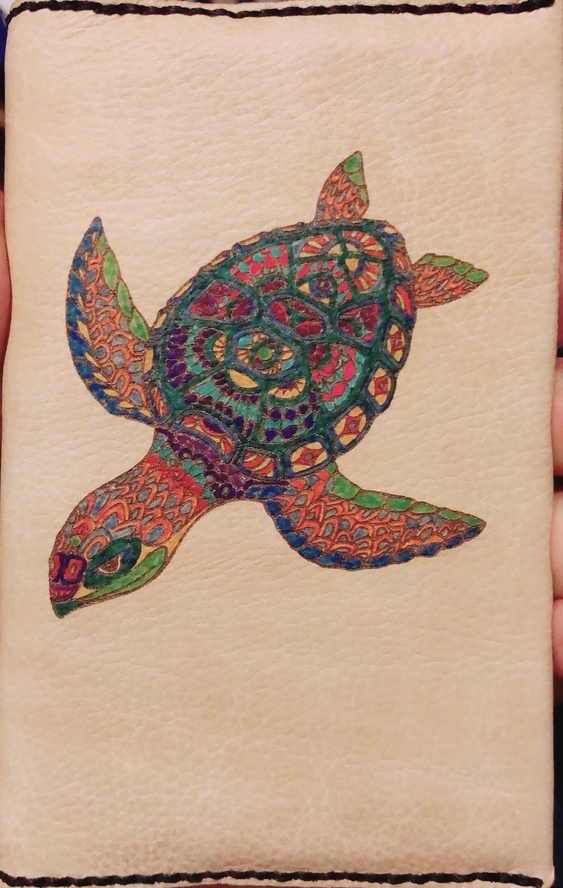
I’m working on a version with a sea turtle on the front, which will be colored in mostly blues and greens. This will be for my oldest daughter, who loves all things turtle.
Thanks. My marker selection is limited, but that is…um…something like 15 or so different colors in that jumble. It looks neat, but kinda bare, without them.