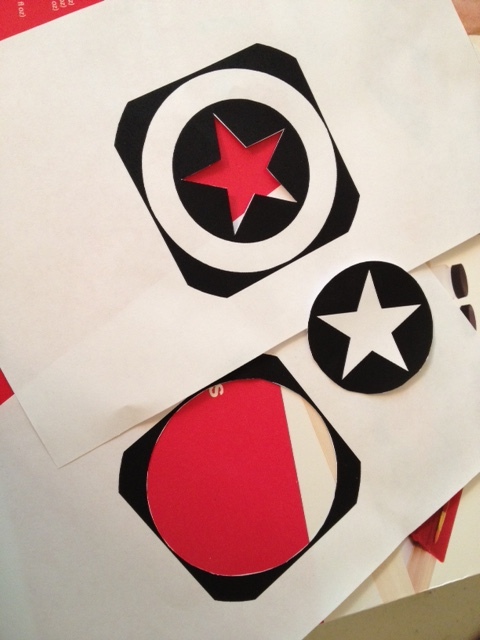
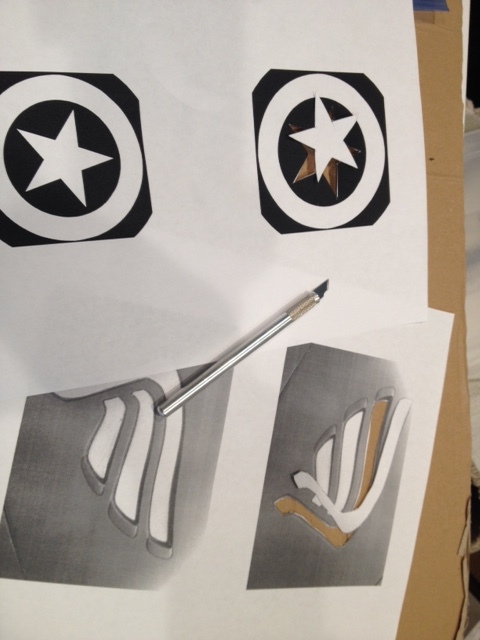
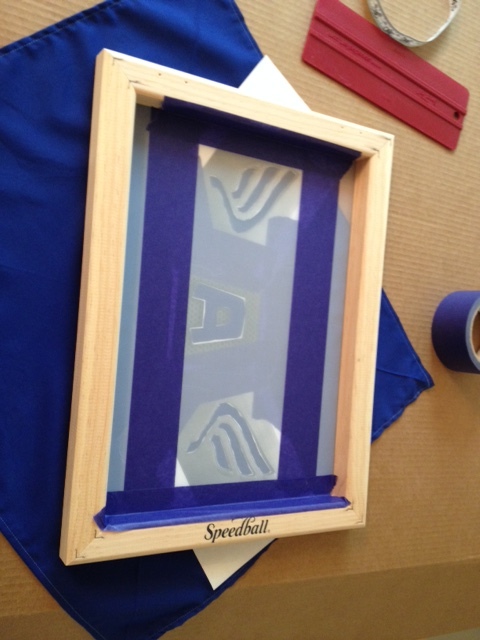
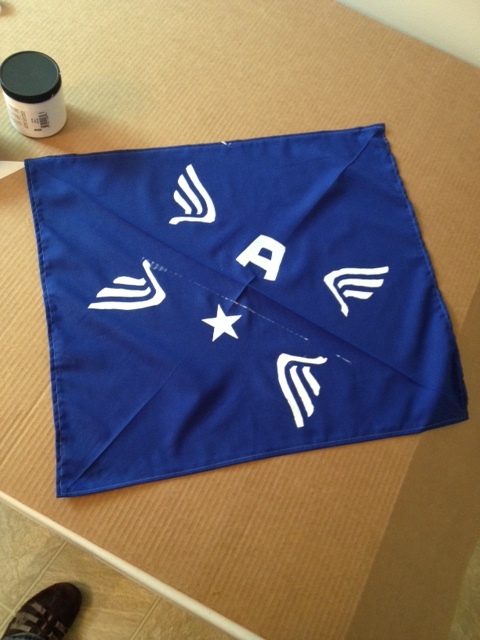
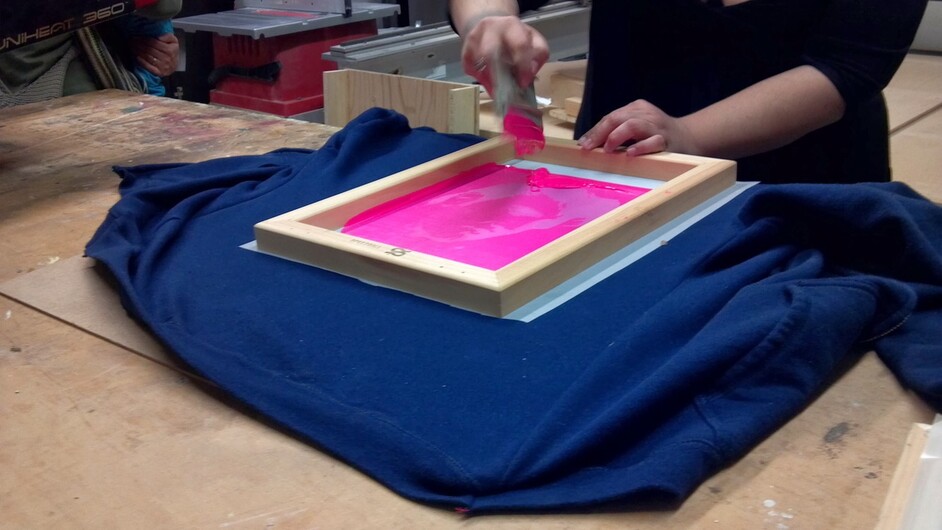
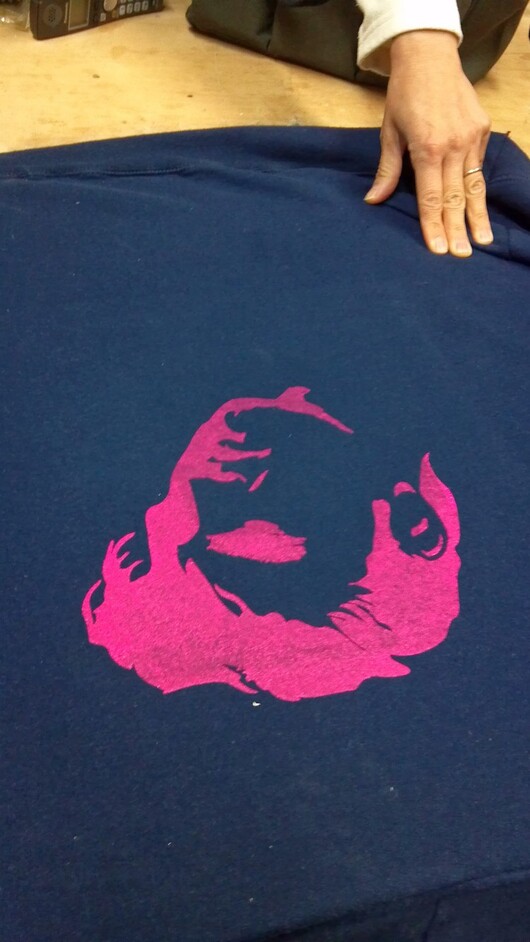
I started dabbling in screen printing this week. I’ll get to the emulsifiers and chemicals later; but I just wanted something simple and quick. A bandana for a super hero run - got the Captain America tech shirt and socks, but wanted a themed bandana that doesn’t exist.
I will be delighted with the Glowforge. Cutting quicker, more precise, and more intricate will vastly expand my abilities to use this process.
The negative printing with emulsifier might also be improved with a Glowforge, depending on the design. To do that, you need to print on a transparent sheet. I don’t know that transparencies work in a standard laser printer, but cutting card stock or construction paper and developing the emulsifier over that may well work as well.
I see a pretty cool alternate workflow using the Glowforge.
That looks great!
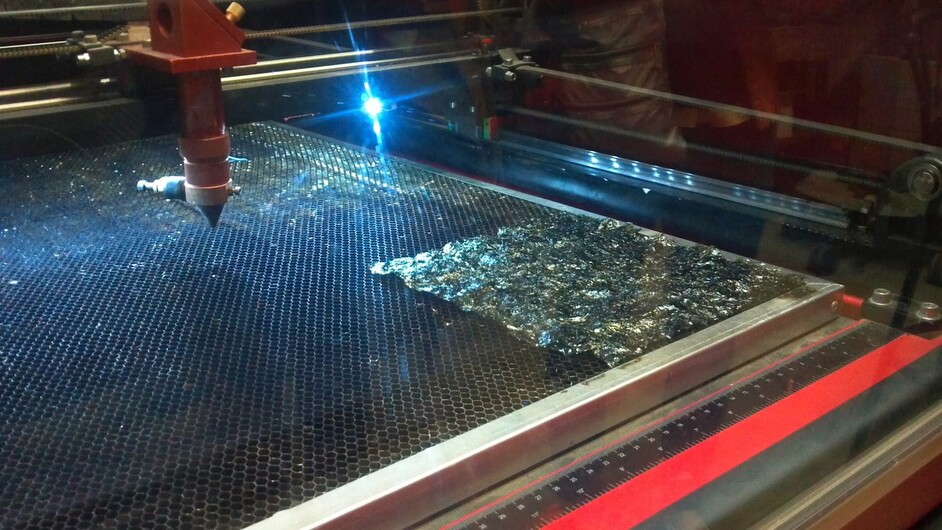
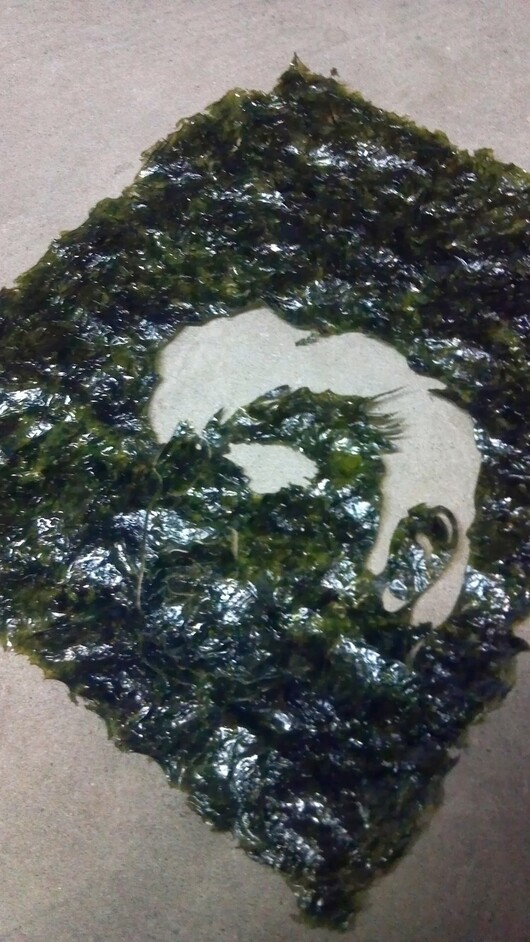
I investigated the laser direct to screen idea back when I first saw the Glowforge, and learned enough to know it is possible.
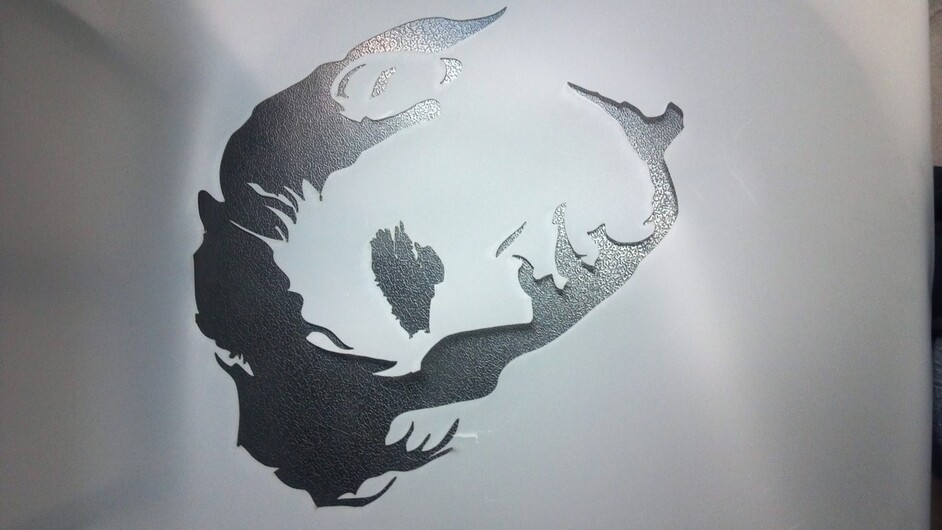
Check this out:
That’s incredible! I hadn’t considered etching the paper of cardstock to this effect. Ooooh… I’m delighted with that. Thanks for sharing.
I have had projects that needed screen printing a dozen times at least in the last 8 years. Stupid that I didn’t get around to learning it until now; but this forum somehow gives me more confidence in my capacity to do something new.
I don’t know if waxed paper is laserable, but it works well for quick and dirty screen printing. It sticks to the ink, so you can just pull the empty silk screen, stick the wax paper on, and then pull prints normally.
Or, quicker and dirtier, you can just use an iron to melt the wax and lightly adhere it directly to the fabric and use it as a stencil.
This is great! I bought a silk screen kit a few months ago but haven’t had a chance to experiment with it. I hadn’t thought about using the Glowforge to help make the screens.
If you have a plotter you can cut vinyl adhere to the item and decorate all you want. Then just peel it away. I have sacrificed plenty of vinyl to that. But the laser engravable aspect really opens up tons of details and no weeding. Just ablate what you don’t need.
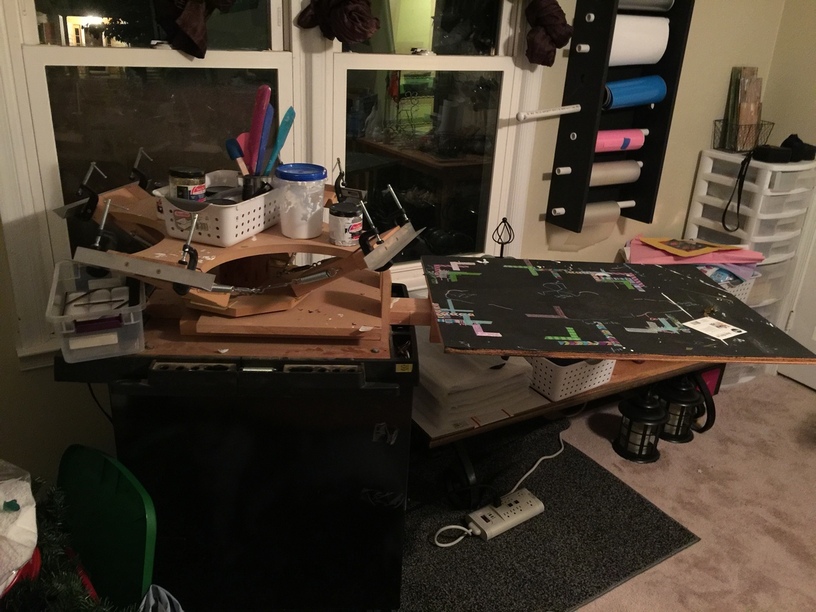
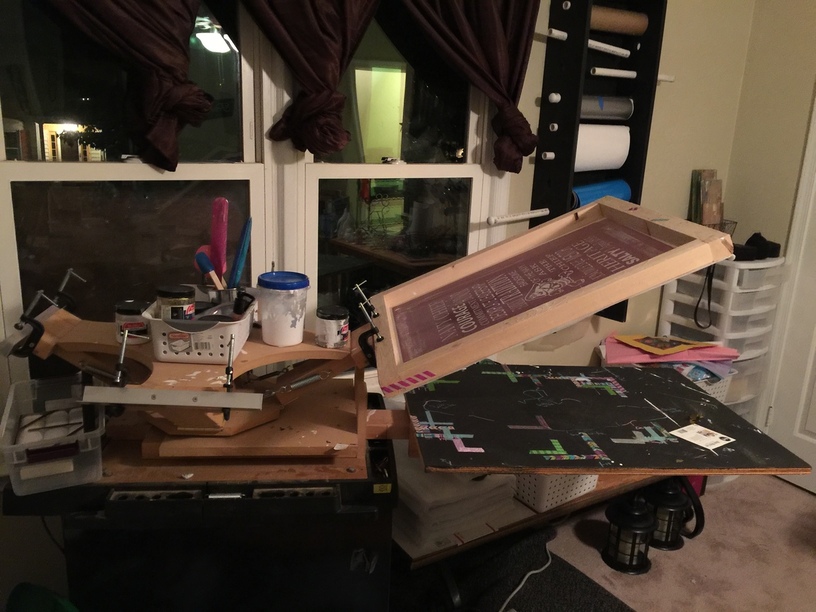
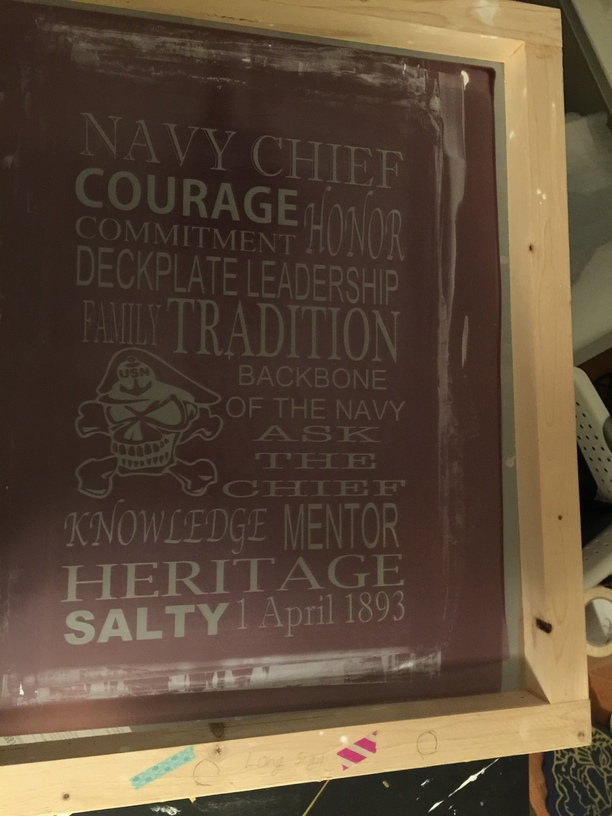
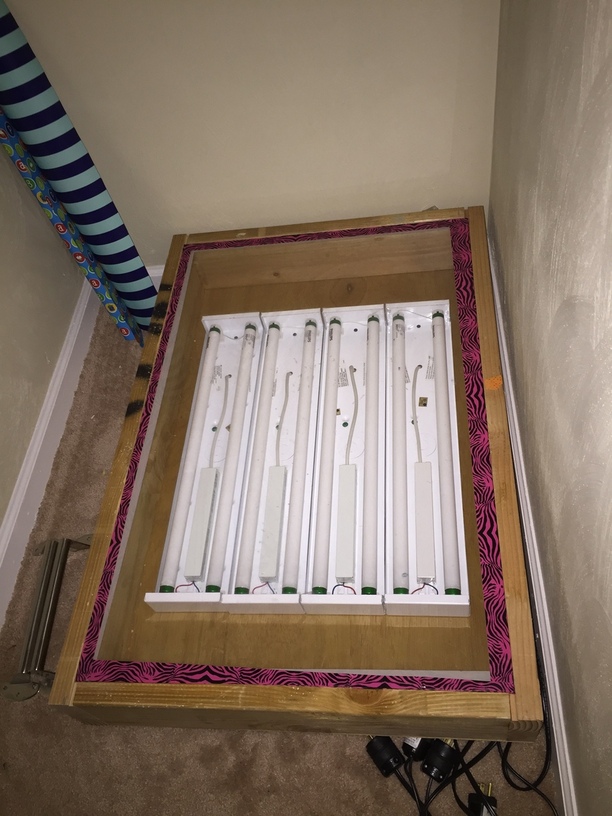
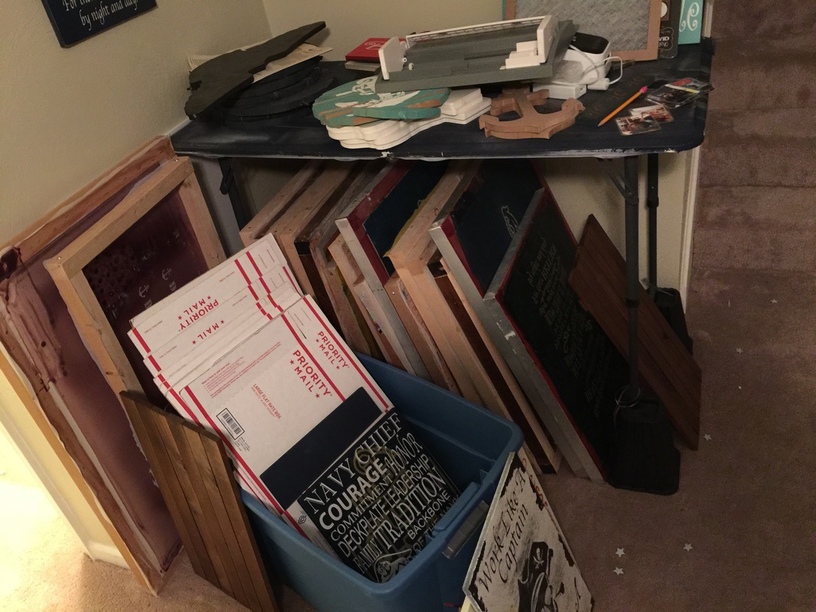
So here is what my wife and I have done to screen print. We started with the small speedball kits and we have worked up from there. I built her a 4 color press cost $100 bucks of wood and hardware from Home Depot, I also built her an exposure box with florecent lights in it to bake the image into the emulsion cost around $80 and take 2-3 min to burn the image into the screen. I build her screens from 2x2 lumber and stretch the screen onto them each screen cost about $4 dollars to make including wood and screen. She uses a silhouette to cut vinyl and either place it directly to the emulsion once it is dry or we stick to to a large thin piece of thin glass and lay the screen on it on top of the light box to burn the image into the screen. Here are some pictures of what we have done:
Direct film emulsion works OK, but I prefer a Direct/Indirect film. It’s gives a consistent film thickness that washes out more reliably. Application is easy, just spray a clean screen with water and squeegee the film on. Let it dry, then peel the plastic backing off. I used a waterbased blockout for any pinholes, or areas I didn’t cover with the film.
Oh sweet, that’s so exciting! Thanks very much for sharing the link, Josh.
I’m comfortable with photo emulsion but look forward to having options for a one-off print. I suppose in a lot of cases, using vinyl transfer makes the most sense. But for detailed gradients and photo based work, looks like this might be a solution.
I found the video on you tube that gave detailed video and plans on how to make the 4 color screen press. Here is the link http://youtu.be/byGfMkUEWz0 And I had seen a picture somewhere of a light box similar to what is shown in mine. If I can find a picture of how I stretch the screens I will post that also. Just can’t find one at this time.