Snort! Spew alert! 
Maybe also somewhere that you can select cut elements and just cut them to clean up?
1 Like
Not sure what you mean? Like doing a second pass? 
It was perfectly clear to me when I wrote it 
What I meant is that the GFUI sometimes lets you select disconnected bits of the image on the screen by drawing a box around them or clicking them, and then you can hit CTRL-X (aka ‘cut’) to make them go away. Which can sometimes (but not always) be useful for cleaning up images. (In my limited experience it seems to depend on how things are grouped, so not completely reliable, but has occasionally saved a whole bunch of back-and-forth.)
3 Likes
Buh-Caaaaw! 
Didn’t know it did that! 
(Yeah, I can put that in there.)
1 Like
As I understand it, the ability to select objects (of the same color) independently is all about whether they’re fully enclosed by other paths, and nothing to do with grouping.
Hello Jules,
I really enjoyed your step by step instructions on the trace feature. My question is how can you duplicate the plane. Let’s say you scanned it in once, but you want to cut it out on the same material 5 times? I don’t seem to be able to duplicate the scanned image. Right clicking, shows you that you are copying the image, but it just moves the image, it is not really copying it.
Thanks
Sabrina
You might try selecting it, then CTRL+C to copy it, followed by CTRL+V to paste the copy. It should duplicate it. (I can’t test it right now - we’ve got thunderstorms.)
Unfortunately, that did not work, do you have any other suggestions what might work? When you right click the image, it shows an option to copy the image, but then it does not do anything else. I make cards and I was hoping to be able to cut multiple of the same images to preserve material and to speed up the manual production method. I appreciate any help you can provide. Thanks again Sabrina
Don’t right click and copy…select the parts, click CTRL+C, then immediately click CTRL+V.
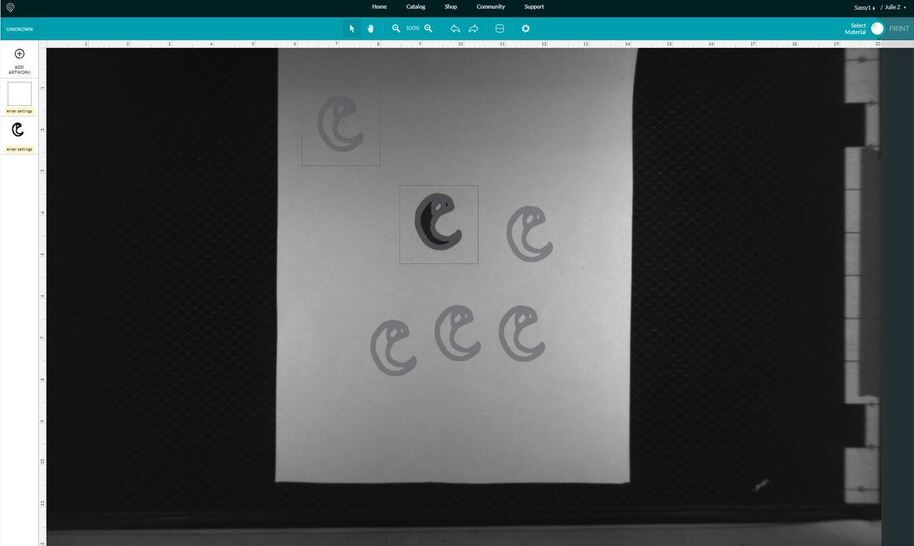
I just tested it and it works fine. Copies of little amoeba things (my artwork) all over the place. ![]()
5 Likes
On Mac that would be COMMAND-C and COMMAND-V
3 Likes
My “Mac” and I thank you for this quick solution I’ve been struggling for a week with.
1 Like
Wow, a great tutorial , What I did not see and I will go back and look, is how to choose the right settings to cut foam.
Those would be located in the Beyond the Manual section – it’s the only place where non-PG settings can be discussed. 
2 Likes
So, is there a way to save the scanned images? I just used the trace to scan a flat shelf bracket to cut a replacement for a missing one. I may need to use the scan in the future and don’t want to take the shelf apart to get to a bracket.
BTW, I sat an LED light on the lid above the image and got a much better scan. Otherwise, it was unusable with the GF lights only. Was able to clean it up to only clean cut lines.
The scan saves in your Dashboard I believe. Double check that before you assemble the shelf.
I’ve had great luck scanning things with my phone and brining them into my graphics program (in my case illustrator) if I need to replicate them. This might be something you want to look into that gives you more flexibility than the GF scan feature. You can then make any changes you want in your program, add engraving, etc.
1 Like
The trace feature is not designed for tracing physical objects for cutting. It is designed to copy simple artwork, like kids sketches, for engraving onto other things - as shown in the tutorial on using trace, and also the original post in this thread.
1 Like
I have a solid black design on a white background and whenever I try to use the trace tool, it leaves out sections of my design. Any suggestions?
You can try using the CTRL/CMD keys with the Up and Down arrows on the keyboard to change the pickup.