I’m new to Glowforge so forgive me if I’m missing something obvious. But it seems like the camera isn’t calibrated properly and I’m not sure what to do about it.
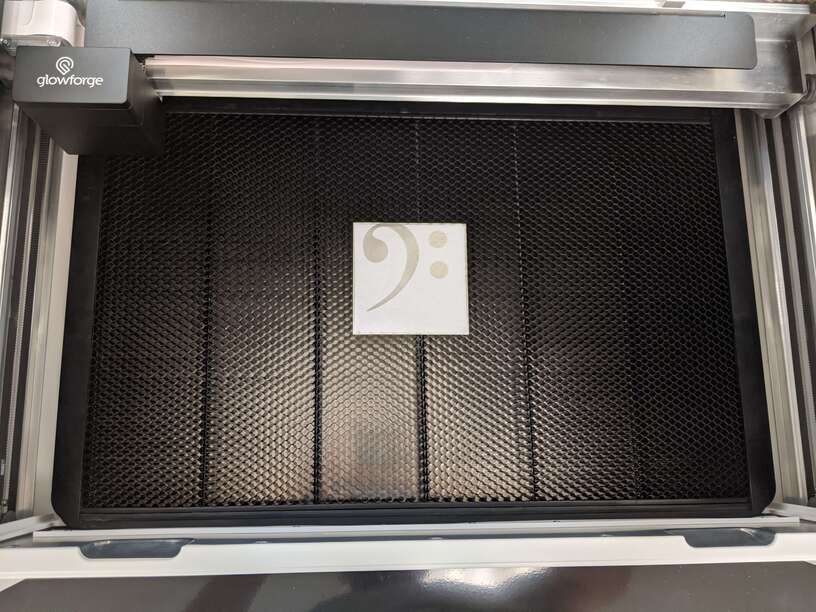
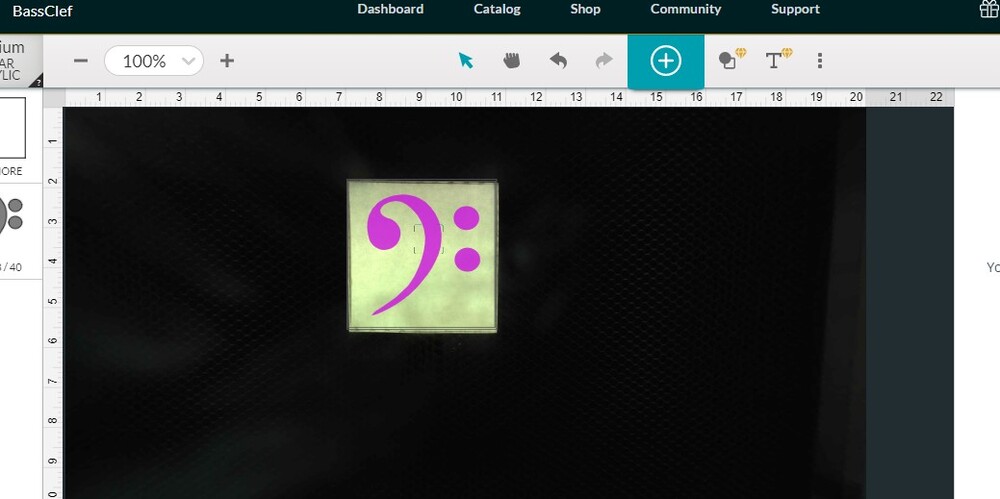
I’ve attached a screenshot of the app setup of a project along with a photo of the final product. The laser isn’t hitting the area of the material that it should based on the app interface.
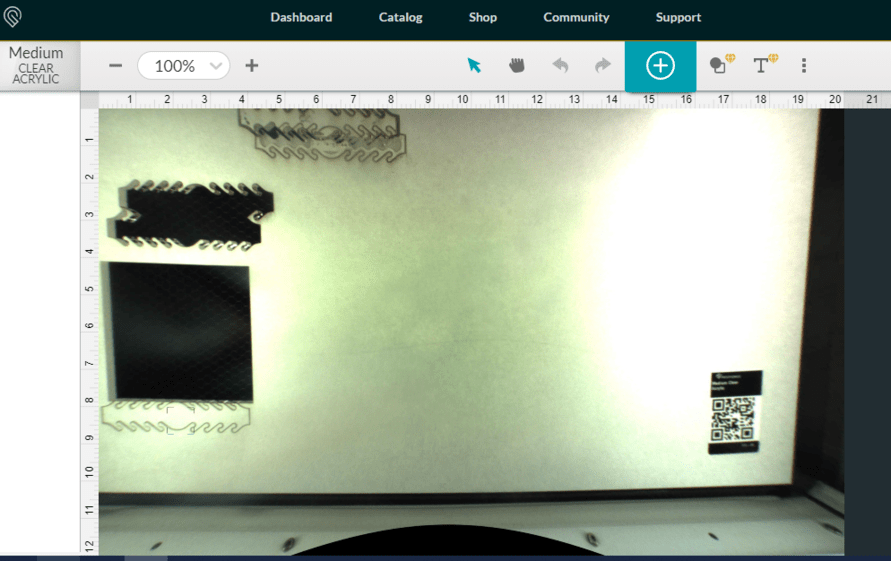
Also (possibly related), though you can’t really tell from this screenshot, the Glowforge app shows a good amount of the bottom of the bed including the white part of the machine itself (the fold-down door) during setup.
This makes me think it could be a focus issue. The GF needs a very exact material height before you can accurately place your artwork. Did you use set focus on your material, or did you use calibers and enter the measurement manually?
This is the bed image your fish-eye camera sees and it uses the material measurement to flatten it. (This is also why alignment is worse in the corners and best directly under the camera. )
If you wanted to post up a screen shot of your entire GFUI from the name of the machine on the right all the way to the type of material on the left - and down to the bottom we could let you know if what you’re seeing is outside “normal”
With a square that small though, it’s likely that the focus laser is missing your material, so it thinks it’s paper thin instead of about 1/4" thick. The easiest way to fix that is to cut a square into something of a similar thickness and put the tile into that hole - then the laser can focus either on the tile or your jig and have the same height.
Or - if you have white/light sticky note you could stick one to the edge of your tile, and then it would float out at the same height as the surface.
Your lid camera takes two pictures as part of every print job, both a ‘before’ picture before the print starts, and an ‘after’ picture when the cooldown process completes after your print. These images are transformed and used in the interface to help you see your design. Your view within the app looks as expected.
In regards to the specific print, it looks like Autofocus was used. In a scenario where precision is needed, I would highly recommend using our Set Focus feature.
If you’d like, you can use the Camera Recalibrator to see if further improvement is possible. It will only make changes if it can make your camera more accurate; otherwise, it will exit without any changes. It takes about half an hour.
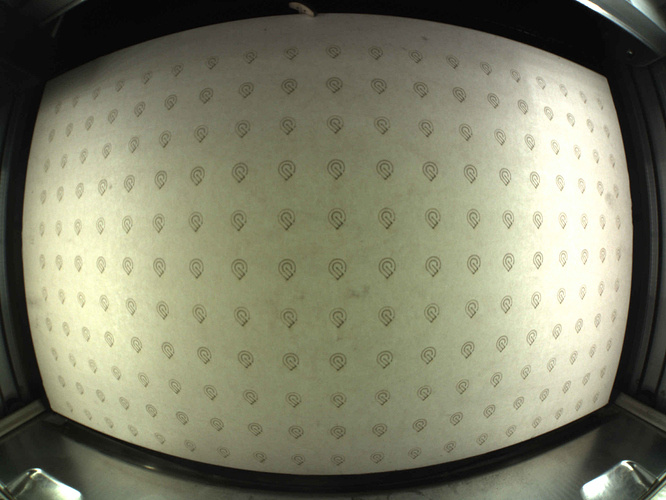
You’ll need a 12” x 20” piece of Proofgrade material with no markings or stickers. The feature was designed to be used with a flat piece of medium Proofgrade Draftboard, used upside-down (with the QR code side down). It may work with other materials that are the same size and use the same print settings as well, like Proofgrade plywood.
It prints a grid of markings, takes a picture, then measures its height in multiple locations. This data is used to make your camera more accurate for future prints.
I did go ahead and run the Calibration tool. As Jeremy suggested it might, it didn’t find any changes to make. So we’re all set there.
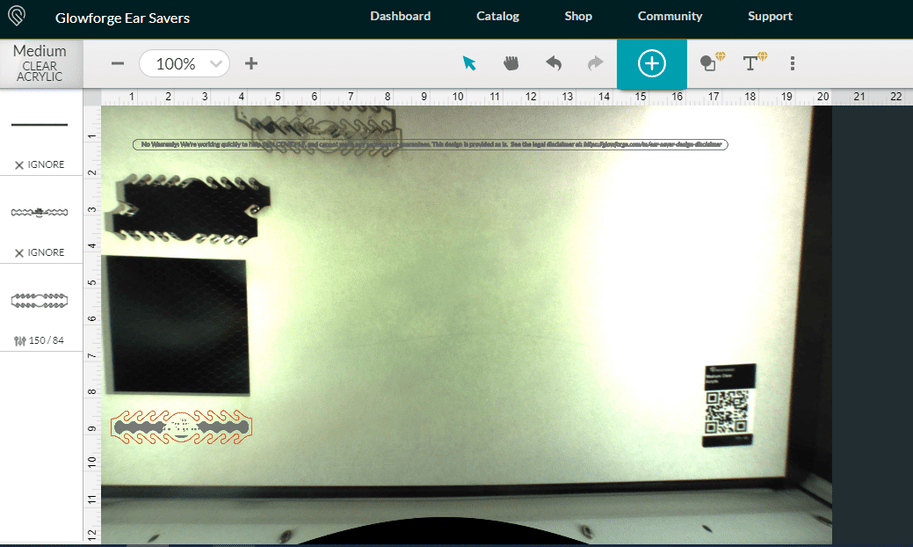
Directly after that, I printed the Ear Savers project on a piece of proofgrade Acrylic that already had a couple of things cut out. I did that because I wanted to check to see how accurate the cut would be if I placed a project a half-inch or so below an already-cut hole in the material. Just as happened before, the Glowforge cut the project correctly, but it drifted higher on the material than I placed the project in the app.glowforge.com interface.
I’ve attached a pre-cut screenshot of where I placed the Ear Saver project, and another screenshot of the material after the cut was done.
Thank you for the update and additional information.
Unfortunately, it looks like your unit is experiencing an issue that we can’t resolve remotely. I want you to have a reliable unit, so I’m recommending we replace this one. I’ll be in touch via email very soon to sort out the details. I’m so sorry about the bad news.