The glowforge has suddenly stopped working, the printhead works correctly but the laser doesn’t fire. The interface shows what it should and continues to do the job but the laser doesn’t fire at all. It did a job the other day and stopped during the job and got a purple light on the button. Ive tried all fixes from the community boards and am at a loss at what to do. Ive cleaned it down and looked at the lens, it moves up and down at it should, but just get the same result. Can you help me?? Ive got orders to get out.
Check the white cable that connects to your head, make sure it’s seated solidly.
Is this happening on a proven design? Having duplicate lines in your artwork will cancel out the line and make it do this.
Sorry if you’ve already tried these things – when you say you’ve tried “all” or “everything” we (in this case, other users; I’m not staff!) can’t know what steps you actually found to try, so we have to pretty much start from the beginning. If you can give us actual details on what you’ve tried, we can rule stuff out a lot faster.
Yes this is happening on a proven design, tried it on the glowforge ruler on some draft board and still the same result, just runs the print without any lasering. I’ve reseated the white cable a few times and the same result.
I’m so sorry to hear about the trouble with the laser not appearing. Thanks for letting us know that you checked the lens. Have you also checked the mirror to make sure it is installed correctly?
If the optics in the head look as expected, could you please also check the following?
Turn off your Glowforge.
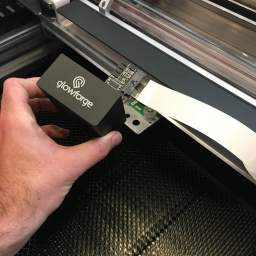
Holding only the finished black surfaces, grasp the printer head as shown. Pull gently up and back to disengage the magnets and remove the head.
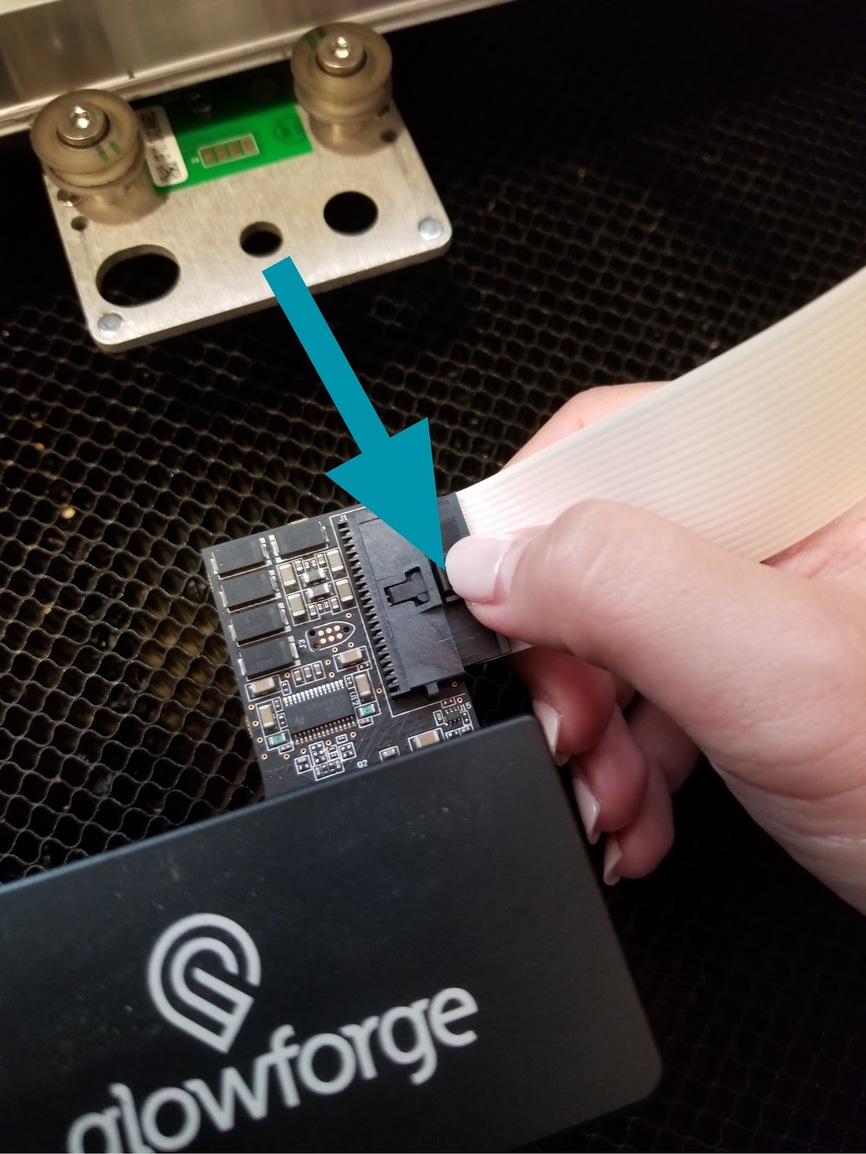
There is a small tab in the center of the wire ribbon. Push down fully on the tab to release it, and gently pull the wire ribbon plug from the printer head.
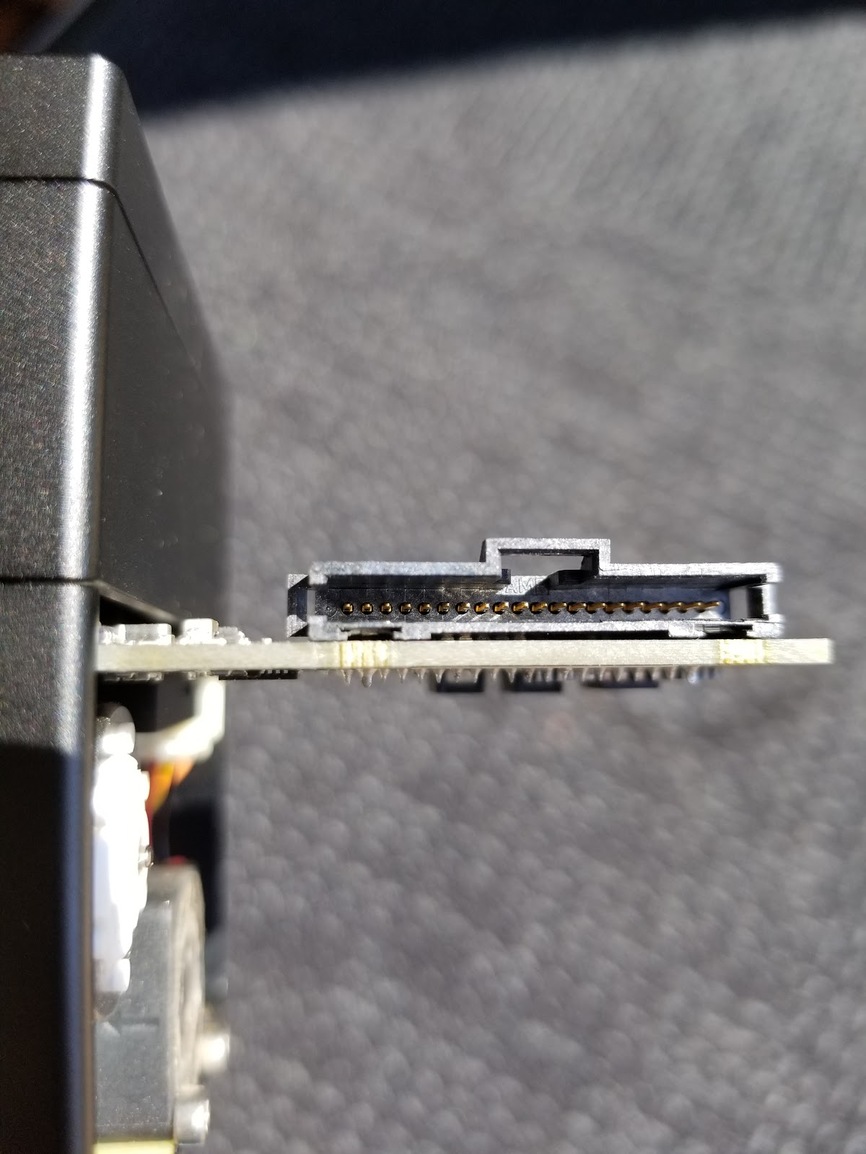
Pick up the printer head and wire ribbon. Make sure the tab on the wire ribbon is facing up. Slide the ribbon back into the head until it clicks.
As shown, lower the printer head over the metal plate so that it rests next to the two round posts. Then push it gently away from you – you’ll feel a “click” as magnets pull the printer head until it sits snugly atop the metal plate.
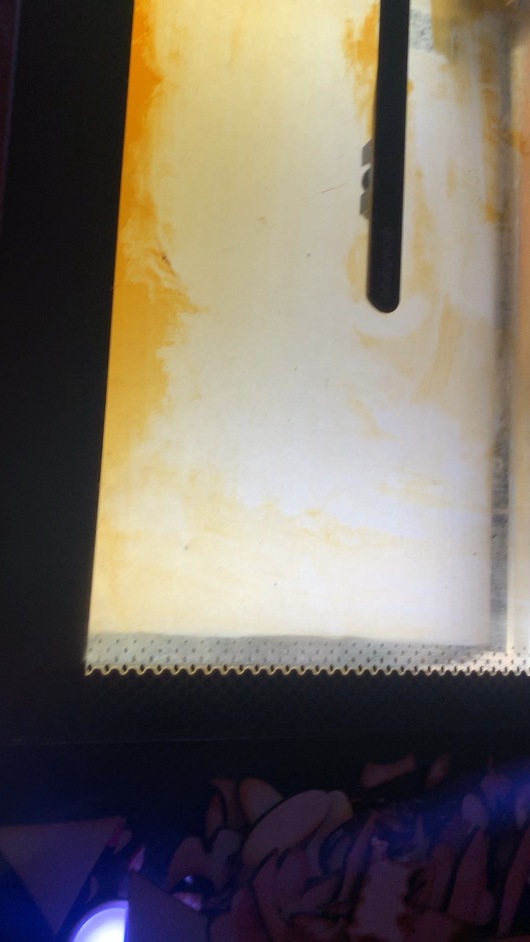
I’ve checked and cleaned all mirrors and took a picture of the gold pins. The print that stopped during a job and produced a purple light was [around 4-5:00pm GMT
I’ve tried a to clean it and no difference, it’s does a job but no laser comes out and when finished the printhead fan keeps on going and an orange light comes on sometimes.
Thank you for letting me know that you have checked the mirror and sending us that additional information. It doesn’t appear we are going to be able to solve this remotely. I just reached out by email with your next steps. I’m so sorry about the bad news.