This is my first time plugging in my Glowforge since it was purchased. I took it out the box and removed all the packaging about 3 months ago but did not plug it in. I set up the Wi-Fi today and was ready for my first project. My Glowforge is not cutting at all…. I followed the instructions from the app and there is no light flashing and the machine is not cutting, it is moving like its doing the design but no laser actions.
I see that there are suggestions to clean it but it’s never been used and I don’t want to clean off the wrong things, please help.
Welcome to the community!
The button should be blinking when the laser is ready to print.
If it isn’t, the first job should be ‘The Gift of Good Measure’ file on your dashboard. It’s a file the company uses to evaluate the machine’s function.
2 Likes
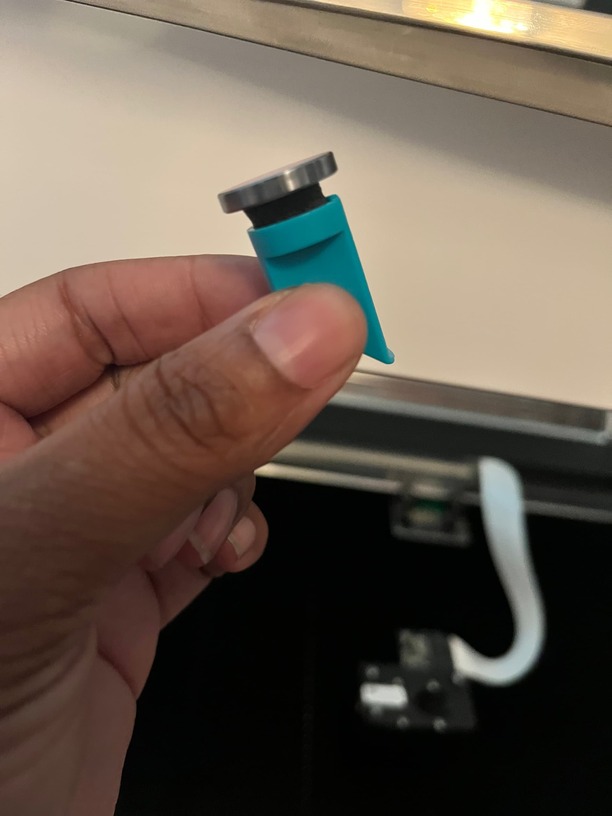
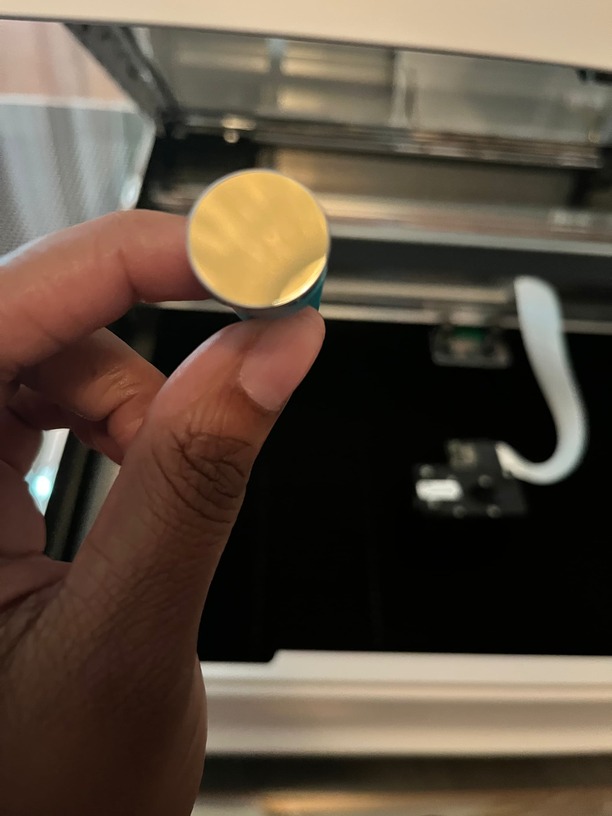
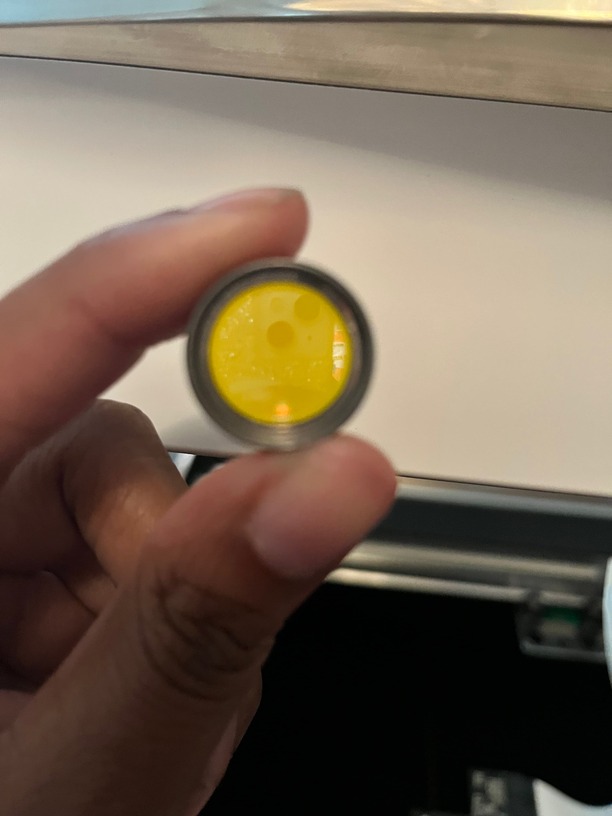
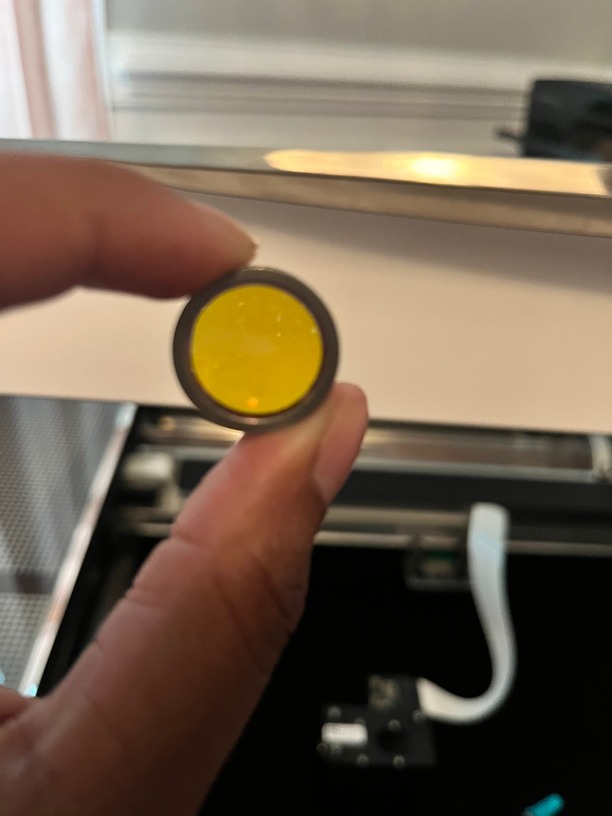
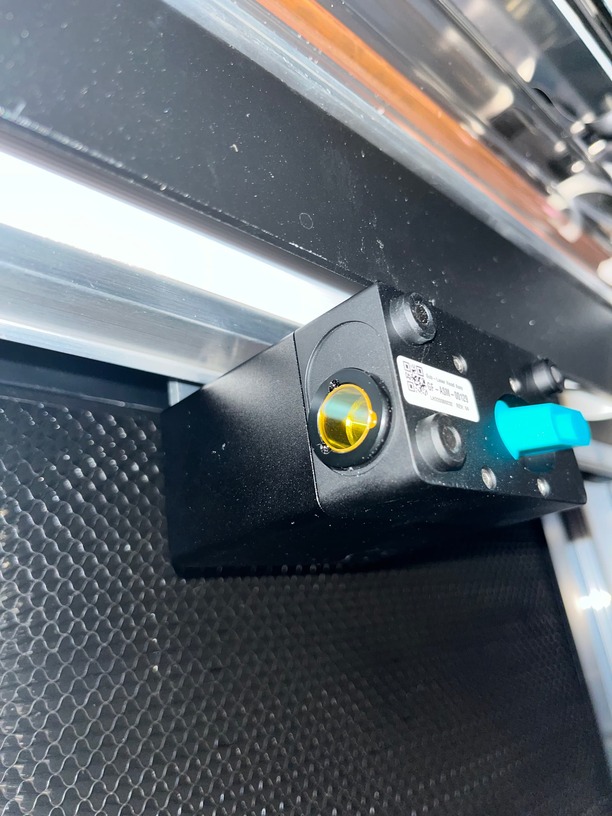
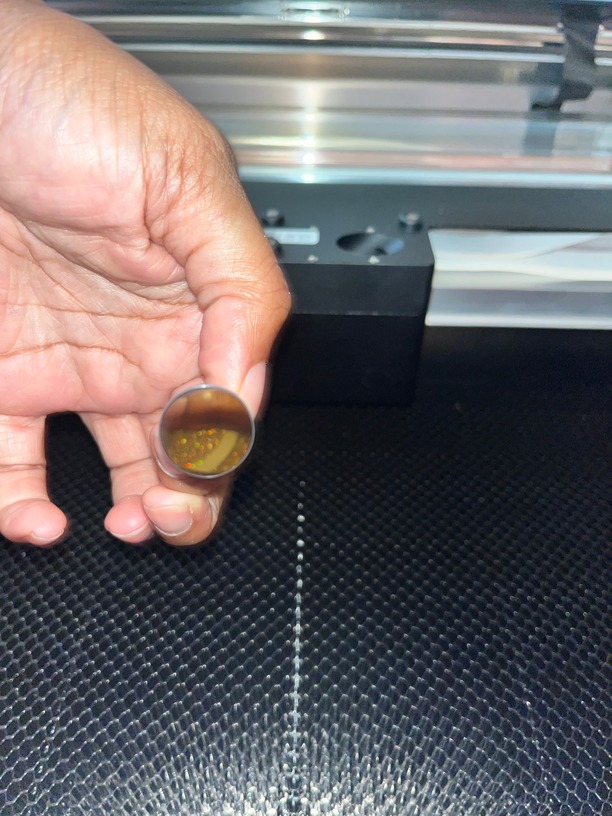
Double check that you put the lens in properly. Put in a piece of Proofgrade material. In the Glowforge Dashboard, select and open the Gift of Good Measure. Move the design near an edge to save material. Select the material you have used and click print. If it doesn’t print perfectly check back here and send an email to support.
4 Likes
Hi; sorry for the confusion… I was referring to the laser flash. I didn’t word that correctly
I did however see a video with how to clean and cleaned all the lenses, still nothing
When I tried to cut the good faith and glowforge material using the settings that were scanned, still no laser/or cuts
I also made sure it was on full power
1 Like
Welcome to the community! Do you have any screen shot of the Gift of Good Measure (GOGM) that you are trying to print? Views from the app are very other most helpful for us to help you ![]()
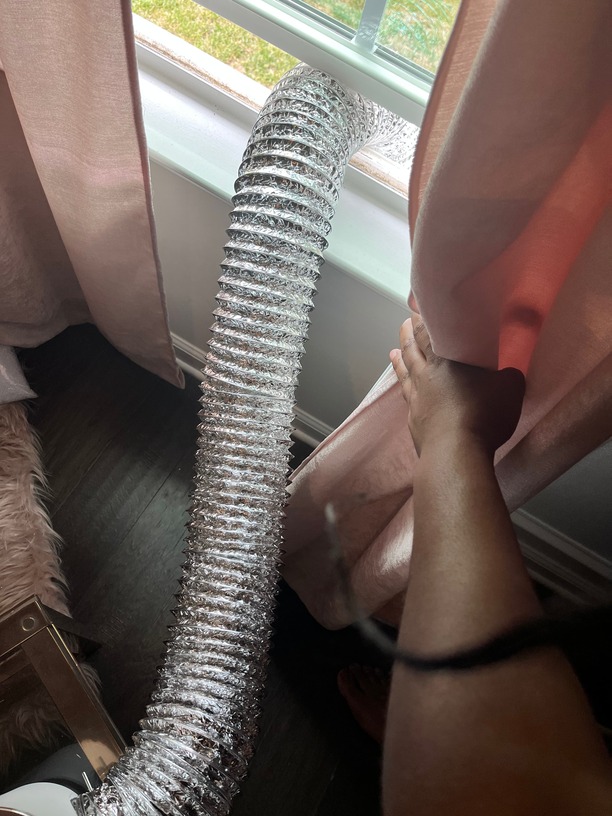
Sorry it’s been raining here bad and I have to vent out the window BUT I do have pictures today for you Processing: E5588960-0907-49D6-914A-684122DFB90F.jpeg…
Uploading: 92D59DB0-90DA-4828-BE35-7E787DC5B8CC.jpeg…
Uploading: CFA58803-4DA0-46E9-BDE5-14FBA100AAC4.jpeg…
Uploading: DCCB357E-138E-4504-B192-E575C2ABF49F.jpeg…
Uploading: 2063CCDB-BC0C-4DCF-B5B1-AB0A77FCDA3F.jpeg…
Uploading: E3249D6D-A767-4DC2-AD78-9077BD36D102.jpeg…
Uploading: 413FD1CE-063A-42FF-B634-AB64FA2566B7.jpeg…
Uploading: 31CA13EE-190E-42F5-BA77-C14077D5EAD5.jpeg…
Uploading: 3336E686-165F-41D0-8F1B-83AA2290C77B.jpeg…
Uploading: 2B286E09-A4B6-48C8-965A-BDAE8EDAC509.jpeg…
MIght wanna try it again. You didnt’ wait until all the pictures had loaded before you posted.

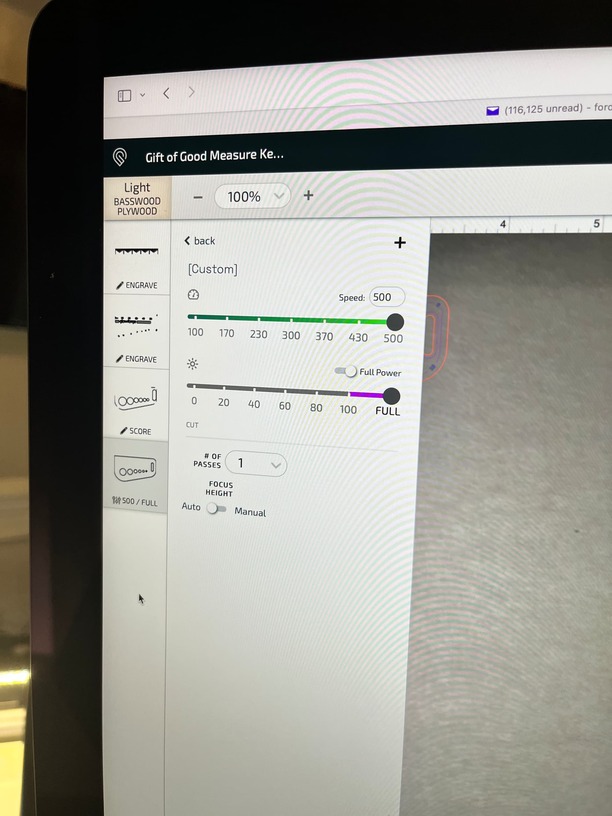
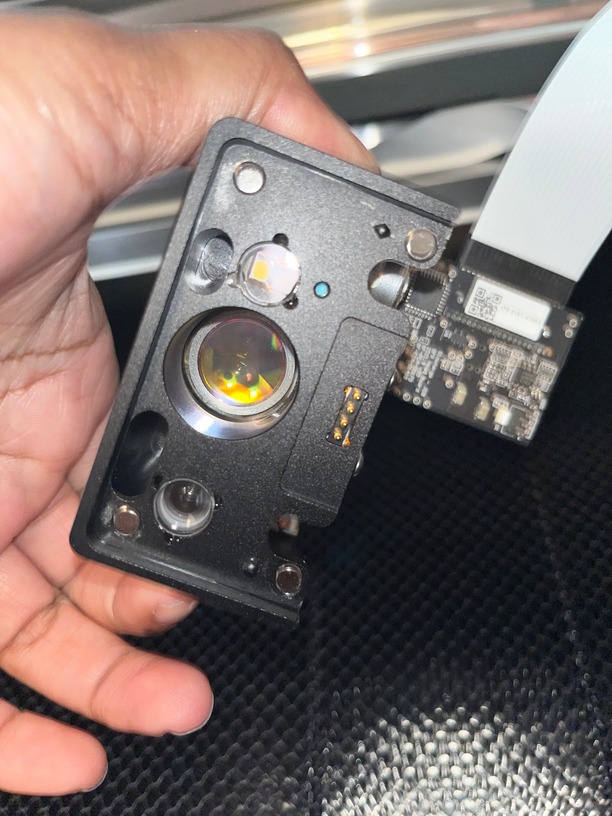

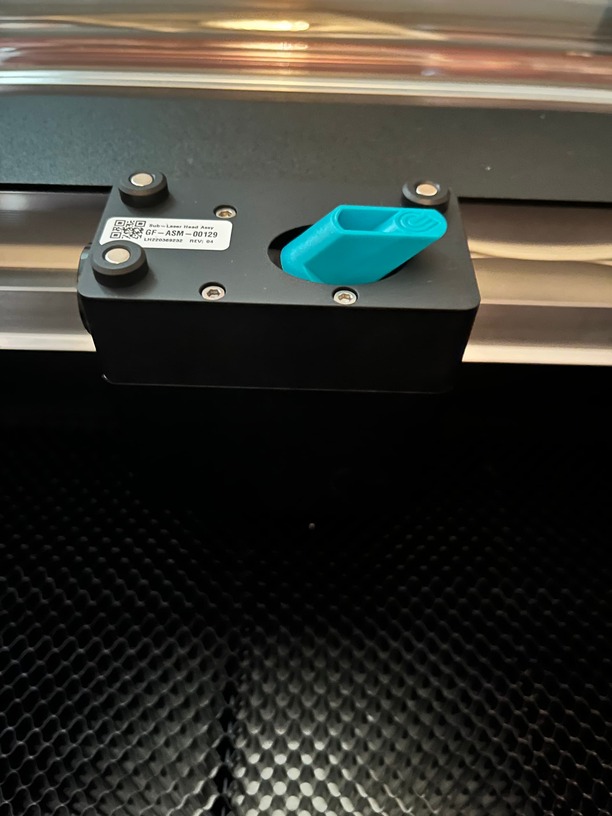
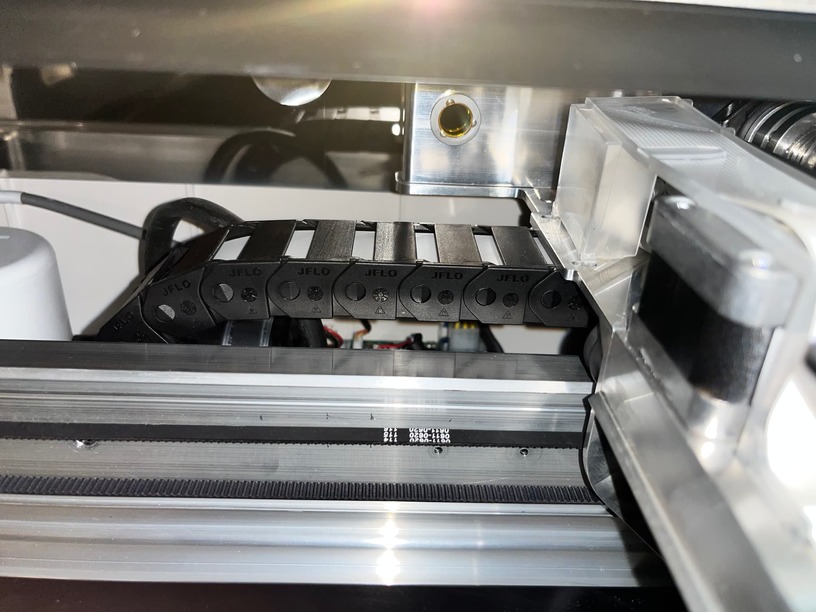
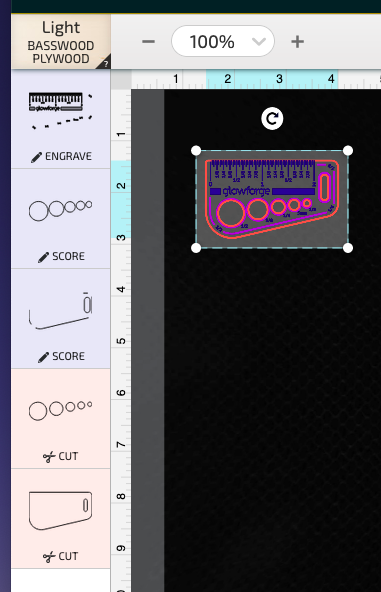
Your speed is set at 500 for the cut. That is wrong. Also, I think there is something unusual about how the white cable is plugged in. Double check that it is plugged in properly and not twisted. This photo shows how the cable should look when properly attached to the printhead.

2 Likes
What should the speed be set to? When it was on 1, I read that was wrong. It didn’t fire out the laser on any speed
The white cord was detached only when I was cleaning it but this is how it looks on regular. It’s snapped in but does it still look wrong in these pics
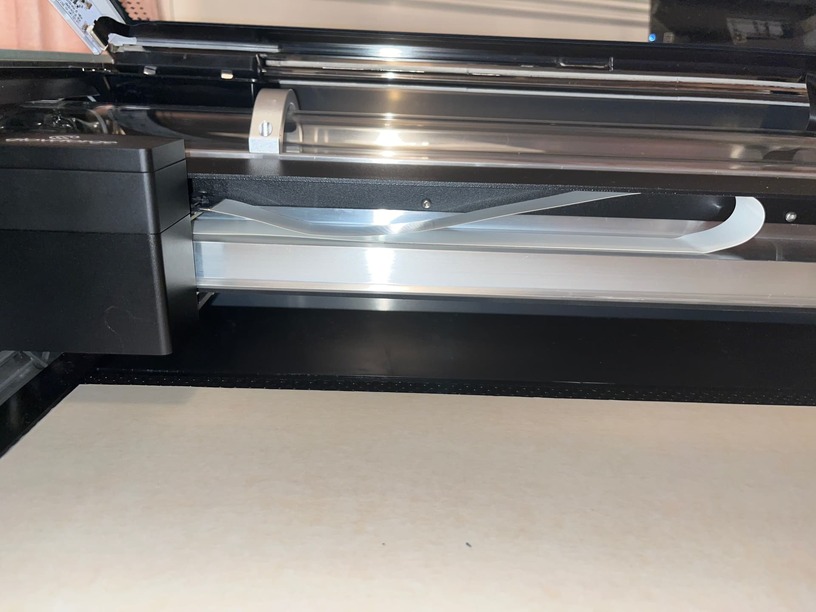
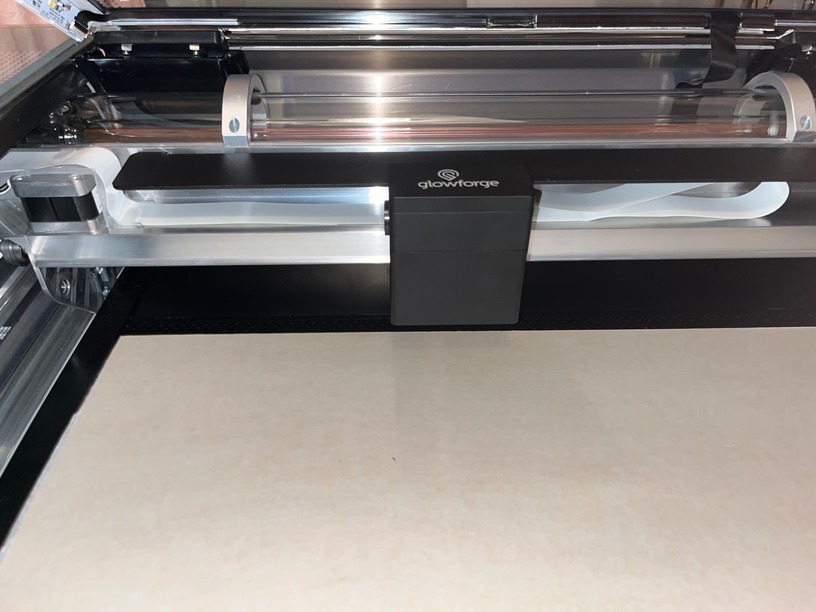
The cable looks fine - the picture was misleading.
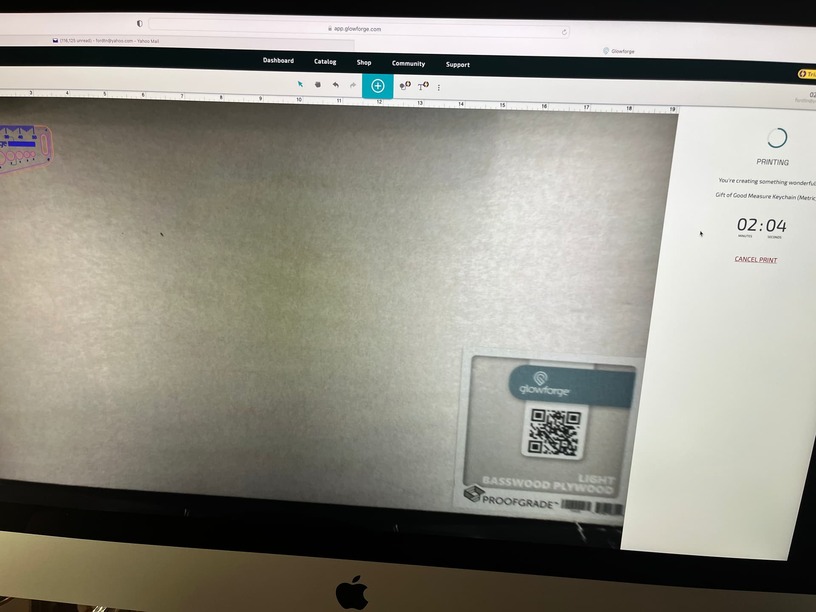
As for settings, they should auto populate and it looks like they did except the cut. After you select the Proofgrade material the engrave/cut/score should set itself and the Gift of Good Measure should take a bit over 4 minutes to complete. You should only have one section engraving. This is what the interface should look like.
1 Like
Yes. That’s exactly how it was; the first time I tried to cut the gift of good measure, I left the settings as is… it was on 1 but reading through the feeds, I saw it should not be on 1 so I went back and tried it again but changed the setting to full power to see if the laser would work
It also didn’t cut my other material. The laser is not firing on any setting
The time when I changed it to full power was 3 minutes and 2 seconds… still nothing unfortunately
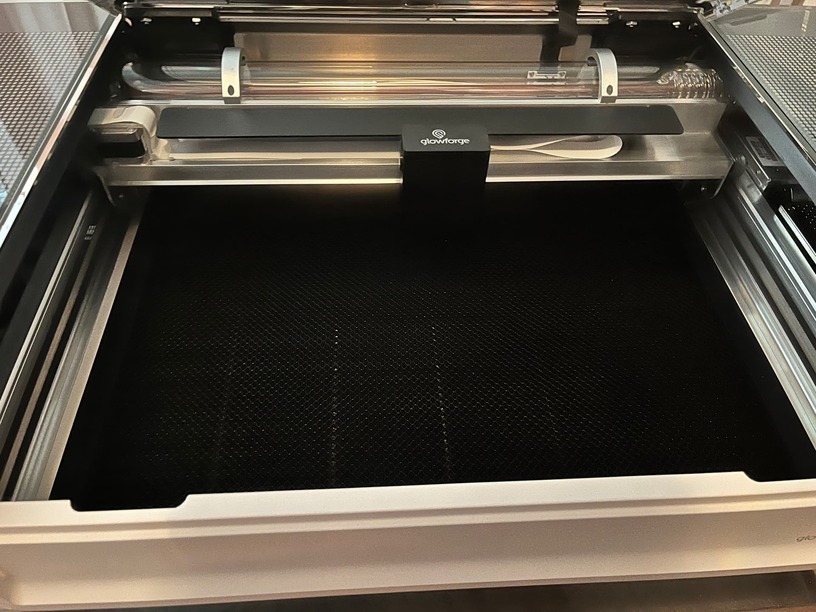
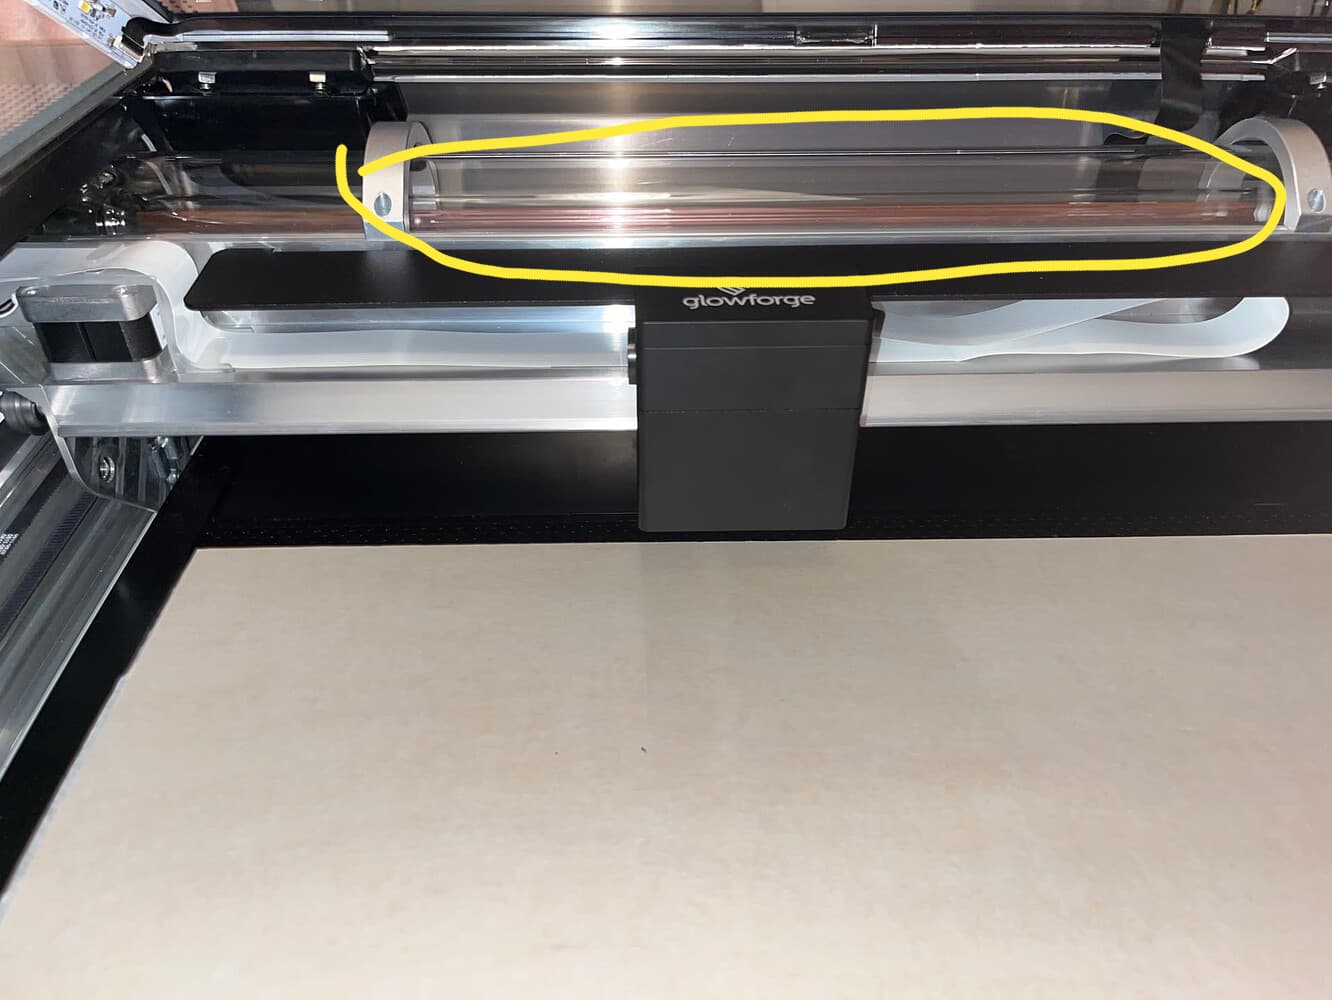
I’m seeing that others are talking about the tube glowing and I don’t think mine is glowing. Can you tell in the pictures
If after assigning a step a proofgrade cut/score/engrave, you go look at the settings without using the “Back”, it will default to showing the numbers. If you change the material type, it will reset the power to 1.
There may be other ways this can be triggered but it’s supposed to be a safety measure to keep you from burning something light with settings for something dense. Or at a different focal height.
If something is set to a 1 power, it will always show that on the step, not a “cut/score/engrave” generic label.
1 Like
This topic was automatically closed 30 days after the last reply. New replies are no longer allowed.