Ive been trying to print something for the past couple hours and I cannot figure out the problem. This has never happened to me before. I took out the crumbtray and elevated what I need to print at the correct high. But when I hit print, the print starts waay off where I set it to. Like about 4 or 5 inches to the right and 4 to 5 inches down from the original design. I started thinking maybe it was the glare, so I got rid of the glare… still doing the same thing. Then I thought, maybe its the item… nope, even with a regular board its doing it. The odd thing is I just printed the same item before this issue, and when I switched it out to the new one, it started acting up. It works perfectly fine and aligned with the crumb tray but when I take it out it’s so bad. Any advice?
When you choose set focus does the red dot land on your material?
Just checked, yeah it does.
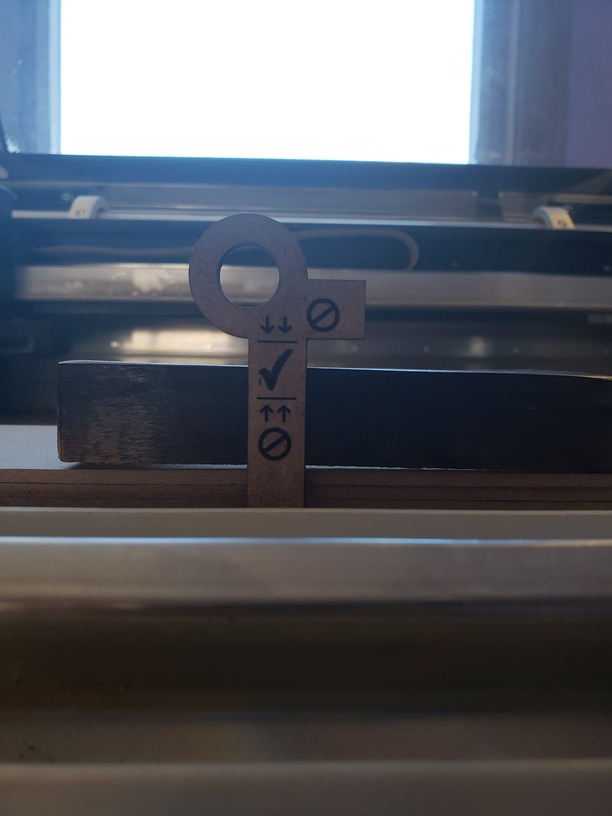
Are you absolutely sure the surface of the board is raised up to within .5 inches of the laser? The surface must be between 1.5 and 2 inches from the bottom of the machine to be within focus range of the laser. There is a nifty little tool somewhere on here you can download that allows you to get material stacked within the range of the laser without measuring.
Maybe it’s a trick of the light, but that looks kind of polished and black. The way the Glowforge measures the material height is to shine that red dot on it and take a picture, and then it does some math. Maybe it’s failing because it’s not seeing the red dot? If there’s a spot you’re not engraving, you could put some tape there and try to use that spot to get a good height measurement.
I thought that it could be the material, but when I took the material out and put a regular sheet of draftboard, it did the same thing.
Is there any chance that you bumped/moved the printhead when the machine was turned on? If so, turn it off and back on so that it can rehome.
Tried that too, I turned it on and off probably about 5 or 6 times 
Could you share a screenshot of a completed design showing how far off the actual score/cut is to the artwork placement? Just a simple square or circle would be helpful.
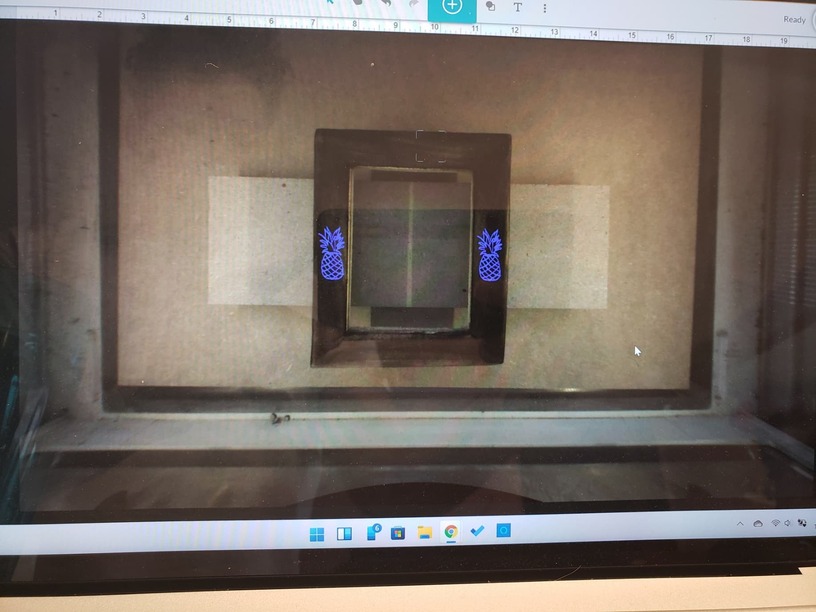
Not sure if this is what you want lol. But this is the design, and where I have my mouse cursor is where it starts to print.
I suggest putting the honeycomb tray back in, turning it off and back on, and testing on a piece of paper or cardboard or scrap. Need to actually see the score line and artwork.
Ok I will do that. I did do it before posting, and it printed perfectly where it should have. But when I take the crumb tray out, it gets very wonky. But I’ll try it again in about an hour, have to run to an appointment. Thank you! Ill post what it looks like once its done.
So your machine uses a grid system but its the mapping to the bed of the GF that is the hard part. But a point does not change nonmatter where it is on the Z axis. The app tries to help create a better picture but I ditched its picture information a long time ago and only go off coordinates.
If you want to keep using the app to visually line up based on what it measures when setting focus, then you are going to have to address what Chris pointed out with the shinny material. You also can calculate the true height and put that into the uncertified height window to get the app to update for you and give a better picture. Or you can mask the flask so it finds its value correctly. Or you can do what I did and have your GF make you a grid (which shows you what it maps out) and just use coordinates.
Hello, just wanted to come on here and say I found the problem, and it’s so embarrassing lol. I guess the design wasn’t all grouped, and a tiny little dot was left behind when I moved it into position, so the glowforge would move way off course to print the dot, then go back to the actual design.  Only realized it because on the preview I noticed the pineapples were small on the far top left corner, so I knew something was on the bottom right corner somewhere. Lol, thanks for all the help guys!
Nice to see you figured it out and thanks for the update. I’m sure I’m not the only one who likes to hear about the solutions discovered for various problems users have. All too often they just go silent and we never do find out.
Very good to hear you figured it out, and thanks for the update. It really helps for others searching for the same issue.
This topic was automatically closed 30 days after the last reply. New replies are no longer allowed.