I am trying to engrave of the medium maple plywood and when I use the standard settings much of the detail of the engraving is not making it past the masking and the cuts are not going all the way through the material.
Welcome to our special world Charlie! If you are doing a variable engrave, you will either have to have a minimum power (~5to 8) so that it makes it through the masking or better to remove the masking on the top side where the egrave is.
If you have bed pins made, and the material down tight you can set the cut file to a power of 5 and speed of 500 and it will just make it through the masking, Then you just remove the masking and proceed as before.
I have been able to correct this by slowing the speed and doing multiple passes. I would have thought if I was using proof grade materials and select them in the setup I would not have to do this and was wondering if there is something going on with the glowforge. I was also wondering if there was a tutorial on which option (Draft, HD, Graphic, Photo, etc…) works best given a particular piece of artwork. I will review the forums and see what I can find.
If I remove the masking before engrave what will be the effect on the work? If there is no effect - why have the masking at all. I am not normally this thick but would appreciate any advice.
HD stands for High Definition. If you want something to burn darker and deeper, use the HD setting.
SD = Standard Definition. It’s a good general purpose engrave.
Draft = Lighter and faster. Will not penetrate as deeply.
The Photo Engrave options will appear for raster images, the Graphic Engrave options will appear for vector engraves.
If you have very thin lines and light colors, removing the masking will pick up more detail. You might need to wipe some residue off the surface.
Most of us remove the masking when engraving. It’s really only useful when scoring and cutting – when you’re engraving, it blocks fine details (as you’ve found) and leaves a sticky mess in areas where the paper gets burned away but not the adhesive.
If your design allows for it, you can get the best of both worlds by running a cut or score around the area to be engraved, peeling that part (without moving the material in the bed), then doing the engrave. That way you still have the masking to protect the non-engraved portions.
Hi there! I appreciate the tips for future engraves, everyone. @CharlieHarp, I extracted the logs from your recent engrave with the single-pass and I noticed that the power setting for your engrave was very low. This could be causing the problem of the unusually light engrave.
To make sure that your laser is functioning as expected, could you perform a test print and tell us the results?
Print the Gift of Good Measure on Proofgrade material, using Proofgrade settings.
When the print finishes, leave the lid closed and wait until the fans stop and the picture updates.
Check the completed print:
If the Gift of Good Measure fails to cut through, take a photo of the front and back of the print and attach these photos to your reply.
If the Gift of Good Measure cuts and engraves successfully, please try another print of the design you experienced the issue with, and let us know the results.
Hi @CharlieHarp, thank you for posting that additional information for us.
Could you please let me know - was that Maple Plywood or Maple Hardwood? I extracted the logs from this print and saw the setting for the for Medium Proofgrade Maple Hardwood. These two materials have different default settings and I just want to double check before sending over the next troubleshooting steps.
Gary - You are correct. The material was maple plywood and I used the settings for maple hardwood. I am running it again with the proper material. I have both and fat fingered the first ‘medium maple’ - I will let you know what the results are after I run it with the proper defaults.
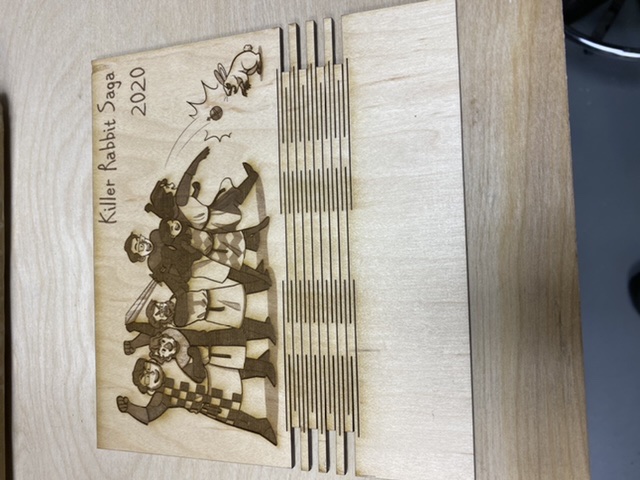
When I ran it with the proper settings it worked just fine for the keychain. Shall I try it with my original print and see if it is the same issue. I guess I did not think that the maple hardwood and plywood would be that different… will I also see a difference in engraving?
Maple plywood is a thin veneer over an MDF core. MDF definitely cuts differently than hardwood.
I’d stick with hardwood if you’re going to do depth (variable power) engravings, but if you’re going to use the “convert to dots” type, the plywood is fine.
Thanks everyone for the great advice! @CharlieHarp, could you please run a test of the original design, using the tips discussed here, and let us know how it goes?
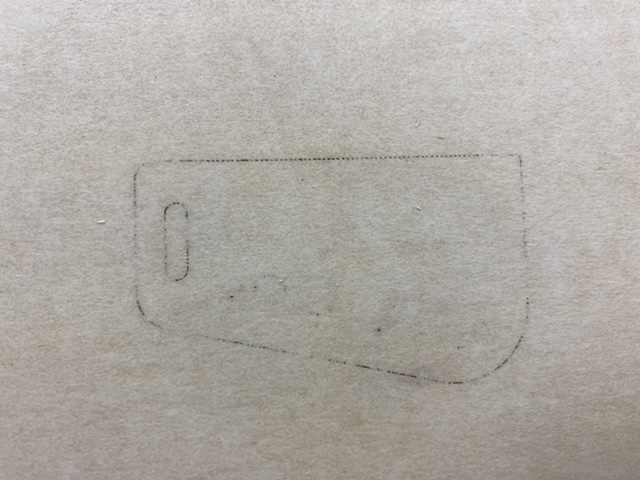
I think part of the problem (other than my lack of knowledge) with the original design was that the a central part of the design was faint (the lines of the design were fine) and as a result when incorporated into a larger image I had no way to darken it without overwhelming the rest of the design. Even when using the correct setting for the right material this was still the case.
Based on the excellent and advice provided I think I am going to revise the original design and experiment with some setting to continue this learning experience. As they say, the proof of the pudding is in the tasting - I will share the results.
 but would appreciate any advice.