I’m guessing that if you are using a raster image you can specify how dark it engraves on the material via the GF interface.
1 Like
I cant wait to see the manual side of things…yup I’m one of those rule breakers…lol
Not sure why it was set to cut first…usually engrave first then cut since cutting can drop the piece out of alignment…
6 Likes
Thanks for the post @Tony! Now there are all these little things that we will want to know what they do =).
Advanced settings on this shot… What’s in there? Specific power levels/cut depth per shade?
What do you guys have on that manual tab?! That’s where a lot of concern has been coming from. Can you show us what’s going on behind that door? I’m sure it would help to ease those of us over who need a lot of accuracy out of the glowforge to see what kind of fine grain tuning you have in place. Its a shame to have people asking for refunds thinking you won’t have the functionality they need if it’s already in the software!
I really like the cut order queue you have going. How many things can be placed into the cut order? Are commands for each item in the cut order sent to the glowforge separately or as much as the buffer can hold at a time?
Materials - will the interface react and let you know how certain cuts/power levels/speed will effect the materials? the effect on foam will obviously vary GREATLY with different settings. Will there be visual layer effects to help people understand how things like different power levels will leave different gaps in the materials?
I’m really excited to see what else you guys have in store, especially grayscale engraving. Thanks and keep it comin!
4 Likes
For names, I’m thinking Forgeie, or maybe Stormageddon Dark Lord of all.
4 Likes
I like that it shows you the estimated time for the step.
It looks like you can have multiple Glowforges associated with the same account.
Can you have multiple people associated with the same Glowforge? The next question I have is, who controls the queue? What if you put a job in, go to press the big glowing button, but someone puts a different job in before you hit it? You could end up etching a picture of Rick Astley instead of the bird coaster!
3 Likes
The hand turkey is for Glowforge version 2 where The Glowforge is going to weld a 
to a
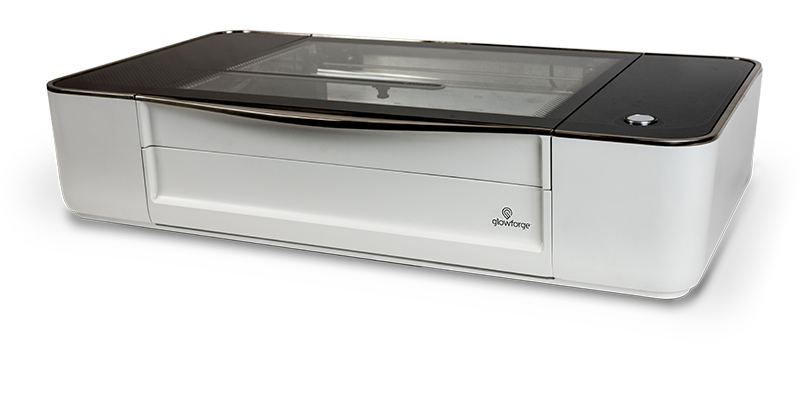
to make a ETCH A FORGE! or a GLOW A SCETCH! OOOOOOH YEAH!
4 Likes
Oh wow, thanks @Tony!!! And thanks to entire Glowforge team for all their hard work!
The hand turkey symbol…could that be for the camera ‘live-trace’ option? (If so, that’s an adorable and amazing symbol use). Since the screenshot shows imported linework it would make sense for this step to be ignored if that’s the case.
@smcgathyfay I agree with you on engraving first!! Hopefully we’ll be able to set our own steps. With the pictured 1/4" birch it may not cause too many problems to cut first since it’s a thick and sturdy piece of material, but if you’re trying to cut and engrave, say, multiple iterations of a file on one sheet of paper you’re definitely going to want to engrave them all first.
7 Likes
Thanks for the update @Tony! So nice to see some of the progress that’s been happening behind the curtain.

1 Like
Bit confused as to why “engrave” is the second step after “cut”. Cutting first often messes up the alignment of any engraving, best practice is engrave first, then cut inside to out.
Also really interested to see the manual settings. In my experience pre-defined material settings/libraries are almost never accurate. Manual control makes or breaks good engraving and cutting.
6 Likes
I am assuming you can choose the order the steps happen in. Also, the preset libraries are meant to be for the materials they sell and have specifically sourced that work with their settings, but you will be able to set and save your own material profiles as well.
Just because Engrave is below the Cut symbol on the screen doesn’t mean that “Cut” was Step #1. Step #1 might have been something related to the selection of “Engrave”. Might have been “Select Material”, “Put material in machine”… Any number of possibilities. The company folks are far too experienced to have a default of Cut before Engrave. Every demo you have seen went the other direction.
6 Likes
I’m reading it like this is step 2 of the engrave. There was a step 1 already… would be great to be able to do a complicated engrave in a few steps. Take time to look and see if it’s what you were dreaming when you hit “ZAP” or "print."
There’s a cut menu with workflow [top tab]
There’s an engrave menu with workflow [second tab]
And there’s a hand turkey workflow [third tab]
I figure hand turkey is whatever I drew all by myself with a sharpie, and now I want that adorable doodle cut into a coaster, and a magnet, and a Christmas tree ornament. And also a custom commemorative tile for my bathroom remodel.
I’m giddy with excitement.
2 Likes
That sounds like a good call!
2 Likes
Well, as a UX designer doing a blind (meaning I don’t have any inside knowledge) analysis of that screenshot:
- The left column is labeled “Steps” implying that these are the steps involved in the cutting and engraving operation
- Since western readers read top-to-bottom and left-to-right, the user assumption would be that the first step is at the top, and so I’d assume the first step in this list is “cut”
- As a list of steps, the second “Step” in line is actually labeled “Step #2” further reinforcing the implied order
Obviously, this is a single screenshot, and so I shouldn’t read too much into it. But, since it’s basically the ONLY insight into the user interface that we have, I can’t help but dig in as deep as possible. I’m also a stickler for accurate visuals that take into account user expectations, and given that there’s all kinds of doubt about GF being able to deliver, accurate screenshots representing good process should be prioritized.
@tony is never going to post a screenshot again after this thread!
4 Likes
Even though Dan said no, it’s fine to ask questions, it is a concern that I have. He is always saying that he and the team do not have time to answer specific questions. So if they throw up a picture and we barrage them with clarifying questions, and the users get testy, will they be reluctant to provide anything?
3 Likes
Could it be possible that the column on the left is just the setup portion of the process and the order of the operations when printing are independent of that? One of the big advantages of the camera view is seeing the grain of the material. Laying out the outline of the complete cut, and setting the material to ensure cut through would the primary setup steps. Then move into the detail work of the engraving settings.
But . . . I do agree that the actual print process should leave the cuts until last.
I don’t think anyone’s getting testy. I do think that if you’re going to post a single UI screenshot you should be prepared for customer reactions to it, and given that we’re all starving for information and insight at this late stage (2 and a half months from the stated delivery date), we’re going to scrutinize every morsel and read into it whatever we can. If @tony doesn’t want us to draw incorrect conclusions he should clarify, post more screenshots, or post none at all. It’s a bit like the ant seeing a toenail and assuming it’s the elephant. We don’t have enough information and we’re desperate for it.
1 Like
If they dont answer they dont answer, but if you dont ask, they have no reason to say anything at all, so Im going to keep asking questions!
Even if they dont answer, it doesnt mean they didnt see them. Questions might push them towards an action, like this post being made. We have given them a lot of money on faith. There have already been cancellations from lack of communication, and I dont think they want that to happen either, so at some point they have to give us something.
5 Likes
Couldn’t the three icons simply be in alphabetical order? Cut, Engrave, Ignore. The user should be able to choose which action they wish to complete and in what order. I’m hoping that the screenshot is showing that the Step #2 is engraving that particular color (perhaps Step #1 was engraving a different color that was either Raster, Vector, or both?).
I agree with some of the previous comments that without further testing ourselves, the display does appear to show that there are 3 steps to this “Print”, “Zap” or whatever and they are in order of Cut, Engrave, Ignore.
I do think that there could be the potential that the left column on the screen could be showing a iconic representation of each of the steps. If there were 2 different kinds of engraving going on, the first icon would also be showing Engrave instead of Cut. There is simply too much unknown going on to know exactly what is going on in this screenshot. But it really makes my fingers itch to try this out on my own GF!