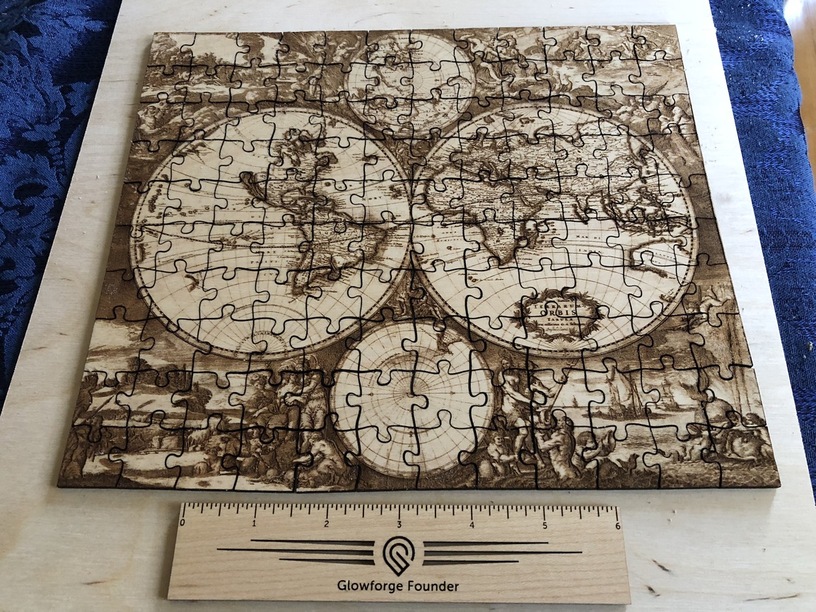
The glowforge is amazing. This was created with a web puzzle generator plus a public domain image from Wikimedia. And time of course. Map Puzzle Generator
I printed this using proof grade maple plywood. That worked well, though it took a bit of effort to get the sticky residue off of the engraved image.
Having gone through the same trials and tribulations myself, and learning from @jbmanning5, here is what to do next time. Take the masking off first. The amount of toasting of the image with an engrave, in my experience isn’t that bad, especially with how little white you have. Ignore the puzzle cuts for now, and engrave the image on whatever will be the front.
When the engrave is done, and without doing anything in the GFUI, mark your corners with tape on the crumb tray (or some other means to register it) and flip the wood over, leaving the masking on, ignore the image, and cut the puzzle pieces. This does two things - keeps the smoke burn on the back, and the resulting cut lines are much narrower on the bottom. The bottom is now your front.
Question, won’t the cutting from the backside leaving burn marks on the back, which is the image then? Would you recommend placing a masking on the image before flipping over?
I was thinking that if I used non-masked material (ontop) and divided it into two operations, I could mask the cut lines with blue tape after the engrave…
I never really experienced any flash back from cutting with the image side down. But, I was using non-PG material with settings from lots and lots of testing.
FWIW, I’ve started cutting image side up and making multiple, faster, lower power (100, not full) passes for a few reasons-
100 has a smaller kerf than full power
the faster speeds result in about the same amount of cut time
if I don’t get a full cut through in certain areas, it’s on the backside of the piece, not the image side, so it’s easier to manually finish the cut without a chance of messing up the image
I think the pieces fit together tighter with a combination of lower power and image side up, especially in the chipboard (wood is a tight interlock because of the material depth).

