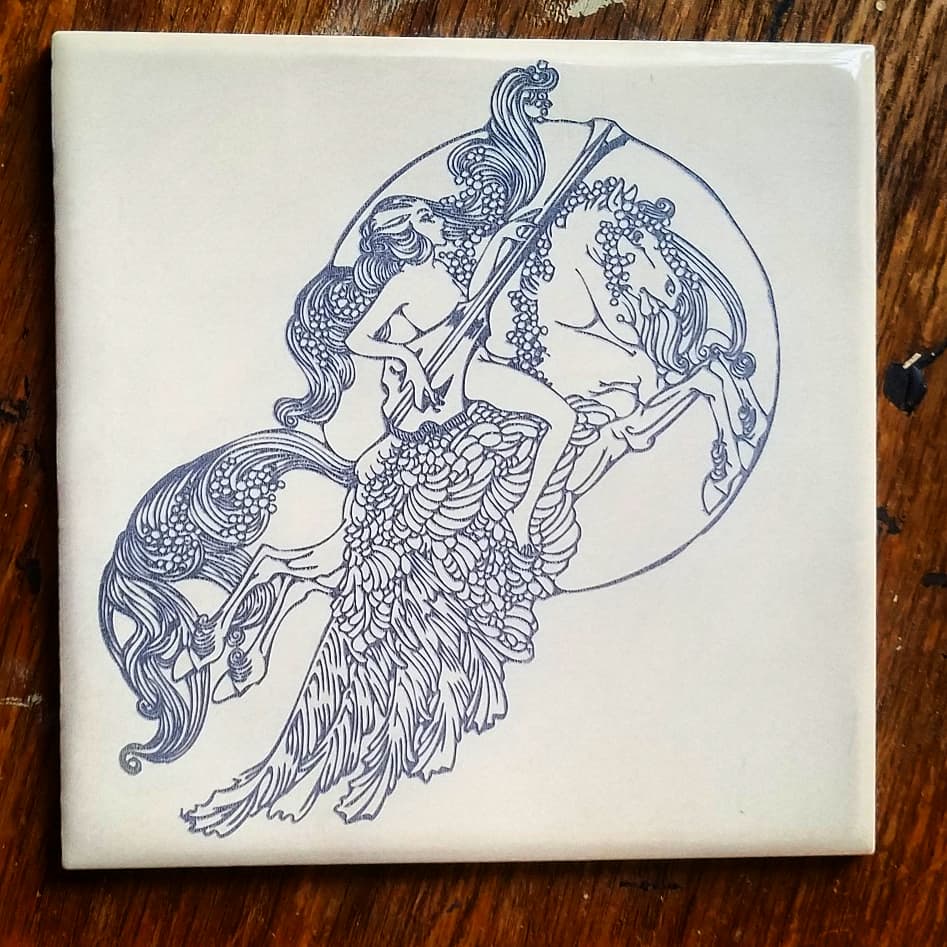
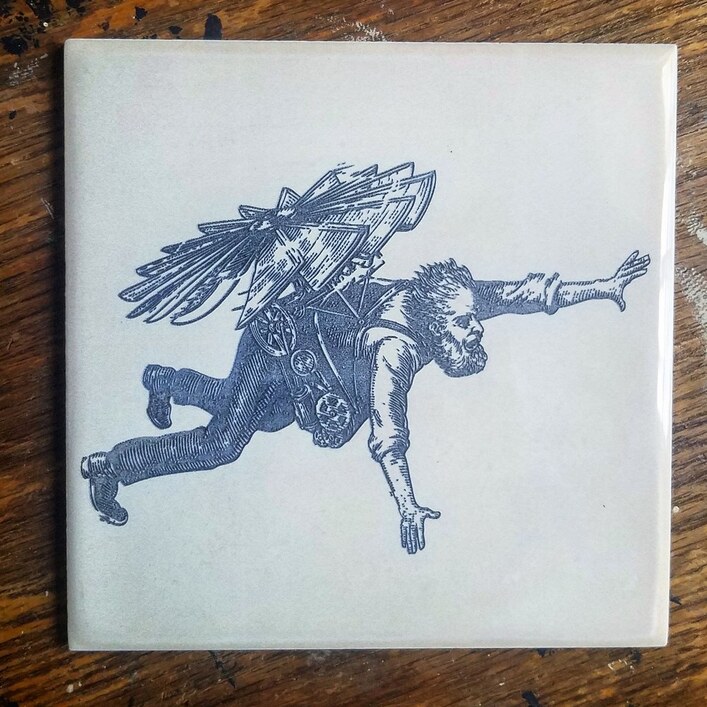
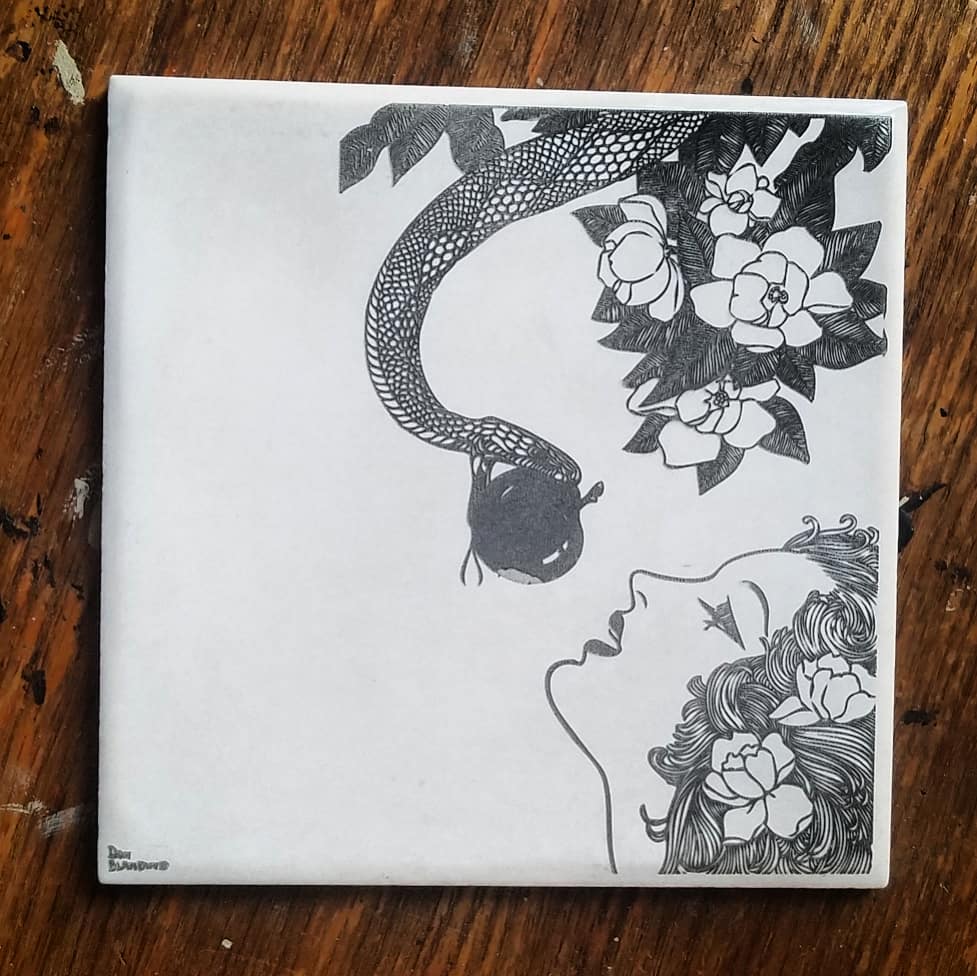
Since I’ve seen such great tile work decided to try my hand…well laser some of these art nouveau images I save from a long while ago

45 Likes
Nicely executed. Good art choices.
6 Likes
Oh, those are really nice!
3 Likes
Those images really lend themselves to this treatment, for sure. Nice!
3 Likes
Love 'em! (Wish I needed tiles for something, but I don’t need any more coasters, family is quite pleased with the ones they have already, and the kitchen backsplash was redone a few years ago.)
3 Likes
Make a new tabletop for your coffee table - or any other table for that matter.
One cool thing I haven’t seen anyone doing so I’ll probably have to post myself is to spread a super large design across multiple tiles - so a coffee table that’s 50" x 28" gets a 12x7 grid of tiles. Map your design onto that space and then break the graphic into chunks that fit into your GF.
I found that using a vector helps scale it up without creating jaggies but then you want to convert it to a bmp so you can carve it up with having to worry about dealing with closing all the broken objects that will occur when you carve it up. Then engrave each set of tiles (careful not to mix them up or you’re gonna have a puzzle to put together first ![]() ).
).
The 84 tiles for that sized coffee table will take about 26 hours of machine engrave time but an extra couple of hours to swap tiles out and have the GF render (rendering alone was about 5 minutes per set).
But then you’ll be the only people on the block with a custom engraved tile coffee table ![]()
7 Likes
We’re the only kids on the block with a laser, but I take your point! 
3 Likes
 When they were coasters I was getting complaints about being on TV on some hoarders show and being buried in coasters we’d never use.
Now they’re art 
I’ve thought about not gluing them down and actually mixing them up on purpose to give people something to do when they come over. (If you do glue them down you might want to get a piece of glass or wood cut to act as a backer and glue to that so you can revert the table to it’s unadorned surface in the future.)
3 Likes
Would look real nice in wood frame.
2 Likes
Very well done. Is there a main source for the images?
2 Likes
Have you considered making a table top like those puzzle games where one tile in the grid is missing and you slide the others around to make the picture?
4 Likes
That would be cool too. Could just pull one tile out
1 Like
I’ve had these images for like over 10 years saved a lot them from books I’ve found on my travels and scanned them for computer use
VERY GOOD art choices
1 Like
@quinnone2 Are these a specific type of tile or do you treat it with something first? AKA… how do you do this 
@jamesdhatch love the idea of spreading the image across multiple tiles, but my alignment between camera and finished product is always 1/8" to 1/4" off and so alignment seems like it would be a nightmare.
Have you seen the same for alignment?
Jigs, man. Jigs.
Exact alignment. Every time.
5 Likes
Nope… just got them at the depot…think there were like 80 cents…nothing fancy.
I calibrated for my offset. It’s pretty close by eye but I did tests using scores on targets I had printed on paper I had on the bed. After each score I’d adjust the on-screen image using the arrow keys and counted the clicks. I can drop an image dead on something on the bed.
The other way to do it is using a jig to hold the tiles. Score the outlines you need to hit and move the image as needed.
Or run a “corners” test on your bed so you know where the absolute limits are on your bed and you can adjust your image in the design software to zero at the corner. But the limits change with speed of engrave so it’s a bit harder for this approach because you’ll actually end up with multiple marks on the bed to zero to based on engrave speed which would need different offsets in the design software.
1 Like