To start, the grid system is what I have found to work for me and I am just relying on my background in control system software architecture (for a bit bigger directed energy systems) to determine how the GF works. I do not work for GF or have any ways for insight to know how their system actually works. I certainly could have things wrong but the grid is just what I have found to work very well for me and be repeatable.
So, now onto how I use the grid to make a jig…
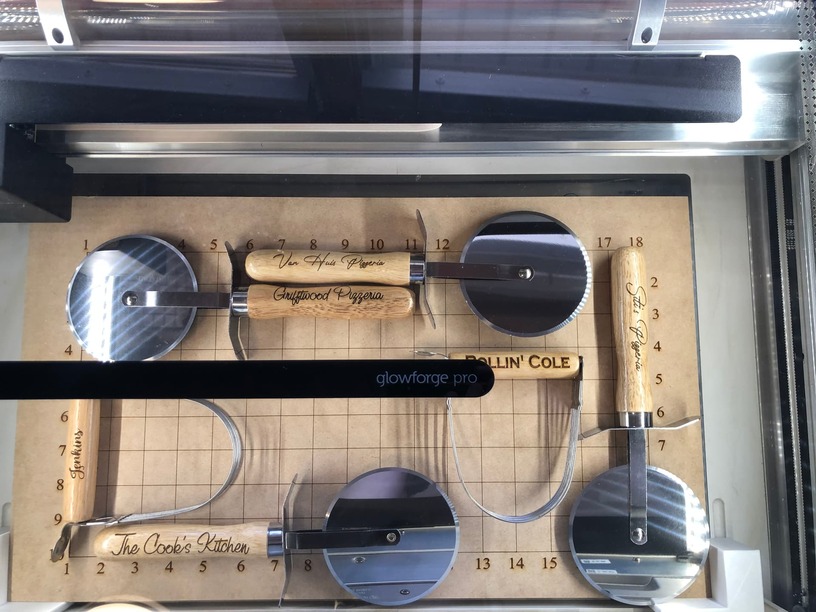
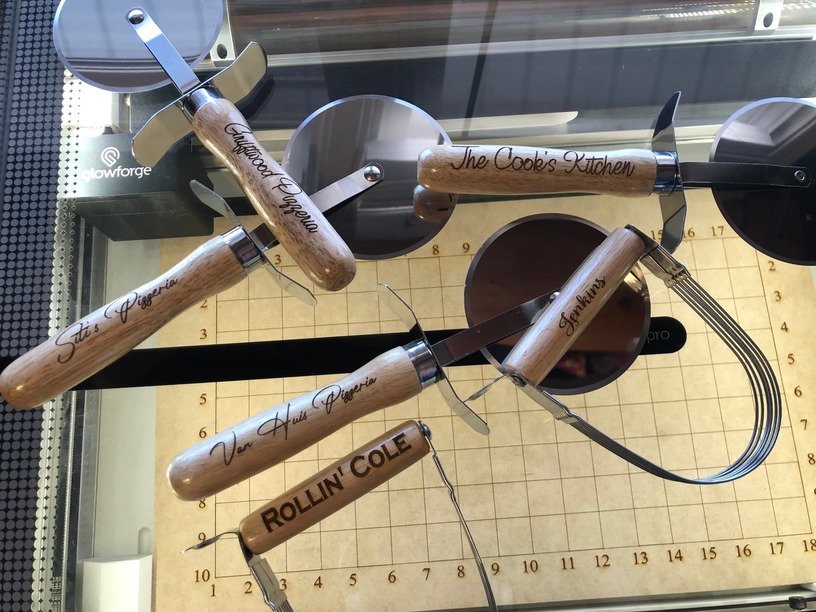
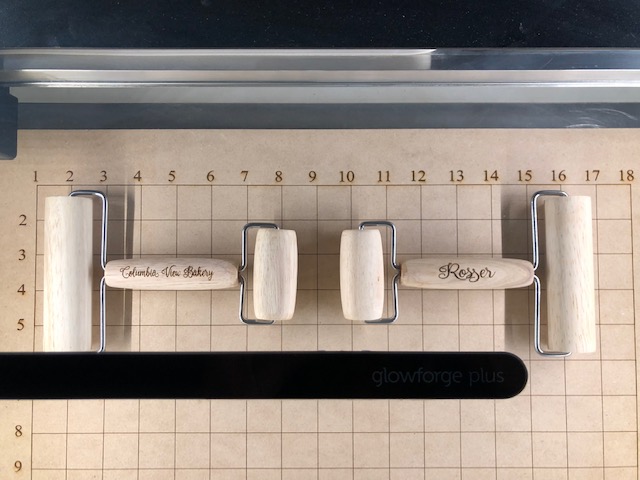
In this example I am using pastry blenders and pizza cutters where the wood has close to the same thickness.
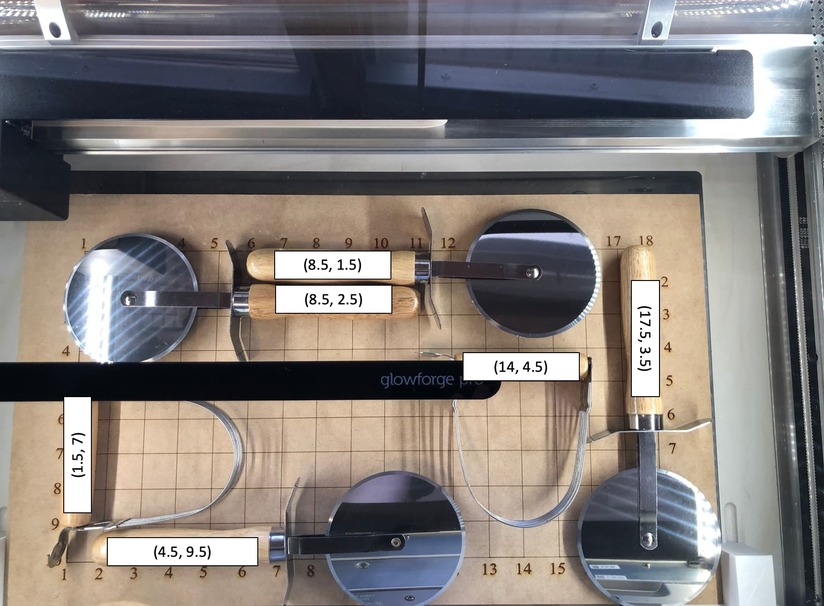
Step 1) Layout your items on your grid and determine the center points for each item
Thanks for posting this. This post itself solidified it in my mind! I am working on Christmas right now but plan to print this grid as soon as i get it done. Your results are great. Right now i can only do 1 thing at a time if i really want precision and that’s right under the camera!
So then do you use “Set Focus” or input your focus height manually? And you are doing this with the crumb tray out? Would it work the same if you were still using the crumb tray? Like, I almost never use anything thicker than medium draftboard, so I could make the grid on one piece of draftboard and then just have my focus heights all be 1/8 inch higher than normal?
For the purpose of efficiency, I cut out the whole “set focus routine”. I usually just select a random material like draft board or just enter a random value in for material height. The GF will focus on it correctly before printing when doing that and I don’t have to deal with the whole “error occurred…refresh your browse” stuff.
The crumb tray is out (I hardly use the crumb tray because I really don’t cut much stuff with my machine).
So not necessarily. If you are wanting to use the whole set focus routine then you would add the height you are doing with raising the draftboard to the 1/8. I have 3D printed blocks that raise my draftboard to different heights. In the demo post I did, the blocks I used were .6" tall. So the surface of the draftboard was sitting at (.6+1/8) = .725. Then the thickness of the pizza peel handles and blender handles were .75" to 1" range. So my material height from the floor would have been between 1.475-1.725.
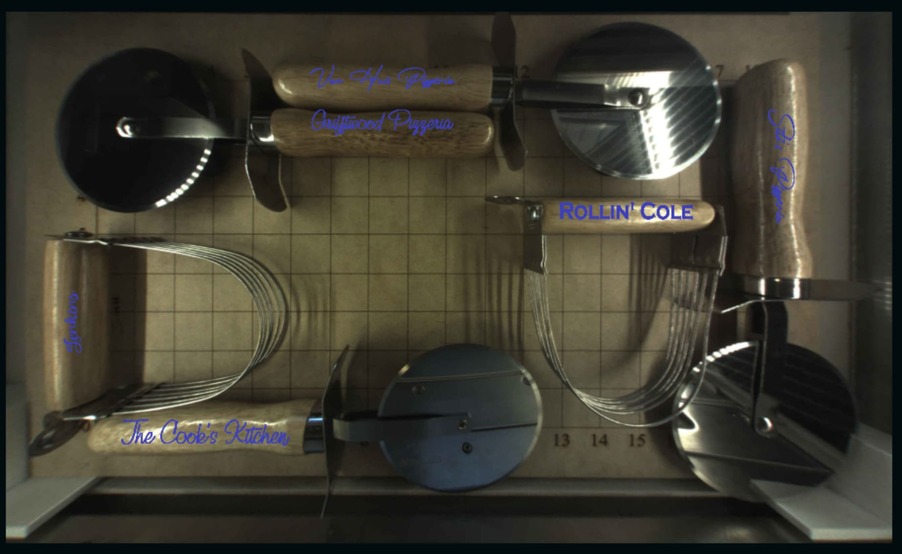
Another example
This time I raised the grid .8" from the bed but still just used the coordinates from the grid. So the center of the design on the left was set to (5, 3.5) and the right was (13, 3.5).