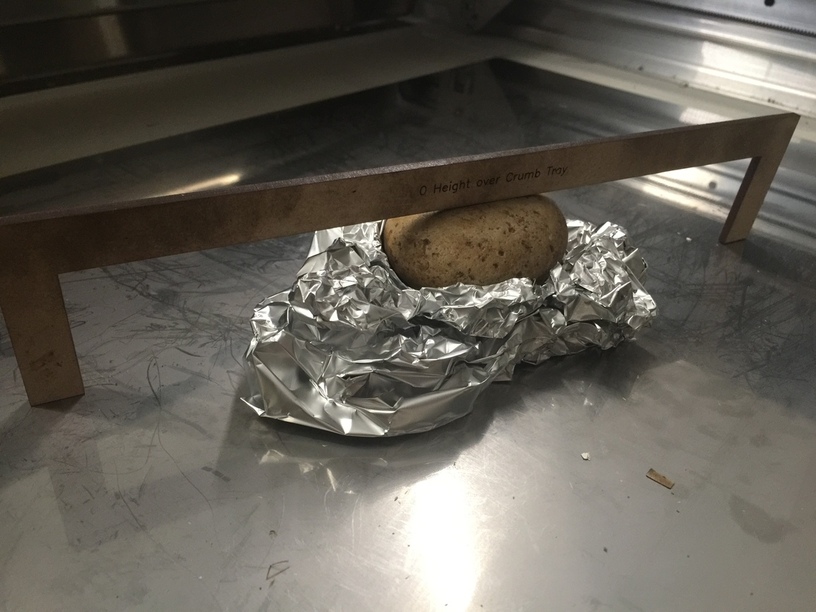
Attached is a ‘laser guide’ that helps me align objects for engraving. It’s an approach others have described, and I hope that sharing my example is helpful.
To make the guide, load the attached SVG and configure the outline to ‘cut’. This forum software does odd things to SVGs, but it should still work. It’s 10 in wide x 2 in tall (outside). If your crumb tray is a different height than mine, you might need to scale this slightly.
put object to engrave on top with flattest part up.
Press the ‘laser guide’ down until the feet touch on both ends, repeatedly across the object until it’s level.
Engrave with ‘material thickness’ 0.01 in.
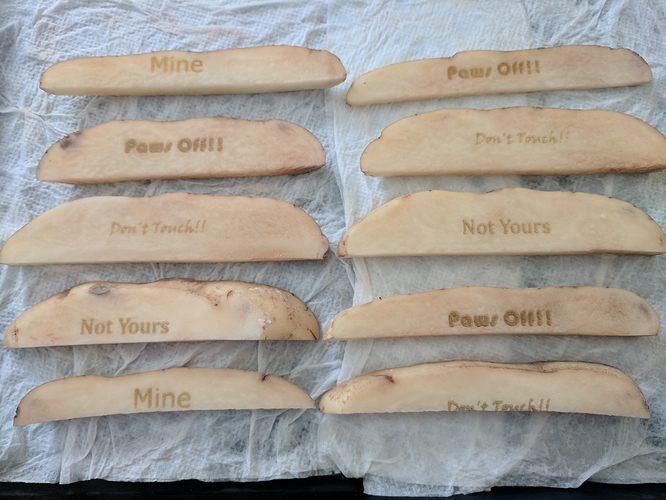
Fluff up aluminum foil and repeat until all your things are engraved.
Note: this one is scaled to the height of my crumb tray exactly. If you prefer, you could make it up to 0.4 in above the crumb tray, but matching the crumb tray exactly was easiest.
I did those when I first received my Pro last August. The settings I used are in this post (towards the bottom, after the corn chips): https://community.glowforge.com/t/your-burning-questions-answered-corn-chips-potatoes/10707?u=caribis2
but iirc the settings were changed at least once since then. It may be a place to start, however, they’re potatoes: unlikely to catch fire, cheap to experiment with and engraving fidelity not a huge concern.
Very clever! With the bed height established, add 0.125 to the ‘jig’, tell the machine it is looking at any medium proofgrade material, and manually manipulate the settings.
Place, push down - done!
this gauge was exactly what i was looking for thank you
the dimensions of your tray should be roughly the same as mine
plus or minus a couple thou for tolerance