Thats alot of little pieces😁
…or is it?
calculates largest rhino he can make in a glowforge
4 Likes
pretty damm big if you cut the shapes separately. Looks like the green hexagon(ish) in the center of his back is the largest shape. If that fits in 20" then you scale all the other pieces the same proportion and I’m thinking that puppy is gonna be 5 or 6 feet long.
4 Likes
Two words only: Do it!!!
2 Likes
Ah, but I got the Pro with the pass-through, so I just need the widest section perpendicular to the longest direction of that piece to be 20 inches. By my estimates, that means a final size of 16’x12’.
DAAAAAAN! I’m going to need more wood!
11 Likes
And a big wall to put it on!!
1 Like
2 year old asleep and cleaned up after - finally able to check out what you were saying. Awesome, awesome, awesome!
2 Likes
OK, for the AI & CD gurus, what are the steps involved in getting this bitmap line art ready for vector cutting the outside, and vector engraving the inside.
A little late to the thread but I think I have a simpler way. Maybe @jbmanning5 can help me out because I don’t have access to a computer right now so this needs to be proofed.
Do your design in AI with traditional dashed lines. Export as .dwg or similar. Open back in AI and the dashed lines are now separate and centered. I’ve dealt with this a lot going back and forth between programs. It might be a simple way to keep control and editablitly while adding one extra step to file prep.
6 Likes
Well if you’re specifically talking about the rhino, I originally drew it in vector so there’s no conversion needed, and if you wanted to use it for a personal (non-commercial) project, I’d recommend just asking and I’d happily share the original ![]()
That said, in the case where you only had access to the PNG I posted (say you’d found it but not me on the web) it’s relatively simple to prepare it (or something similar) for lasering:
First, make sure you’ve got the best version of it that’s readily available. The easiest way to do that is to run a Google Image Search to see if it’s available in larger sizes. Larger sizes usually mean more data and better results.
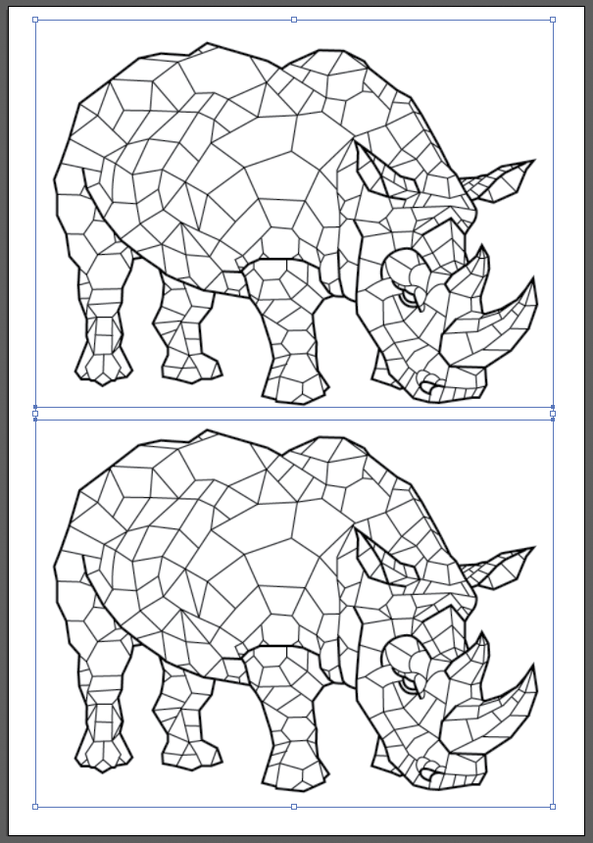
Then, I’d open the file in AI. I like to place two copies of it in a new file so that I can compare the original one to the prepared one:
Next, I’d use Image Trace to get a general trace. First pass usually isn’t terrible but can always do with some refinement:
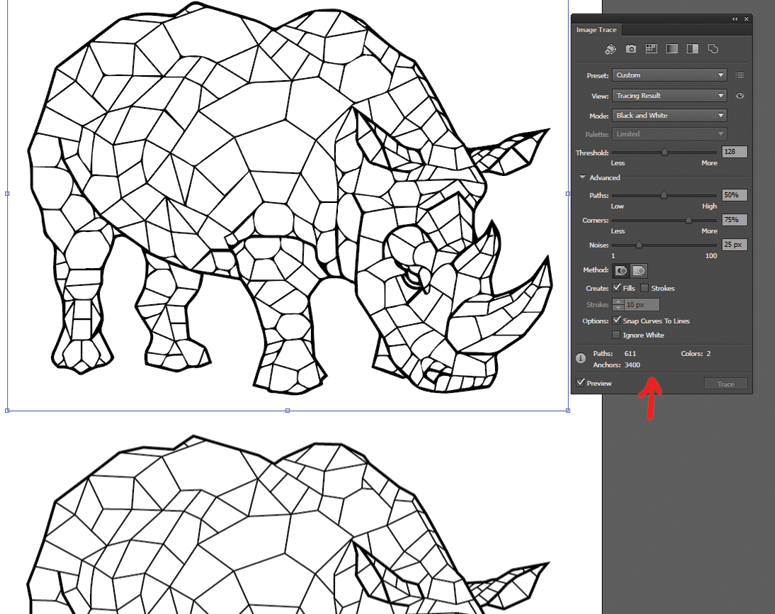
You can see the little differences between the traced one on top and the original on the bottom (the advantage of having both on screen at one time.
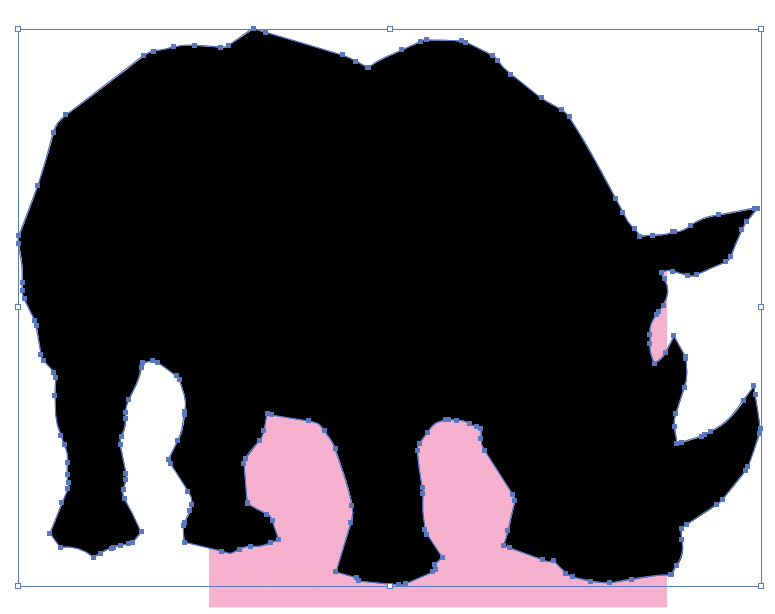
I keep the preview mode on and tweak the numbers around until I’m mostly satisfied with the trace results. In this case, this is what I went with (note: I’ve also told it to ignore the white from the source, so now it’s transparent where the white was, as demonstrated with the pink box):
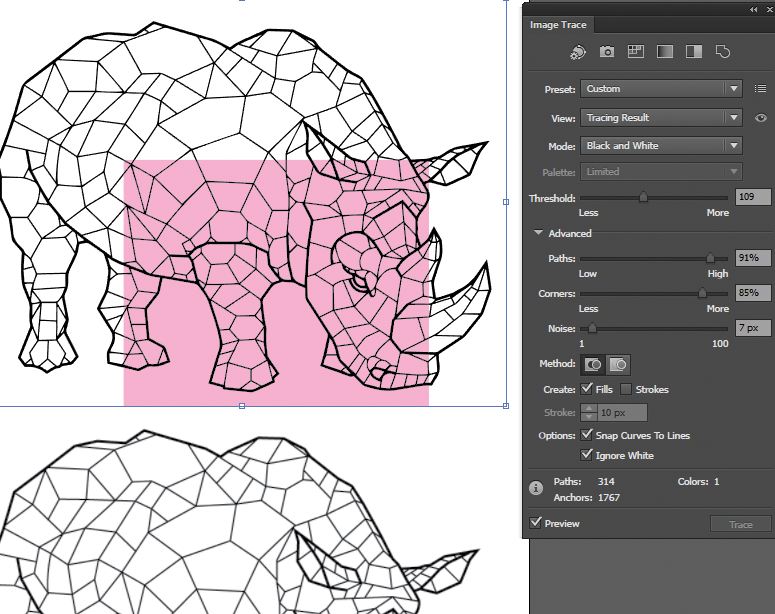
You’ll see at this point that the trace pretty closely resembles the original.
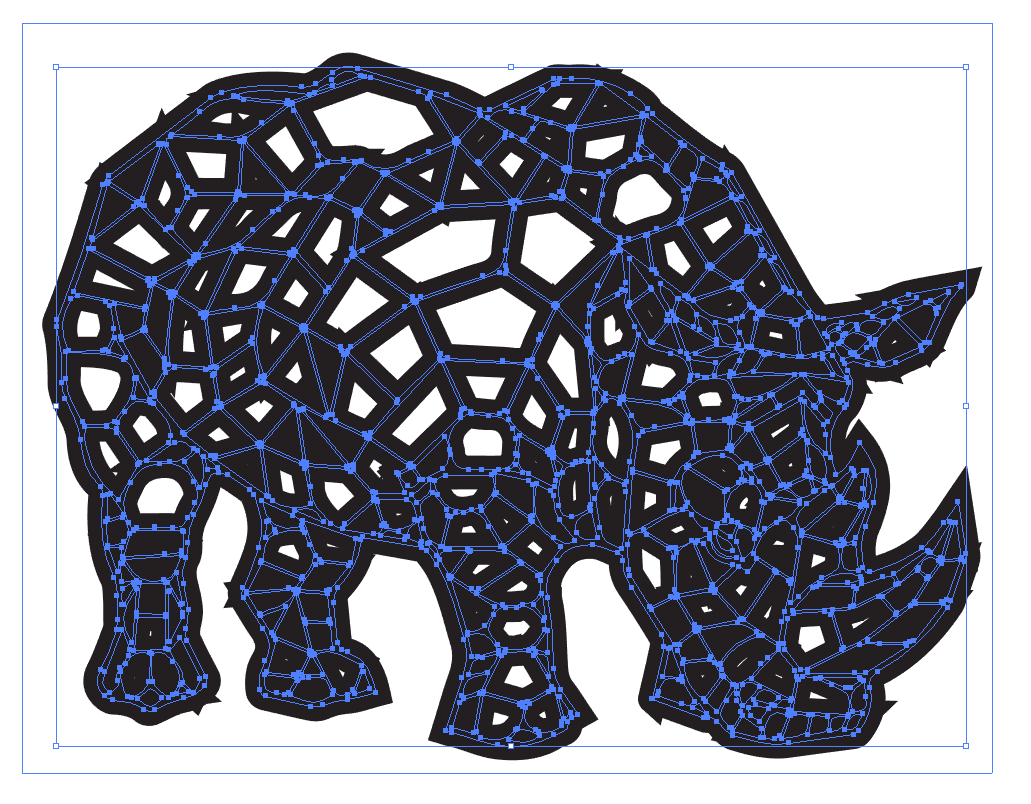
Now, you just need to expand the trace by going to object>Expand… and make sure you have “objects” checked. This will give you your trace as a group of vectors:
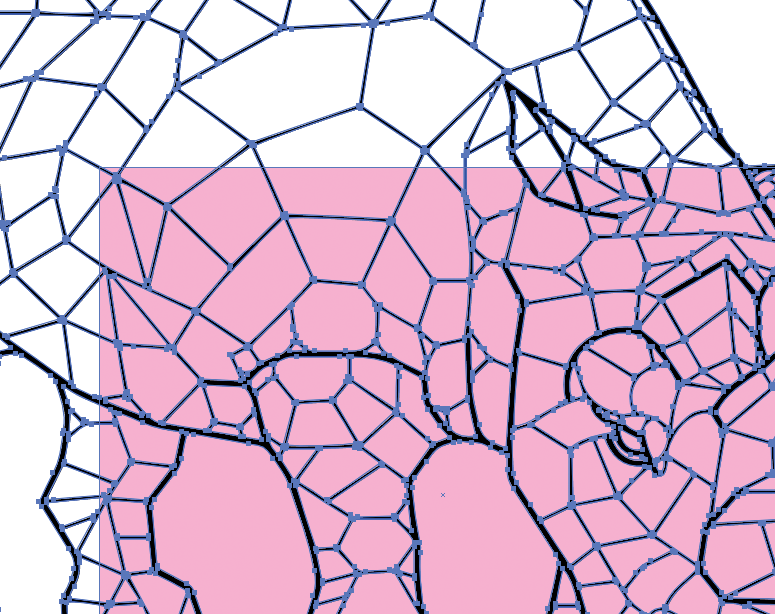
from this point, the next step is entirely dependent on how ana-- ehm… “precise” you are. You can spend time going around these vectors by hand and perfecting corners and such, but for the sake of expedience, let’s play fast and loose and say that we consider the current state perfect.
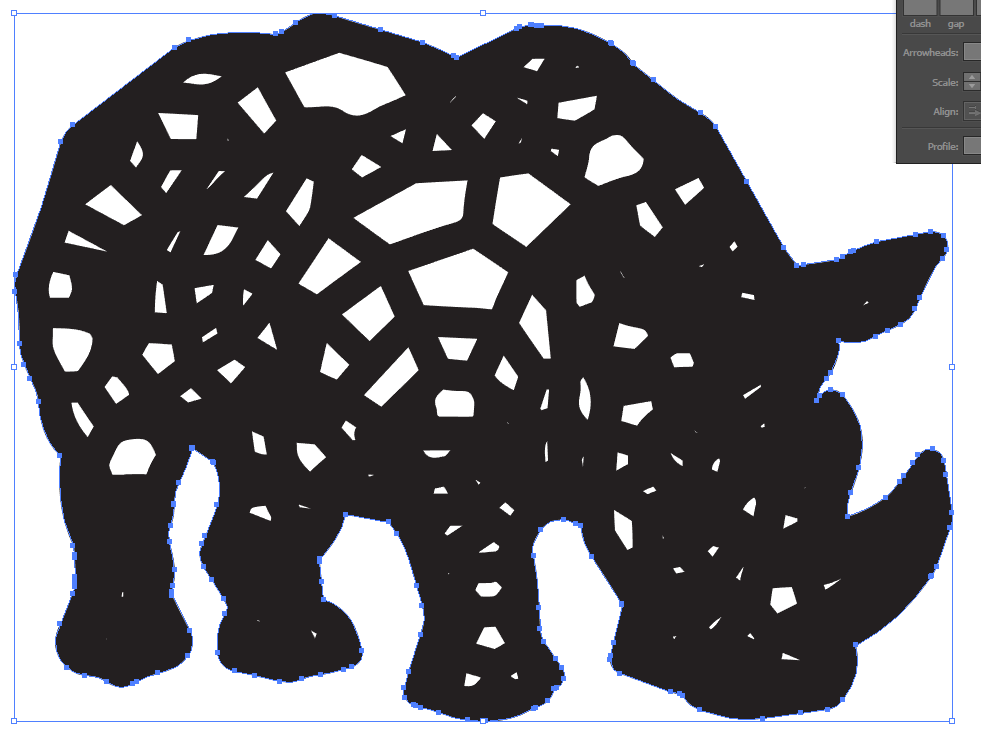
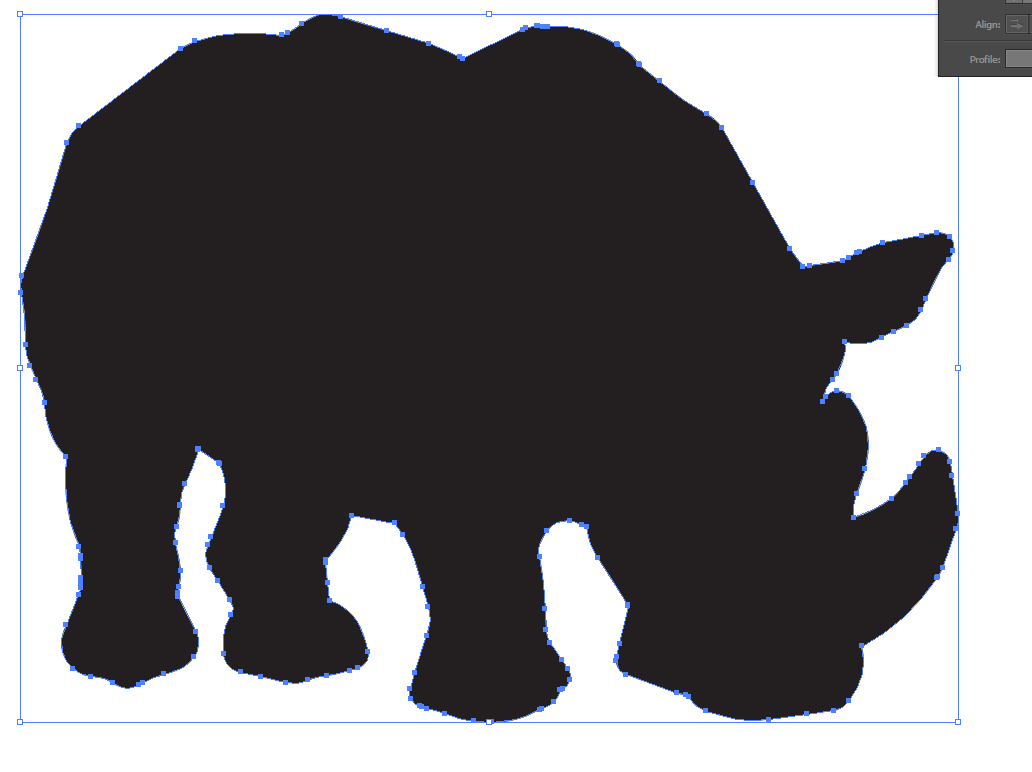
Now you just need to separate the outermost vector to create your cut line. This is done by clicking into the newly expanded trace group until it lets you select just the outside border vector (for me, it was about three layers deep. It’s like vector group Inception.) Once that border is selected, copy it, then exit back to the top layer and paste in place (ctrl-shift-V for the cool kids). If you did it right, you’ll feel like you did it wrong because you’ll have a rhino silhouette like this
But don’t fret. Just reverse it so that it’s an unfilled path, maybe change the stroke size and color to make it easier to see and suddenly my rhino has a first name and it’s C-U-T-L-I-N-E.

Now you’ve got your own vectored rhino with one set of curves for the engraving and a separate curve for the cut line. Now you just grumble-mutter-something-something-lasers and you’re done!
I realize that last part got a little vague.
9 Likes
Best description of the process I’ve ever heard! ROFL! ![]()
3 Likes
Another fun trick is to select everything, thicken the strokes:
set the corners to rounded or beveled:
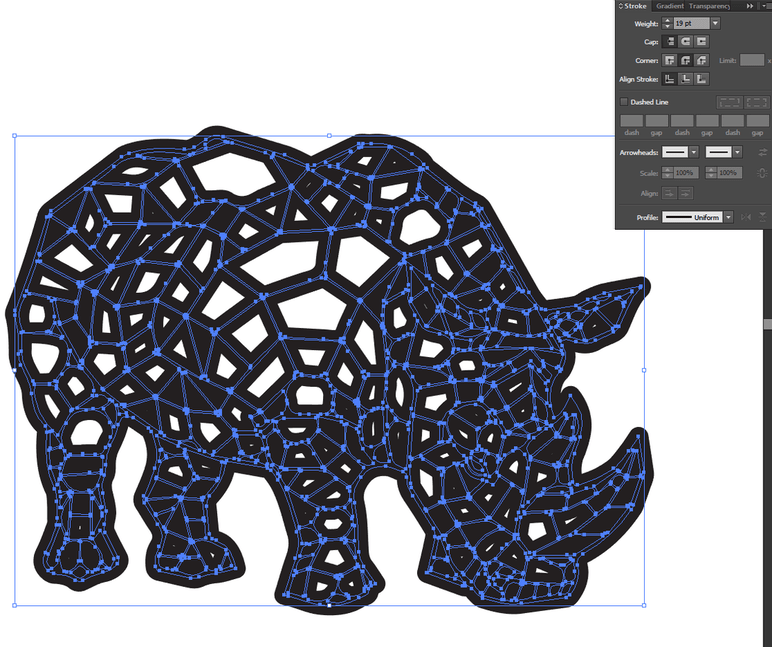
object…expand, then select the outside line (clickception, as described previously), and copy it
select everything and delete it, then ctrl-shift-v to paste that outline back
…and finally change it to red stroke, no fill.
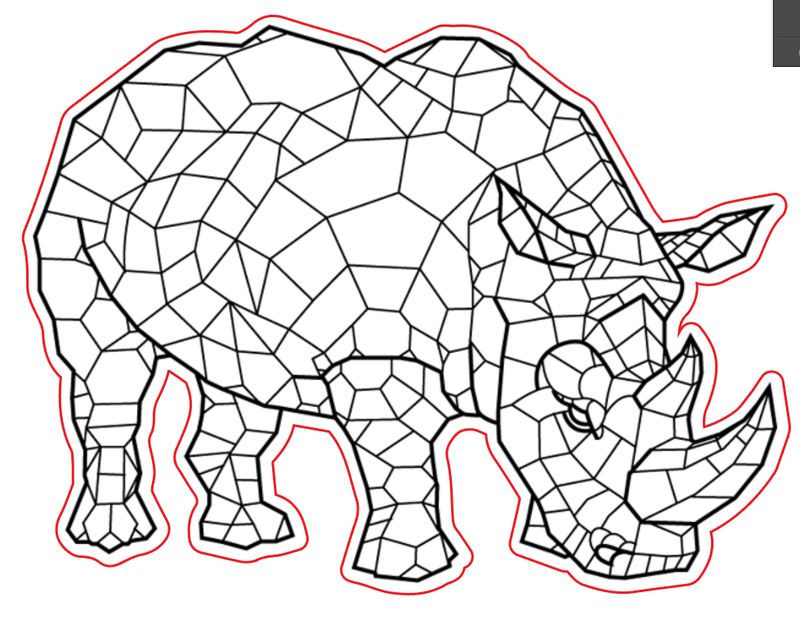
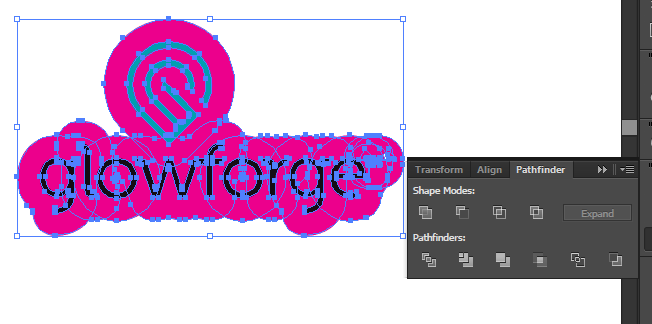
This gives you a nice outline that doesn’t trace every bump in the object. I use it a lot for quick logo conversions, like the GF logo. Oh, I nearly forgot: you often need to do a pathfinder->Unite after you do the expand step, to get a nice clean outline.

16 Likes
Hey all!
Ok, here’s another solution to the dash problem…
I think likeablejerk’s solution (way) above is probably the most flexible, but I wanted to see if I could solve it with code.
A few years back, I remembered seeing a script by SATO Hiroyuki that added a number of control points to any path. Incidentally, Sato’s site is here, and his scripts are all amazing! Do check them out when you have time!
Since most of the vector math was already done in his script, I just spent a couple of hours modifying his ‘divide’ script so it will output fixed length vector dashes… I call it “Divide and Dash”. You can download it here.

If you’ve never added a custom script to illustrator, here is Adobe’s instructions for installing them.
Once installed, you can just open a design in illustrator, select the path(s) you want to turn into dashes, and run the script.
The script will prompt you to enter your desired dash length, and the rest is automatic. The script should work for the most part, but I only tested it for about 5 minutes, so if there are any bugs, please let me know.
It gets a little wonky with large dash sizes, but for normal sized perforations, it should be awesome.
PROS:
- The dash length is parametric, so you can quickly set dash size to whatever length you want.
CONS:
- This script does not draw corners.
- Dash spacing can look a little uneven on large dash widths or objects with tight point spacing.
Hopefully some folks can find a use-case for it…
10 Likes
Nice! That’s the same method I use to put a nice clean black stroke around the border of a character made up of a bunch of unstroked shapes, like this little bird

4 Likes
Hey Likeablejerk,
Thanks for this awesome technique! I really thought expanding the brush would have left some invisible geometry on expand, but your solution does indeed work! I have one question though, when I add the corner pieces they offset funny…

How did you get the corners to line up?
How are you adding the corner pieces? I generally let the brush make inside and outside corners and go with Auto-centered or Auto-between (depending on which looks best):
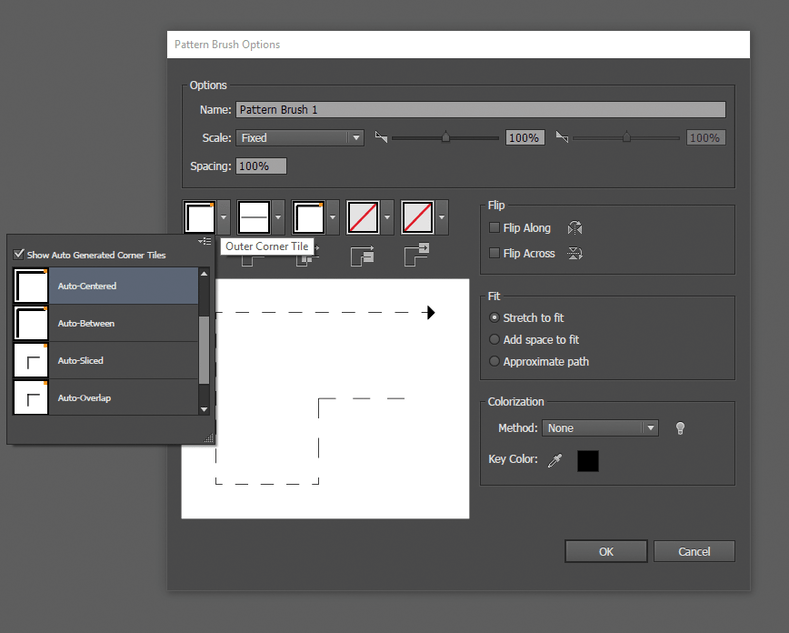
However, if you don’t like the corners it makes or just want to do custom corners, there’s another trick to keep in mind, because of the way the pattern brush works. You have to remember that it treats the elements like little tiles and lines them up centered with each other. What causes problems here (and what you seemed to run into) is that while they looked lined up when you draw them, the L-shaped corner is centered to the dash using its bounding box, causing it to offset.
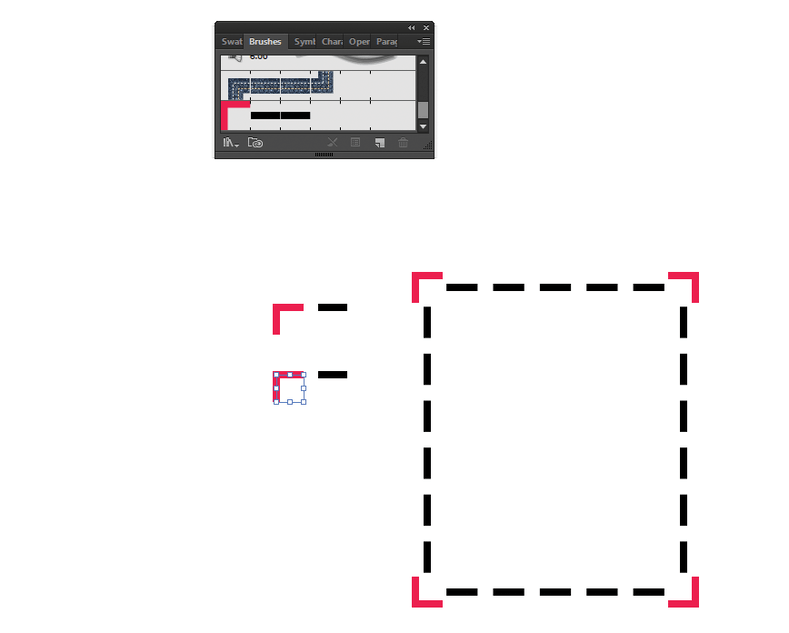
So what you want to do is “trick” illustrator by creating a clear (no fill, no stroke) bounding box behind your corner to make it line up.
Rather than describe it with screen shots, this video is probably a better way to understand it: https://www.youtube.com/watch?v=LHANgr35HzA
4 Likes
Thanks for the detailed breakdown.
You must be using CC, my version of illustrator does not have those side-dropdowns, and when I try adding the clear bounding box to the corners, they appear as geometry when I expand. 
I suppose I could add a step at the end where I just remove all geometry with no stroke or fill, but that seems error prone. Autocenter is a really nice feature, guess I’ll have to upgrade now… 
I wish I could gift eveyone a copy of CoreDraw…its so much easier…lol
4 Likes
I am indeed. Under your Select menu, do you have a Same>Fill&Stroke option? I’d use that to delete any expanded bounding boxes, as it can get them even when they are nested deep in groups and subgroups.[quote=“smcgathyfay, post:98, topic:2308”]
I wish I could gift eveyone a copy of CoreDraw
[/quote]

3 Likes
As a Mac user, CorelDraw just isn’t an option. I used CorelDraw years ago and loved it, just not available for the Mac