I’m getting exhaust fumes through a gap under the rear of the lid. GF Support acknowledges the problem but can’t provide guidance on sealing tape to augment the existing gasket and suggested I post here.
This is not an issue with the internal exhaust fan or the attached ducting, which have been verified as working…repeatedly.
If anything your GF should be sucking air in through that gap during normal operation.
You should check your venting setup to ensure that the exhaust hose is not being blocked in any way and that it is run in as close to a straight line as possible. It needs to have no more than two bends in it otherwise air will not be able to travel through it fast enough to maintain a negative pressure inside the Glowforge.
Those “gaskets” are just pieces of rubberish stuff stuck on. They don’t cover the entire gap, but sure, you could try neoprene tape. To get the one on the back on completely you’d need to remove your hinges as it goes all the way along that edge…I can’t image how you possibly could have damaged that!
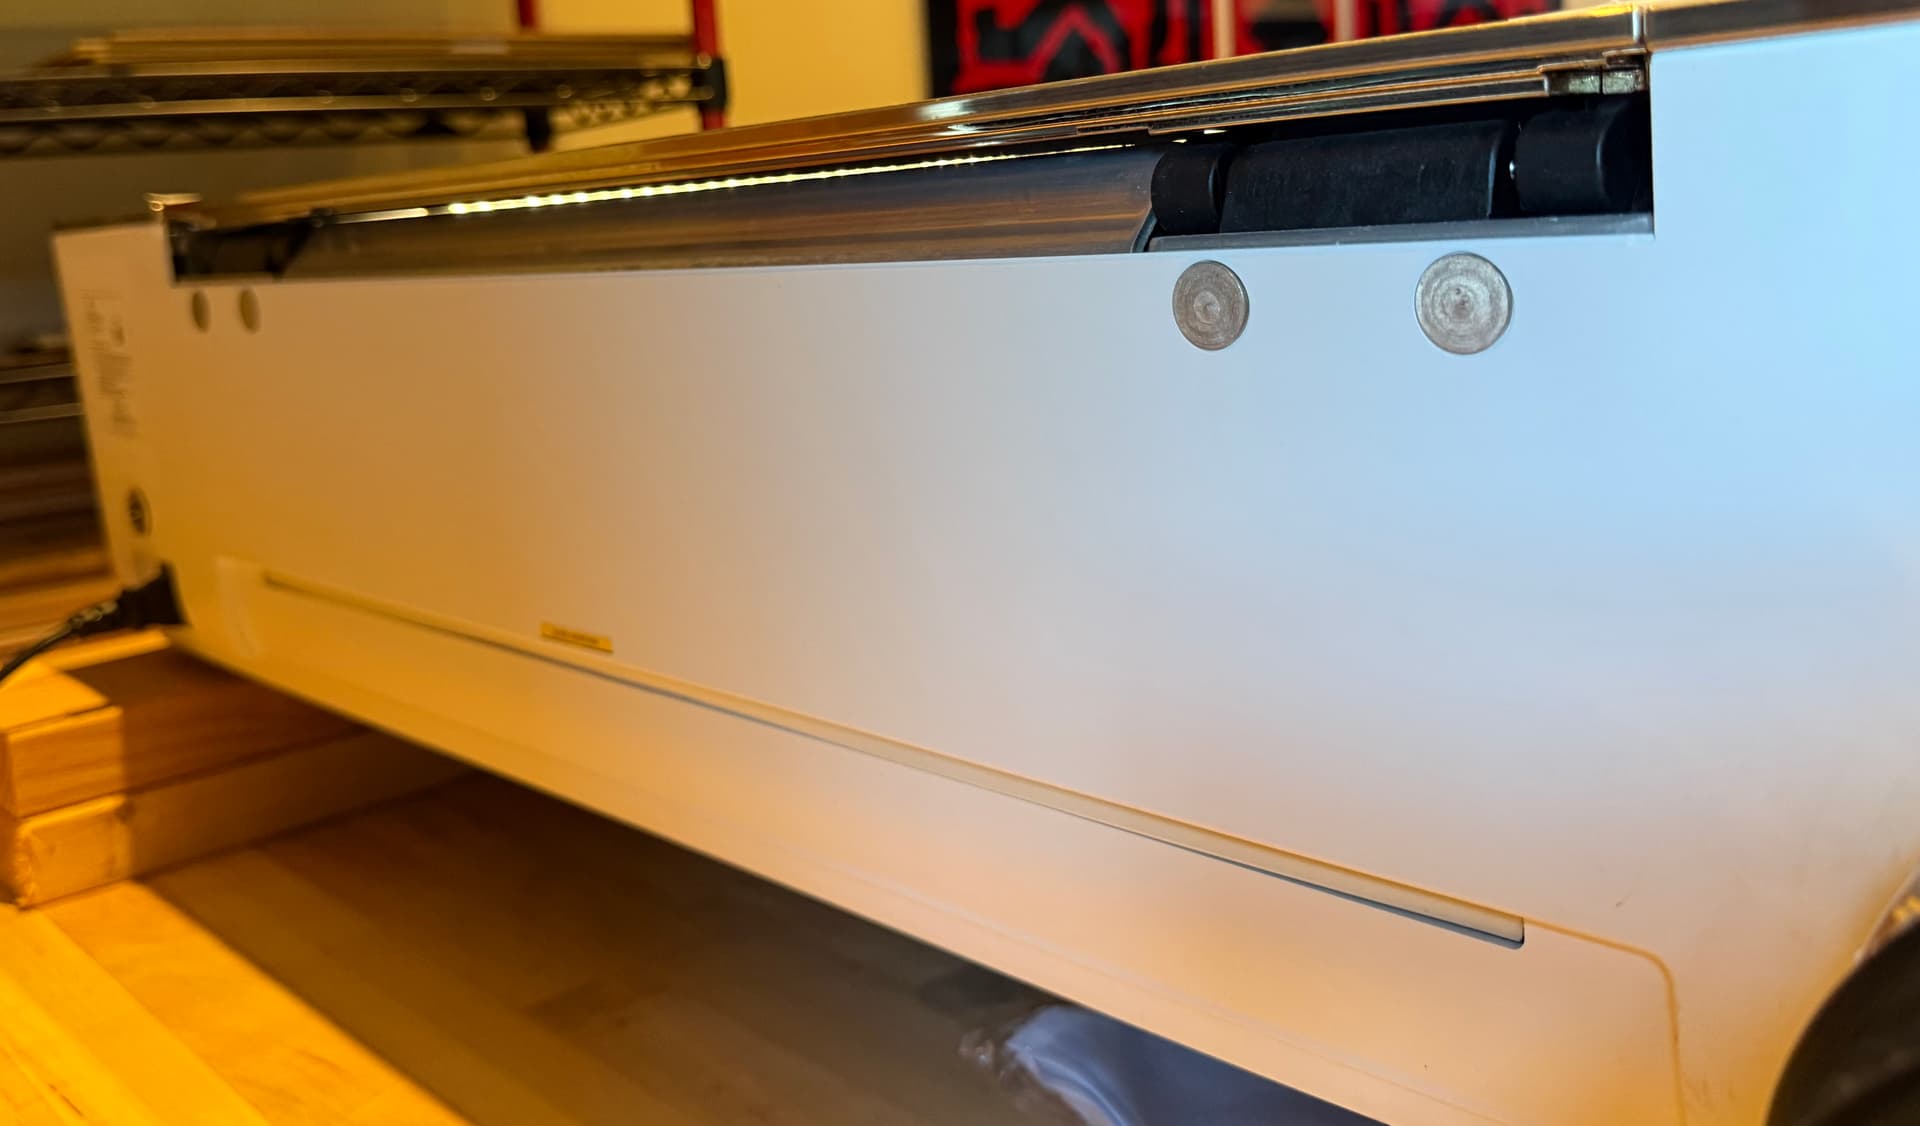
Wow, it just this second occurred to me to check if there’s enough flexion in the GF itself that moving the table and the way I have it sitting on those 2x4s has opened that gap. First rule of troubleshooting: What changed?
Everyone keeps “helpfully” pointing out that it must be insufficient exhaust flow but I’ve spent 10 hours on that idea. The GF Support guy seems to agree that the gap shouldn’t be there after looking at their inhouse debug units, and the support page for excess fumes page says to verify that seal is good. It was his suggestion to post here since they can’t spec the sealing strip for some reason.
If you also have that light leakage through the gap, that’s evidence that my 10 hours of fighting with flex duct are insufficient, but as of a minute ago I’m going to check if it’s just too much flexion on the GF based upon where and how it’s sitting.
If you have a chance to get that image I would really appreciate it.
My two AQI monitors were maxing out on both PM2.5 and PM10 with the visible gap. With the gap removed I’m seeing 60-80 ug/m^3 after 60 seconds of cutting medium draftboard, which is still nasty but not insane.
I’m curious if anyone has quantitative measurements for a properly ventilated unit.
I think my next step is to try a more realistic print and see what the monitors show.
It is helpful and you should be grateful for the time that people spent replying. Nobody has to offer you any guidance.
Not to speak for them but the point is that if your net airflow is correct you should be operating at negative pressure and so gaps shouldn’t matter. The key things I would focus on:
Net airflow. You have an intake fan and an exhaust fan. If the intake is overperforming and/or the exhaust is underperforming then you will have an imbalance that is leading to positive pressure in your unit causing leakage. This almost always is caused by exhaust issues, either poor ducting or dirty fan blades. Almost always, hence all of the advice telling you to check that first.
Local airflow issues. This comes up for me more in the front when cutting close to the front of the bed. The high airflow from the air assist overwhelms the small negative pressure and so I get leakage out the front gaps in the door and passthrough.
So with those things in mind here are my two-three theories:
You elevated your machine, freeing up the underside. This may be leading to increased intake flow beyond what’s expected and could be causing net positive pressure in your unit.
Local airflow near the gaps. I wouldn’t expect this to be an issue in the rear, there’s nothing directly pointed that way. Not impossible just seems less likely. How certain are you that you’re seeing leakage in the rear? Yes that gap is there but that’s not necessarily the leak spot unless you’ve done some sort of test. I’d suggest a smoke test with incense to verify that air is coming out if you’re not sure.
Your exhaust fan is not performing properly. I know here I go being “helpful”. You say you’ve tested your rear exhaust fan. How? Are you certain it’s running at the correct RPM? Do we even know what that would be? Fans like this have a performance curve with RPMs, voltage, static pressure, and airflow. I’m not sure what the normal operating static pressure range is for that fan with the pro, I doubt that’s something support provides under normal circumstances, even if they know.
As for your gaps I would definitely change the way you’re supporting your machine. There are two “feet” that run the length of the Glowforge. They’re designed to support the machine. The frame is fairly rigid but it can definitely strain when improperly supported. If you must have it elevated I’d change the supports to run the length of those feet. I can’t be sure but I suspect that the case wasn’t designed to be so rigid that it can be supported on the ends — we can say for sure that it is subject to torsional deflection if your table isn’t flat. I wouldn’t trust it supported on the ends like that.
Anyway. None of these ideas may be correct but they’re where I’d start.
Ok, noted. Mea culpa. I gave into the snark from the suggestions to just check the things my post started with explaining how I’d checked and that I needed other suggestions. But still inappropriate.
Looking at that image I would definitely try at a minimum to also put 2x4s across the center of your machine - but if you could rotate them so they run along the support feet I bet you’d see less flex - that being said, mine seems to show a similar amount of light and I have little to no cutting scent.
I’m not sure if I missed it in reading the previous replies, but why, exactly, do you have it on 2x4s? I am not sure where all of the intakes are, but I have mine set on a full flat surface, and I have some noticeable gaps, but I don’t get the same problem.
It’s now doing well sitting flat on the table using the interior exhaust fan, until the print finishes and that fan spins down. Then the AQ monitors tick up. If the interior fan stayed on for another minute I’d probably be set.
I tried using my inline fan but it doesn’t maintain the negative pressure and the AQ shows some leakage throughout the print.
I just realized that I should try switching the duct between the GF and the inline fan back to 4” to create more suction at the GF outlet. It’s currently 6”.
I’m not sure the size of the duct will change the pressure at the GF, that’s generally a function of surface area.
I wouldn’t be surprised if the aq goes down because of the smallish amounts of smoke that are trapped in your crumb tray etc.
I find that if I leave my external fan cranked up while I pull the material from the machine it does keep the smoke from leaving the machine, especially if I don’t open the lid all the way.
You have the ac infinity s6? It’s what I have and it pulls lots of air.
Yes. Can I ask how you duct it? I have the 3D printed 4” to 6” adapters off Amazon, so I was running a 4” duct from the GF to the AC Inf then a 4” to my wall, which is a 4” pipe through the exterior wall.
The machine is not meant to be airtight. All those gaps help draw air in, which is then vented through the exhaust duct. The so-called “seals” are not there to seal against airflow, they are there to prevent damage to the eyes from the beam – which is highly unlikely given that the reflected beam is so diffused. Many people are paranoid about engraving on things like copper – I’ve done it many times, for the same reason – it may be possible to build an optically perfect copper mirror, painted, store-bought sheets are not that.
Quite a few of us, myself included, have even run the machine with the front door completely open, to allow larger, thicker pieces of material that can not be accommodated by the pass-through slots. That requires a minor, temporary hack involving magnets…
And in the context of this conversation: if you do you will almost certainly get smoke in the room from the air assist if you’re working anywhere in the front half of the machine.
The local airflow from the air assist is far more powerful than the small vacuum from the exhaust fan. There’s a limit to how many gaps you can have – and where you have them – while still keeping effective ventilation pressures.
@s11 have you checked your fan blades and exhaust grill?
I once had a problem of smoke coming out of the sides of the lid. The problem was that the exhaust fan blades were engrossed with gunk and the exhaust grill holes were almost closed causing a positive pressure inside, instead of negative pressure. (Something like this, not my actual picture)
I followed a guide (found elsewhere here in the forum) to open the top left panel, removed the fan to thoroughly clean it, and snipped off the exhaust grill (this will void your guarantee).
That solved my problem. Now I can clean the fan from the outside without removing the top left panel.