Here’s my take on a box with a hinged lid. It’s a 4" x 4" cube. I did cheat and use hardware. But. . . . very inexpensive hardware. The “Chicago Screws” are pretty reasonable. A set of 100 is only $10.98, so the hinge expense for this box was 22 cents.

The key to making this work is having slots for the screws to slide up so the lid clears the back of the main box. You do have to lift the lid slightly when closing it, but that is pretty intuitive.
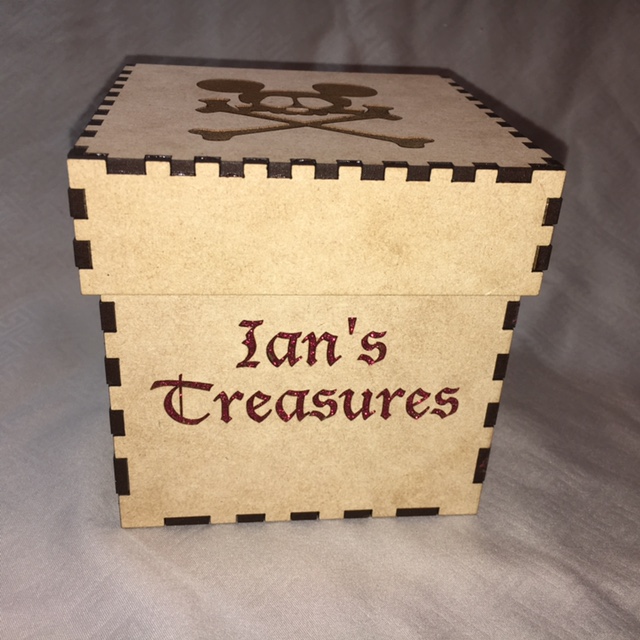
The box is made of Proofgrade Medium Draftboard and a deep engrave was used for the top and front. The front engrave was then filled. More about that later.
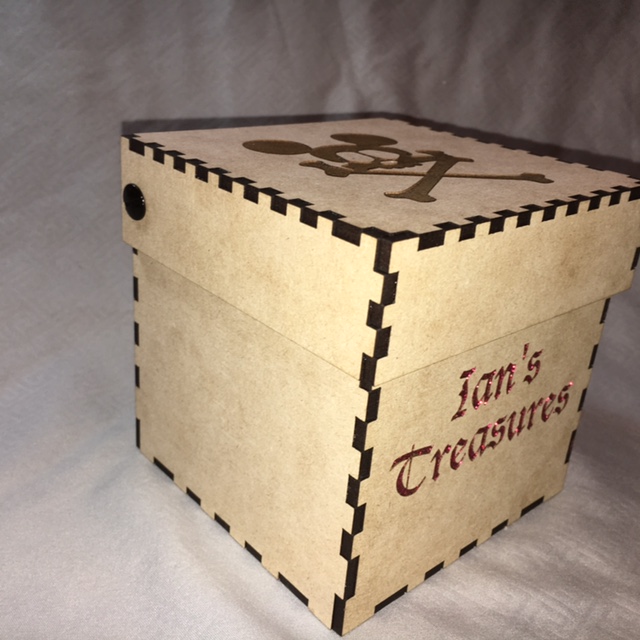
Here’s an angled view showing the Chicago Screws on the side of the box.
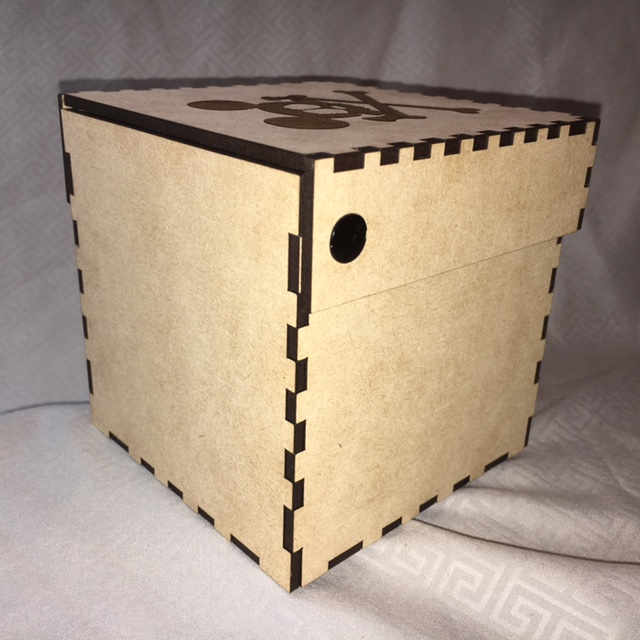
There is no back on the lid. This allows for the hinge to operate and would let you set it totally flush against a wall. The lid also sits very flush with the back of the base box.
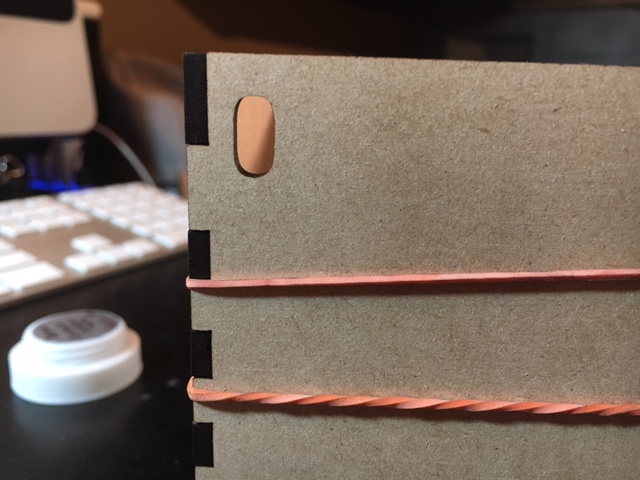
Here’s a close up of the hinge slot. Any suggestions for improvements are welcome. I couldn’t get my head around whether angling the slot in any way would help with smoother operation. This seems to work well, with only the requirement that you lift the lid slightly when you go to close it.
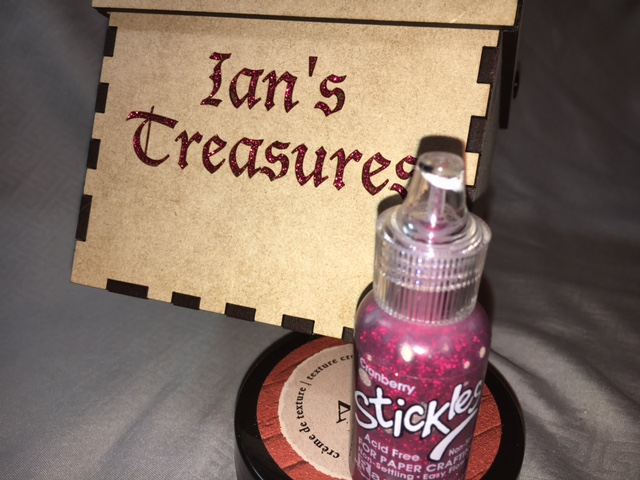
Here’s what I used for the fill. Any paper crafters out there probably have used this glitter glue for projects. Here’s another use for it. I left the masking on and filled the deep engrave. Then I used a piece of scrap acrylic to scrape off the excess. Did any touch ups for spots that may have been missed and scraped again. After it dries, just weed out the masking material and there is a bit of bling on your inexpensive draft board. I did lots of experimenting on fill materials. I’ll post a topic comparing some materials in the next couple of days. Some were good, some not so good. This one is great if you like bling. The box is for a boy, but hey, he’s 4 years old. Shiny things are great to him!
I used http://www.makercase.com to create the basic box. It is nice because it has an option to create boxes with inside or outside dimensions. I made the bottom using outside dimensions, then created the lid using the inside dimensions option. I then had to clean up the sides that I didn’t want tabs on. I opened it in a vector program to do this and to add the hinge slots. There was a little trial and error to get it just right. Here’s the SVG for a 4" lidded box. You should be able to set the lettering to ignore, or eliminate it in your vector program. It’s not super efficient, I didn’t take the time to combine edges for a quicker cut. I was just glad to get it set up the way I wanted. I also didn’t tweak kerf, so this is glued, but has a nice easy fit without any other adjustments. Someday I’ll work on these advanced box creating skills.

Here’s where you can get the screws. I bought them elsewhere and they had black. I don’t remember where, and I probably paid more. They also have gold toned ones that I may order.
You could use any nut and bolt combo, but these give a nice, flat finished look.
The Stickles glitter glue is available at any craft shop.
