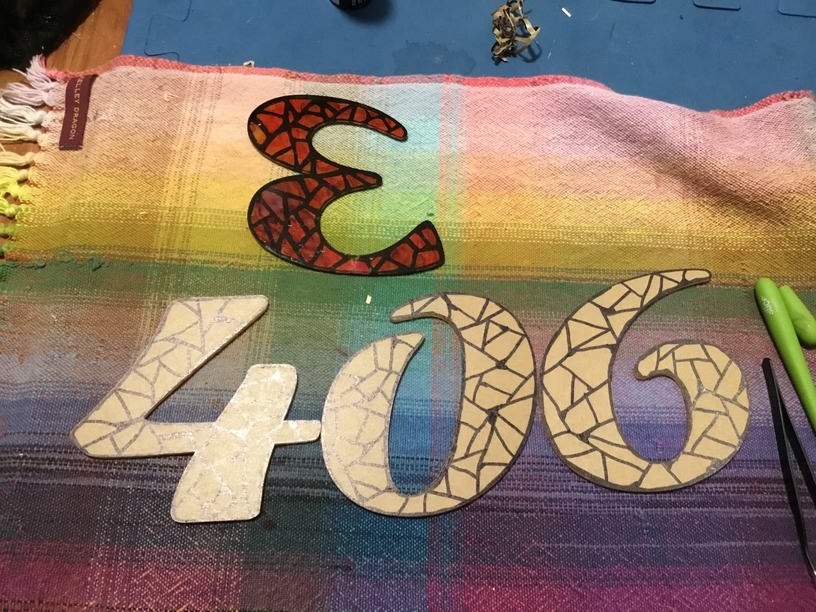
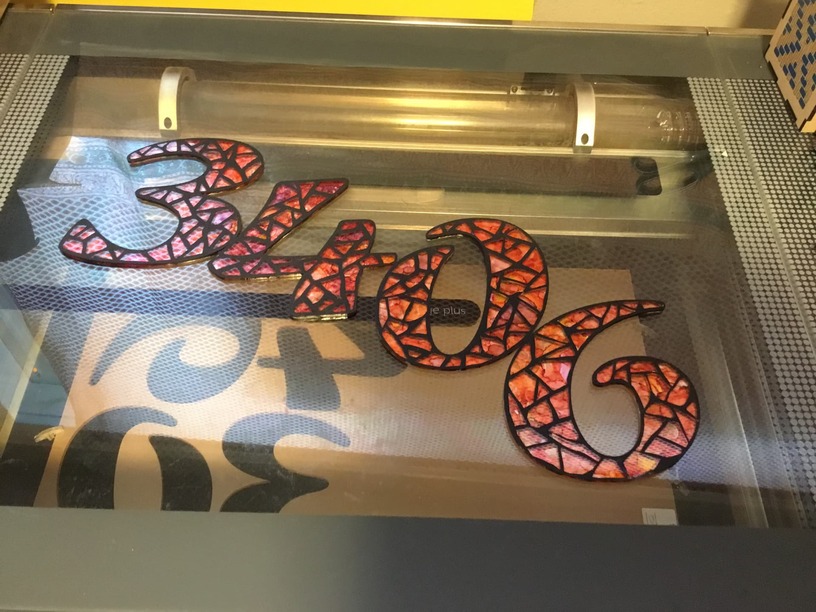
No on on my street has easy-to-see house numbers, you have to match mailboxes to the right driveway. I had pity on the package delivery people who often work after dark. These numbers will reflect light back to the observer; they will also be mounted on a white background so the number shapes can be identified even without direct light.
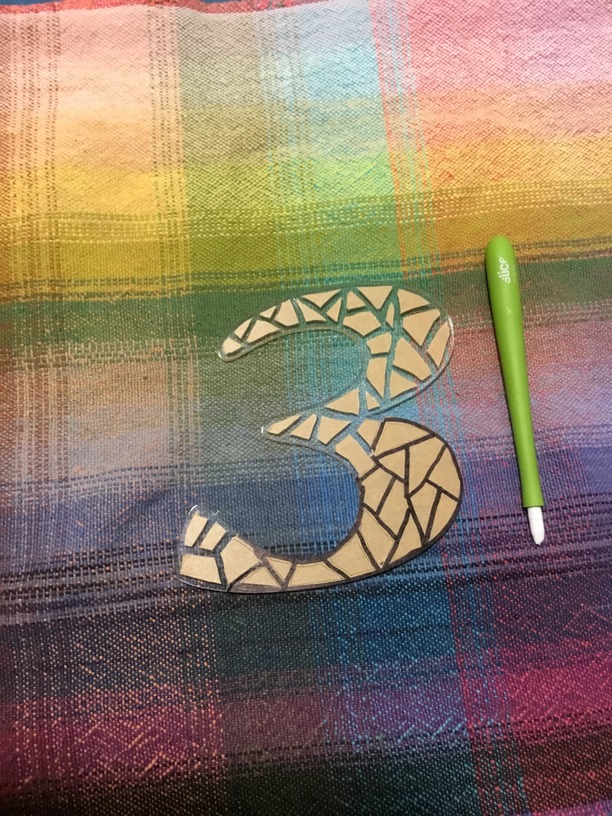
I cut the numbers out on the GF, then cut the masking by hand. Yes, I could have done it all on the GF, but I needed to avoid the rabbit hole of over-thinking everything and not getting it finished [that is, not beyond the design stage on the computer]. (Next one will all be cut/scored by laser.)
Once I’ve got them mounted to the house, I’ll post an update on how they look at night.
Edit: You’ll notice I cut the numbers in reverse–at that time I was going to design the tile shapes in the GFUI and score them for easy removal. This is where I realized “Done” is better than “Pure”.
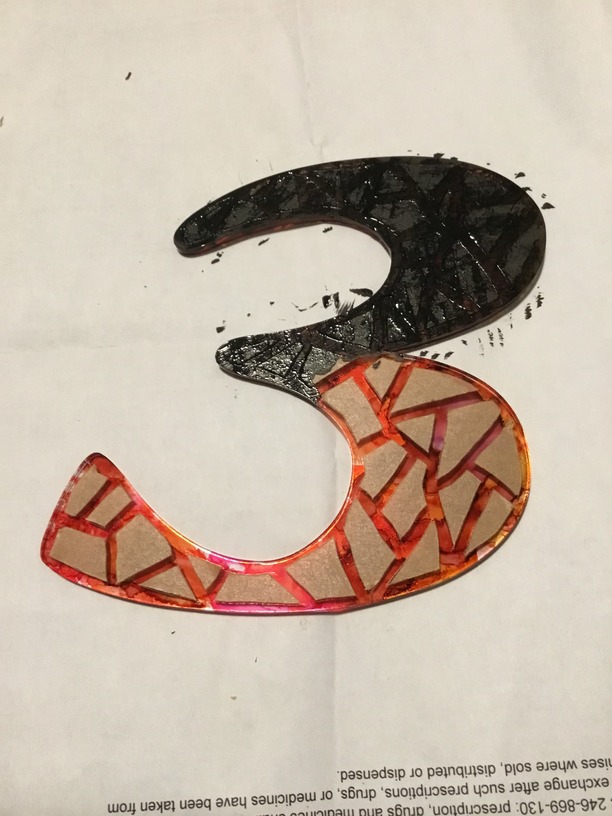
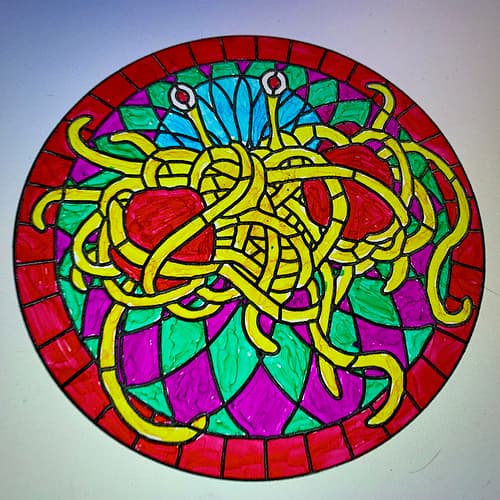
This is a labor of love. The alcohol ink looks cool, though. I’m interested to see how it looks with the painted back. I did not have success trying to do something similar with alcohol inks and I didn’t have the patience to troubleshoot. I’m going to have to learn from you!
In my haste, I didn’t create any attachment holes. However, the acrylic sheet is still in the GF, pinned down. I could put the number shapes back into their spaces, put masking tape only over the place for the holes, set the location of the holes and zap!
Before I cut the holes, I will eyeball their locations so they support properly and don’t make the mosaic hard to ‘read’. Then I’ll place the circles in the GFUI; should come out great since nothing has moved.
I’m going with mounting holes (to a backboard) since it’s physically the simplest thing to do. Just in the last 5 minutes I’ve come up with three neato-really-cool-wow ideas, but none of them would be finished this year.
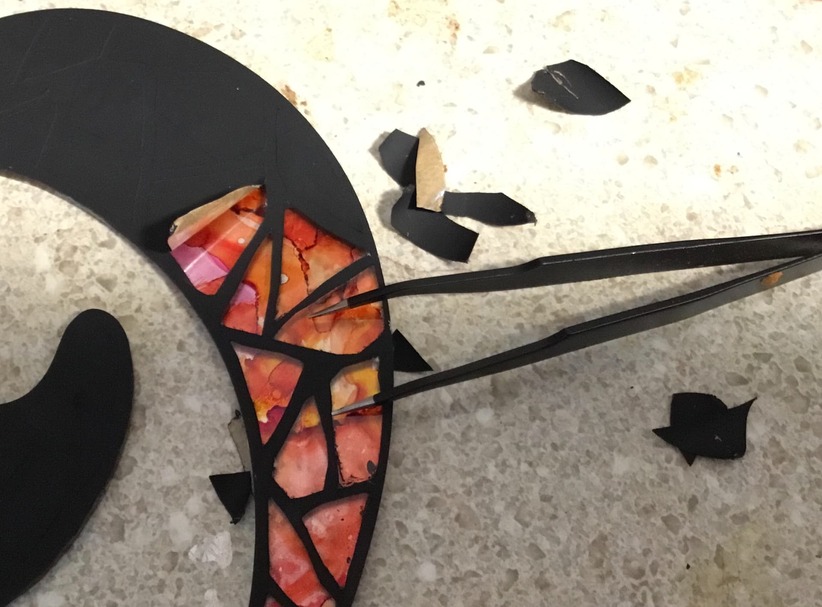
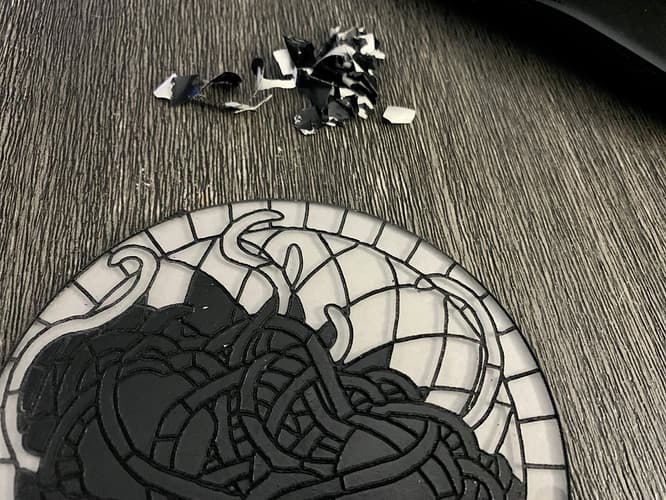
I engraved the “leading” away from the masking, used a deep engrave to help prevent colors from bleeding over from one segment to the next. Spray-painted black, then removed masking and colored with alcohol inks.
They’re beautiful. Mine are incredibly basic (Practical cuts - #24 by chris1 - holy cow, 2017?!) but we get positive comments all the time from delivery people.
I think what I did to mount ours was to put these keyhole hangers on the back with weld-on.
Yours are wonderfully practical, and years ahead of mine. I just made mine ‘impractical’ practical cuts.
Right now my numbers are painted on the back and have no supports or protection. I’m going to mount them onto a white board, and that will use a nice hanger design like yours.
Those are so pretty!! I love them! I had been toying with some ideas for making some kind of mosaic but hadn’t been thinking of alcohol ink (which I have a ton of) - great idea!