How do I calibrate my machine? I just did a clean and wiped it down and the screen is not showing the entire bed. So I’m not using the full bed of the machine and cut space. Am I missing something else?
Check your zoom level–needs to be no more than 100% to see the full bed…
I’ve tried zooming out completely and that doesn’t seem to make a difference. It will look as though it’s completely on the edge of the wood and then when I cut there’s still a few inches of space left.
If you can post a picture of your screen that will help the P&S team troubleshoot the issue.
You are not missing anything, nobody’s machine shows the complete bed. The left hand inch or so does not show up as the laser head can’t reach there. If you want to use that last bit of material you will have to either use it for small pieces once the rest of the board has been used (cut off the scrap so it will fit), or if you have a Pro you can put the material in sideways so you can reach that end.
5 Likes
Never hurts to run the recalibration test if you’ve removed lenses and cleaned things.
3 Likes
I can certainly see why you’d say that, but I wouldn’t go that far. My alignment is, and has always been, perfect. I don’t dare run the calibration test in fear that it will make it worse. However, as I understand it, Support can reload your previous calibration back onto your machine. So it’s not a particularly dangerous thing to do, as long as you know the backout plan. ![]()
2 Likes
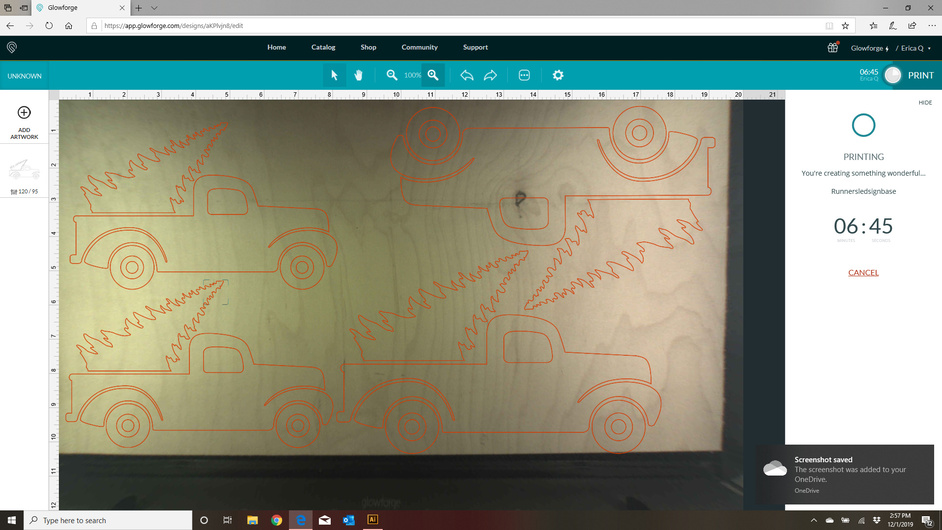
Ok, here’s a screen shot. Hope I did this correctly. 
I wouldn’t know the backout plan.
I don’t think so.
I think you missed…
![]()
I’m sorry you hit a snag. The information our other community members shared is correct.
Your Glowforge bed can accommodate materials measuring 18 x 20.4”. Your Glowforge has a maximum printable area of approximately 11″ (279 mm) deep and 19.5″ (495 mm) wide, and it’s reduced somewhat when the laser operates at high speed, as it can take space for the laser to decelerate.
This means not all of the bed is displayed, or available to be printed on, so there will always be about an inch of space on the left. This material can be reused as scrap later for small pieces. For example, a lot of customers use small pieces of scrap to print these pins available in the free laser design section: Honeycomb bed holdown pins
It looks like the screenshot you shared didn’t come through. We’d be happy to take a look at it for you. Would you please try again? Make sure to include the rulers in your screenshot and show as much of the bed as possible
To take a screenshot:
- Mac: Press Shift-Command-4 and click and drag a box around your image. You’ll find the screenshot file saved on your desktop.
- Windows: Click on the Start Menu and type “snipping tool”. Open the Snipping Tool > New then click and drag a box around your image. Click the Save icon and name and save your file.
Send us the screenshot, and we’ll be happy to take a look.
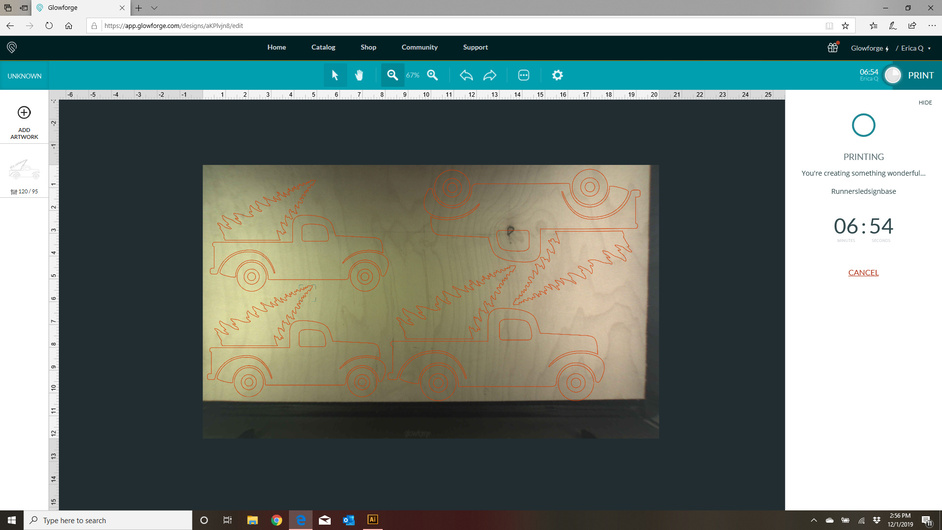
Let me know if these work. I tried different method. And this isn’t even close to the print size that is available? I don’t think this is right.
I’m not sure why @ivan1 hasn’t responded yet, but your display area is completely normal. Here’s mine:
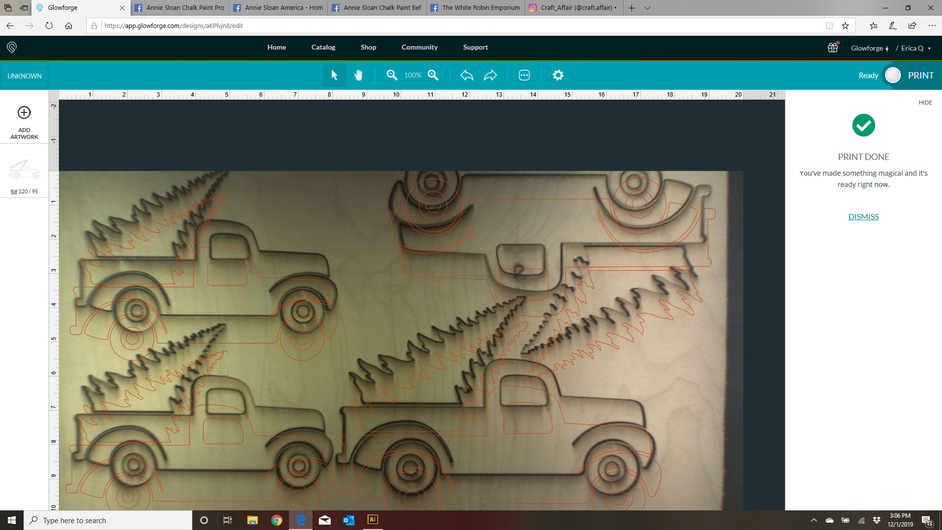
Your placement definitely looks off in the second photo. Unless you over-rode the autofocus by putting in a material height that wasn’t accurate, you should rerun the calibration routine as mentioned above. Then, for showing it to Support, run a Gift of Good Measure on PG material. They can’t provide support for cutting non-PG materials, and using a known file eliminates other random factors that might have crept in.
Good luck!
I’m so sorry for the delay getting back to you.
I’ve got a test I’d like you to try out:
-
Make sure there is ample light shining into your Glowforge during this test.
-
Remove all material from the bed.
-
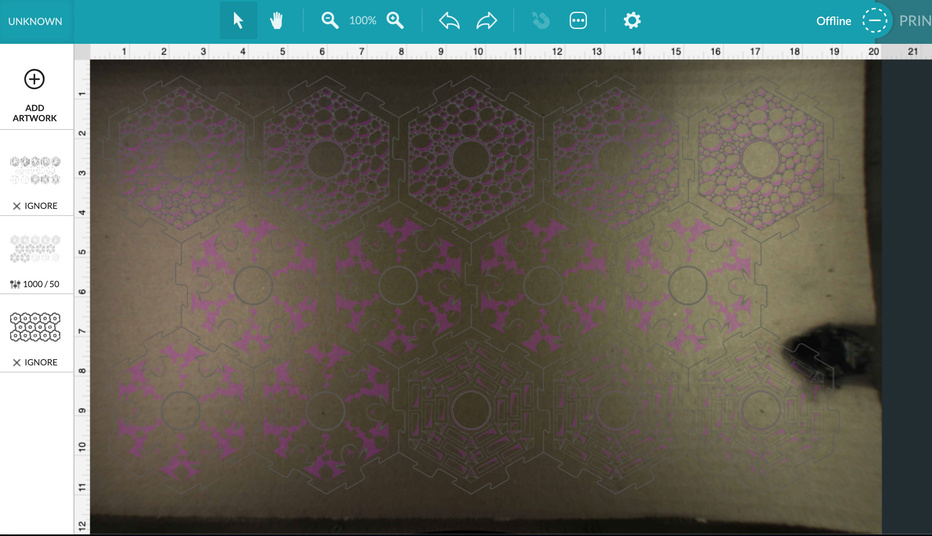
In the app, position the bed image, near the ruler on the left, leaving a small gap. Like this:

-
Take a screen shot the lower left corner of the bed, and the ruler.
-
Click Unknown then select “use uncertified material”
-
Set the Material Thickness to 0.5
-
Take another screen shot, same as step 3.
-
Send us both screen shots, and we’ll be happy to take a look.


It’s been a while since we’ve heard from you, so I’m going to close this thread. If you are still having trouble, please start a new one or reach out at support@glowforge.com and we will be happy to help.