
Im having a difficult time connecting the circle and numbers. Any ideas?
1 Like
What software are you using? What have you tried? What problems have you run into? Do you have a sample file of how far you’ve gotten?
There are lots of helpful people here but it would be easier with a starting point.
1 Like
Looks fine to me. What is the issue?
1 Like
I’m assuming that this is something that they want to make, not one that they’ve already done.
It occurs to me that I made a video about how to do something very similar, so I might as well mention it here:

It is specifically about Illustrator, so if you’re using another program, you’d have to figure out what the analogous functions are.
4 Likes
Your videos helped quite a bit, especially the glow forge color pallet for illustrator. Thanks.
One of the very first videos I walked through. In fact, even before my GF arrived.
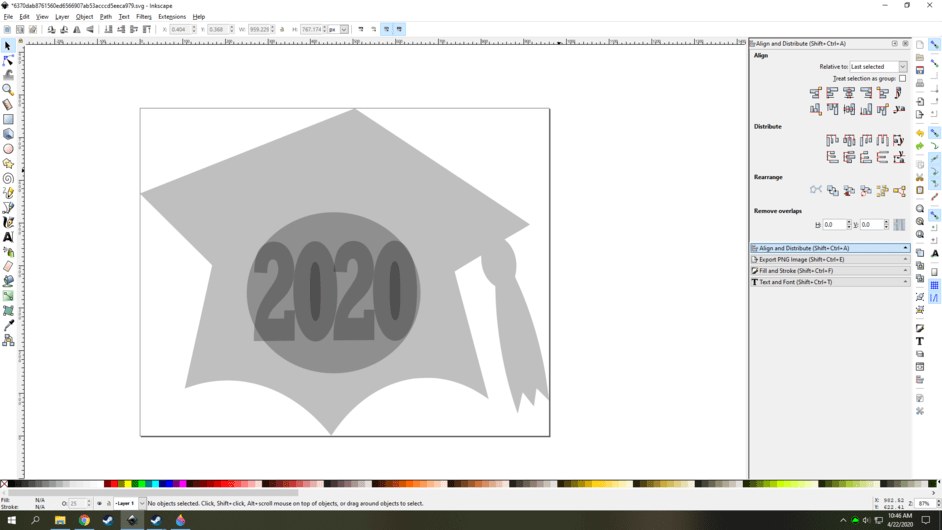
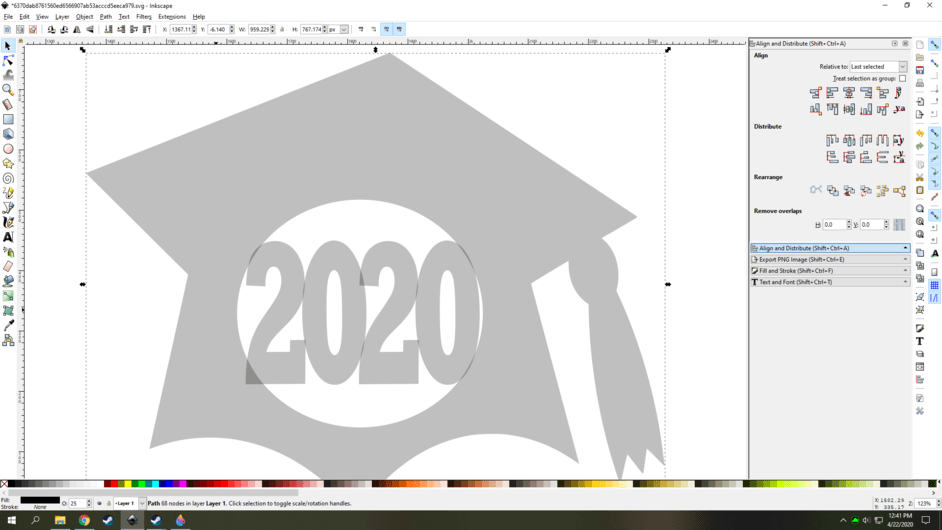
I am using Inkscape. I’m having difficulty with the 2020 being cut out and not attached. Here is a sample file. 
This is a picture of what someone else wants me to create.
Correct.
you are pretty close just need to combine and subtract a few objects.
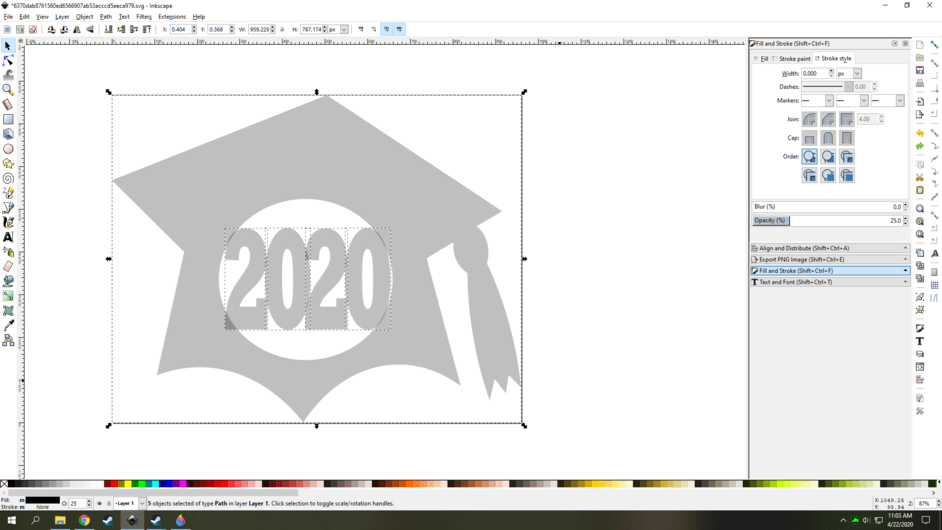
I removed the strokes and added a 25% fill because thats how i like to work on things like this.
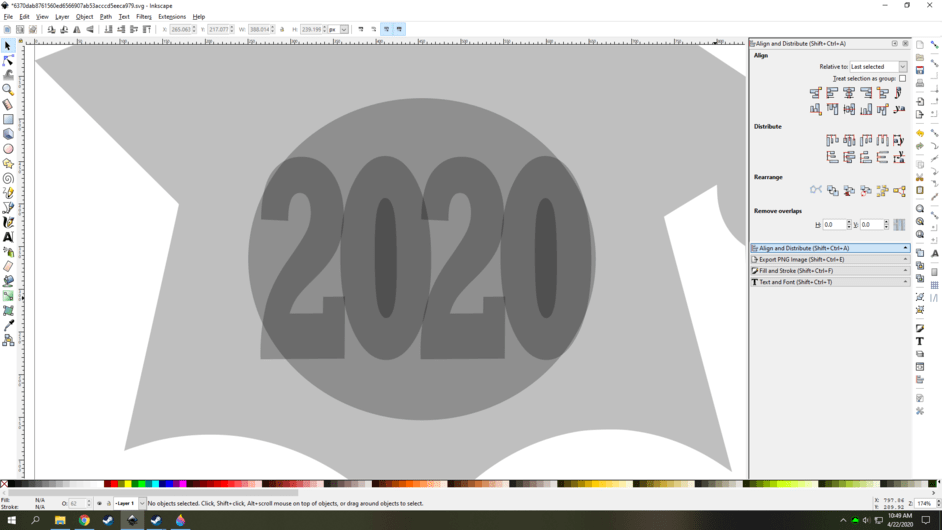
I selected the 2020 in the middle with the circle around it and broke it apart by selecting it and going to the top bar to Path then selected break apart or select it and press CTRL+SHIFT+K to get here.
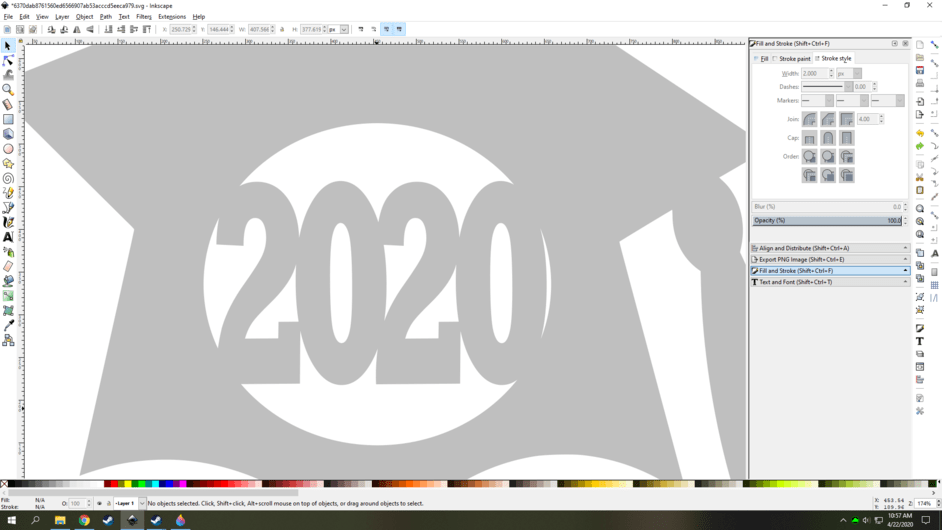
I then moved and resized the numbers a bit so they overlap one another in a couple spots as well as the outside.
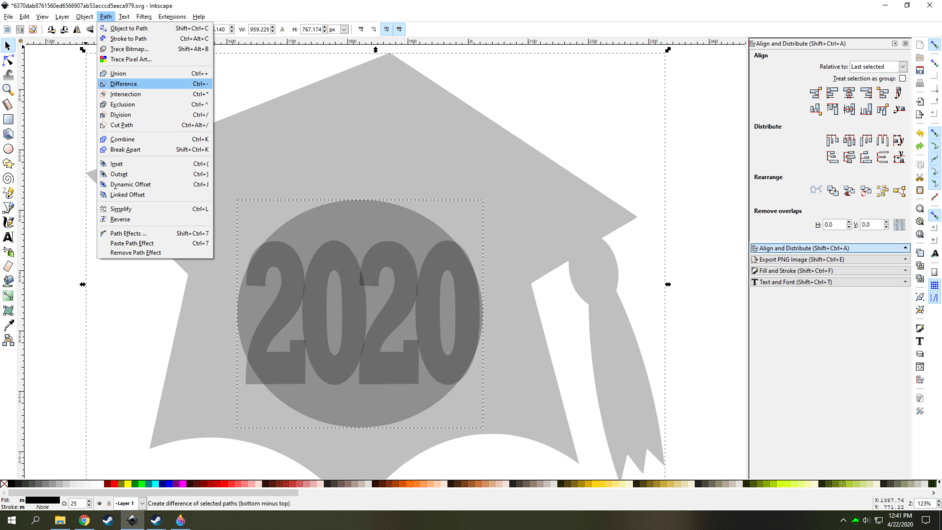
Then the “easy” way to do it from there is to select objects you want to subtract or combine and preform those actions.
Fist i grab the circle and the hat and press CTRL+ - (the - and _ key) or select Path at the top and select Deference to remove the circle from that shape.
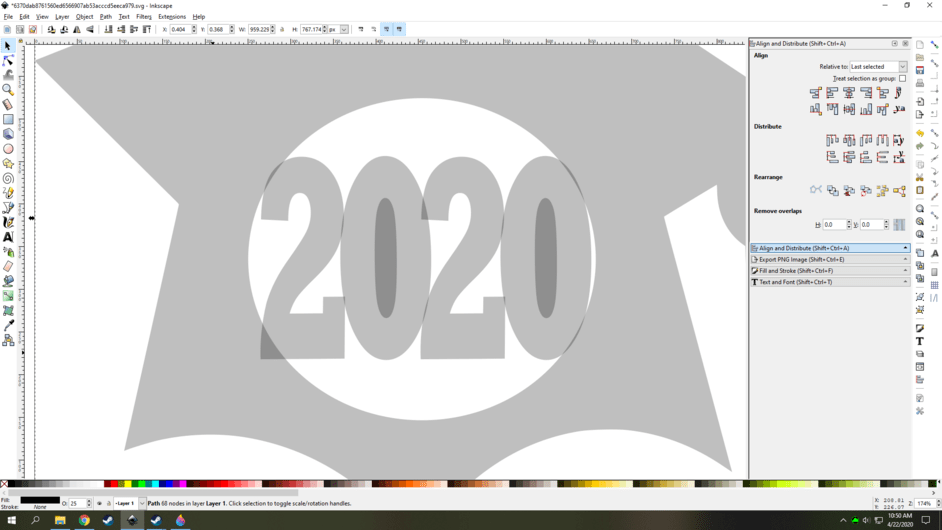
then the center of the zeros one at a time and subtact those using the same keys.
Then select all the numbers and the hat and press CTRL+Shift+ + (the + and = key) to make those all he same object
If you want you can stop there by adding a stroke and removing the fill and it will cut that shape out for you.
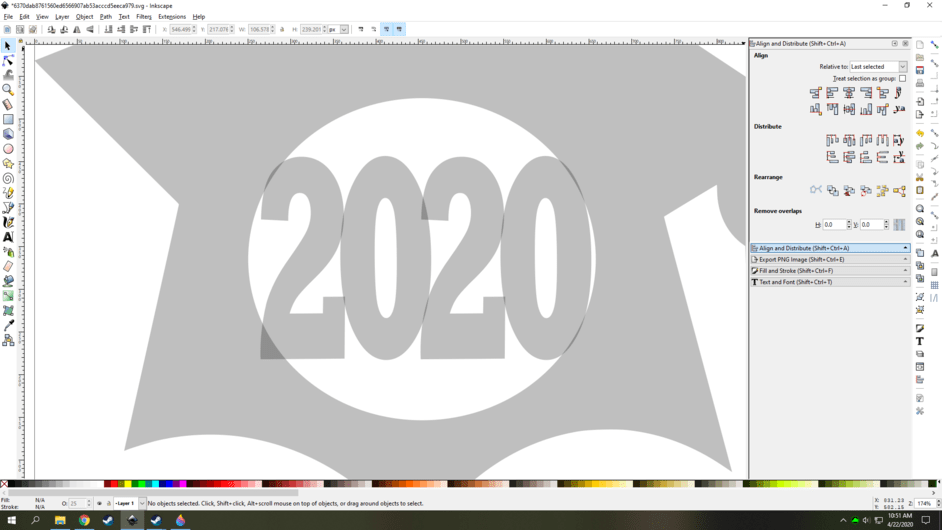
If you want to go further and make it better to cut select the object and do the break apart again by pressing CTRL+SHIFT+K
and then select the lines in the middle and change them to a different color so that you can make the laser cut the inside parts first and then the outside second so that it wont move around when cutting the middle bits.

I’m sure it can be done easier and in less steps looking back but that is how I like to work out stuff like this.
Can even make it fancier with some simple score lines but dont feel like going through that unless it is something you are interested in.
Edit: changed the one step where you make the letters and the hat one object, you need to press CTRL+SHIFT+ + to make it work that way. or you can add them to one another one at a time by doing the CTRL+ + action.
6 Likes
Wow! Thank you so much! Let me try it. I will post the outcome in here. I am new to this and would be interested in knowing what you use scoring for? lol
1 Like
just scoring light lines to add details like do a ring around the circle or maybe add some lines so the numbers look like they are raised. some simple stuff like that. A score line is just basically a low powered cut that only marks the surface. would require some knowledge of node editing or even more simple than that that adding lines and bending them with the mouse by eye.
1 Like
The Gift of Good Measure, which is the first print you should have made following the provided tutorials, uses scoring to outline several areas of the design.
2 Likes
This is the kind of result i was thinking of. where the red and green lines would be cuts but the magenta lines will be scores. It is a kinda more advanced thing to do in some ways but once you get it down for the first part it is basic repetition
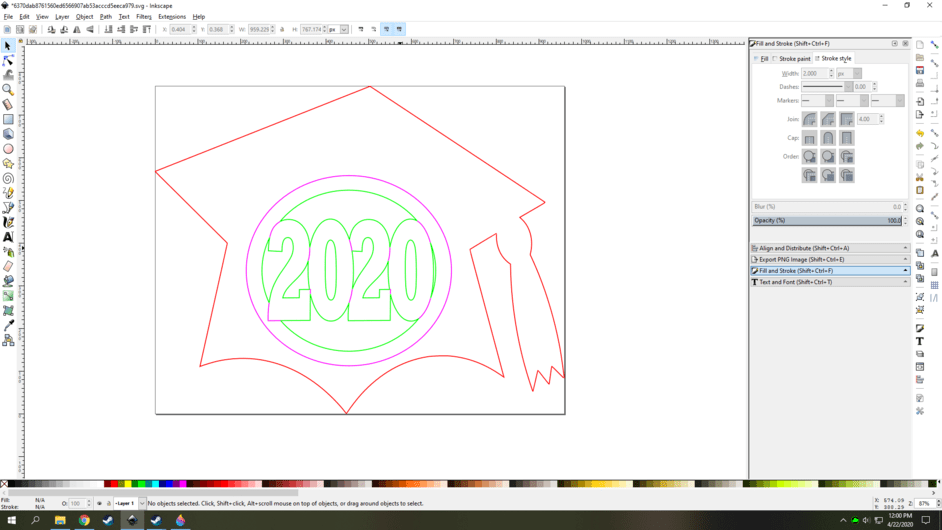
Best to learn slowly tho and build a base set of skills and add on to that with more in depth projects. Otherwise the steepness of the learning curve can be discouraging and lead to frustrations.
4 Likes
So I am stuck on step 3. Sometimes it seems like inkscape doesnt work. I have tried both ways to remove the circle, but nothing is happening?
not sure. how do you do that?
If you hold down shift and click on both of them that will work. unless the circle is “underneath the hat” in which case select the hat and press the END key on your keyboard and that will put the hat underneath everything else there. and then you can select both of them by holding shift.
1 Like
still didnt work. Could it be the hat? I used trace bit map to make it workable.