So here is my attempt at de-mystifying 3D Engraving with a laser cutter. From My last post where I showed how to use Blender as a laser design tool I saw that many were many looking for answers on how to do Depth Maps from blender. After over 50 tests and around 7 different techniques, here is the simplest method for the best results that I could achieve.
Nicely done! I am looking forward to trying this with some 3D objects I’ve been wanting to engrave for a long time. I just didn’t understand the Blender process.
Quite cool and even with my basic blender skills this seems doable. Excited to try and make my own, I feel it will tie into the engraved tiles I have been playing with recently. Thx for the time and the video
Thank you for putting so much work into testing and refining this - and then sharing with the rest of us. I don’t know that I will every get even marginally skilled using blender, but you have given me a better chance at success.
Brilliant! I was able to follow everything you did very easily. There were just two differences I noted and maybe you can tell me where I went wrong, or maybe need to activate an option somewhere:
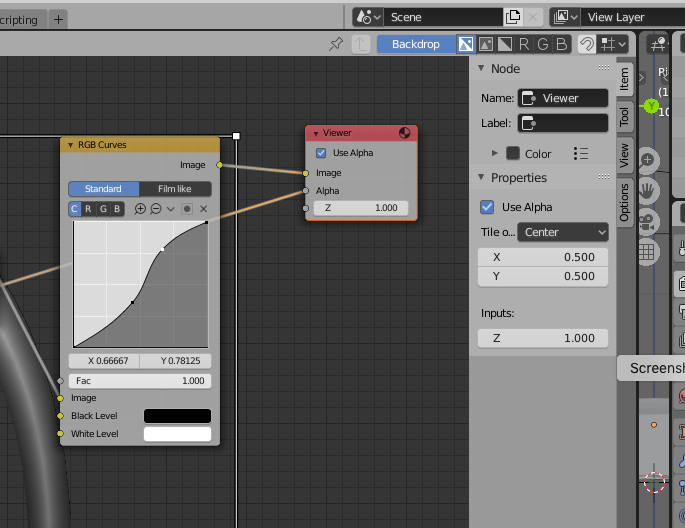
In Compositing window, I could not zoom by clicking on the viewer and zooming with my scroll wheel. That only zoomed the node selections. I was able to zoom my image by going to the View sidebar selection and using the Zoom option there.
I do not have a Save Image option in my Item sidebar selection. Is there an option I need to activate to get this? I’m using a Mac running Mojave, Blender version 2.80.
I really appreciate your effort in making this video. Just last week I tried to do Blender depth maps using a different method (I think it used the Shading window) and could not get anything close to what I was looking for. Your method is the bomb!
Thank you! I really had to dig deep to find a good solution but I’m really happy I have one now. I tried Lot’s of compositing setups and multiple materials and shadders to get to this end result.
Hmmm so to me it sound like it might be the same thing to answer bother questions. You have to click onto the view node and then you will be able to make the image bigger and smaller plus once you have clicked onto the view node you should have the " Save This Image " option under the item menu.
Let me know how that goes for you and I really look forward to seeing what you make.
Nope! I followed your instructions exactly, clicked on the Viewer and then on the Item menu, but there is no Save This Image option. I’m guessing it’s a Preference setting that is not right for me. Thanks for your help in troubleshooting!
I really need to start over again with Blender There are a lot of new cool tools I see there, especially having the image in real-time to see what you are doing.
Also, the blend texture might be interesting. The blend texture is independent of the location of the camera. Most of my engraves are done in one hi-rez pass or perhaps two if there is a charring issue. Particularly with a grainy wood, multiple passes show up the grain more.


 There are a lot of new cool tools I see there, especially having the image in real-time to see what you are doing.