The ravioli rolling pins look good and helpful and I like the demo video at the top showing how one would work. Using Proofgrade 1/8" acrylic might do a good job for the slicers. Easy enough to put together over a broomstick. or thick dowel.
@mpipes looks promising but if you go ahead and make the lengthwise cutters as deep as the thickness of the round cutters and put them on the inside, when you slip it over the center dowel, everything will hold together without glue because the dowel will be pushing the long cutters.
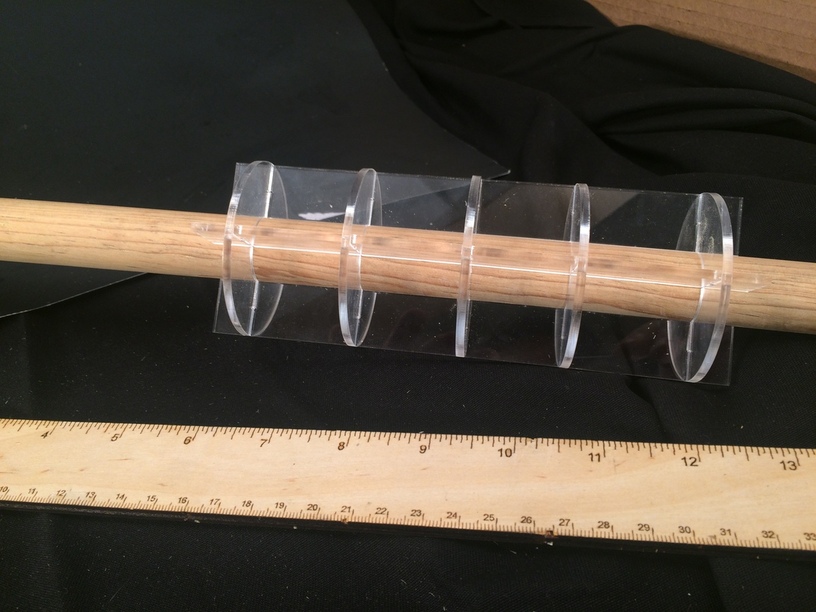
Here is my rendition in 1/8" Proofgrade acrylic. It is very sturdy. I might get around to trying it out later on this evening but ravioli wasn’t on the menu. I stuck the cutters on a .93" broom stick. It is very tight in tolerances so I sanded down the broomstick (literally a broken broom handle that I used for poking a fire) just slightly to have it slide in.
The cutter is set for six inches which is the width of a sheet that comes out of my Kitchen Aide pasta rollers.
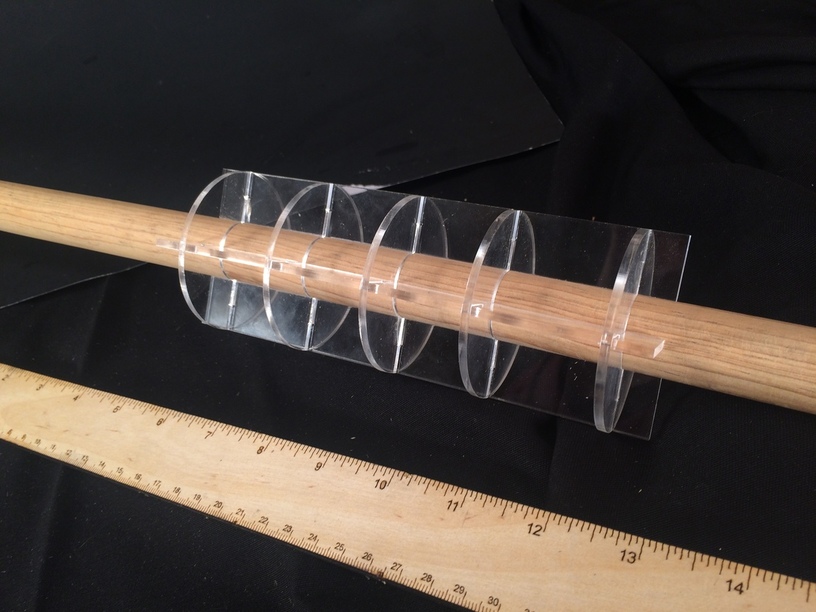
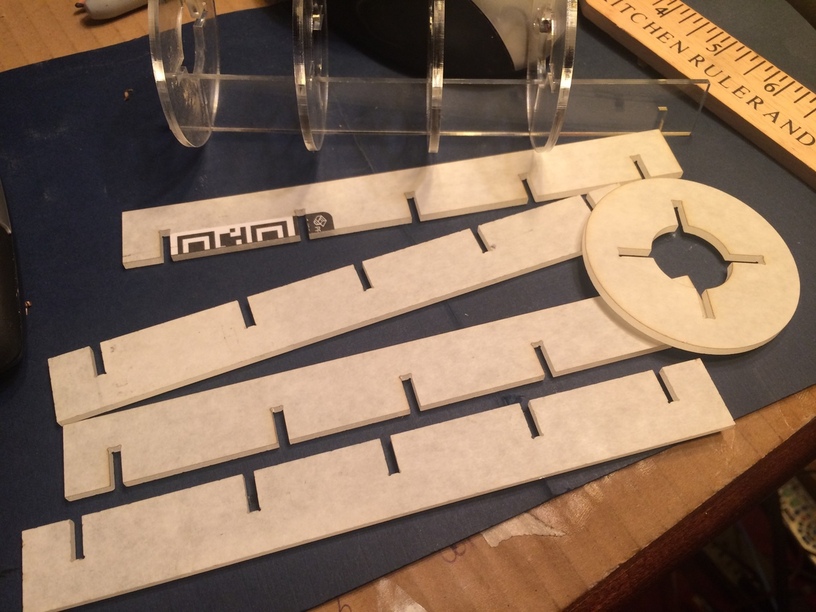
It’s is just two parts to cut out on the Glowforge plus a broom handle. Copy and paste the multiples to get five rounds and four horizontal cutters.
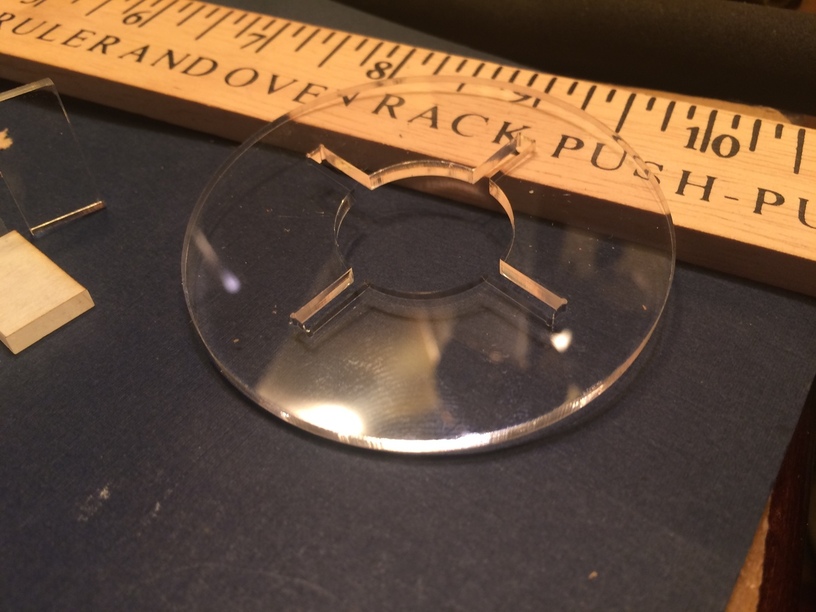
I put dog bones in the corners to relieve stresses.
And you have to be very careful and deliberate when assembling. Don’t force them. Put one horizontal blade into the five rings. Then do the next around the circle. Only slide in a little at a time. Make sure all the horizontals are going the same direction. I tried to make it symmetric but sometimes Inkscape isn’t as prece is placement as I think it is. I had to cut one extra blade because I forced it. Once it gets around the broom handle the compression works great and it is sturdy enough for the pasta.

All done in Inkscape. Took about 45 minutes from start of design to finished assembly.
As a bonus: A pasta stamp/cutter.
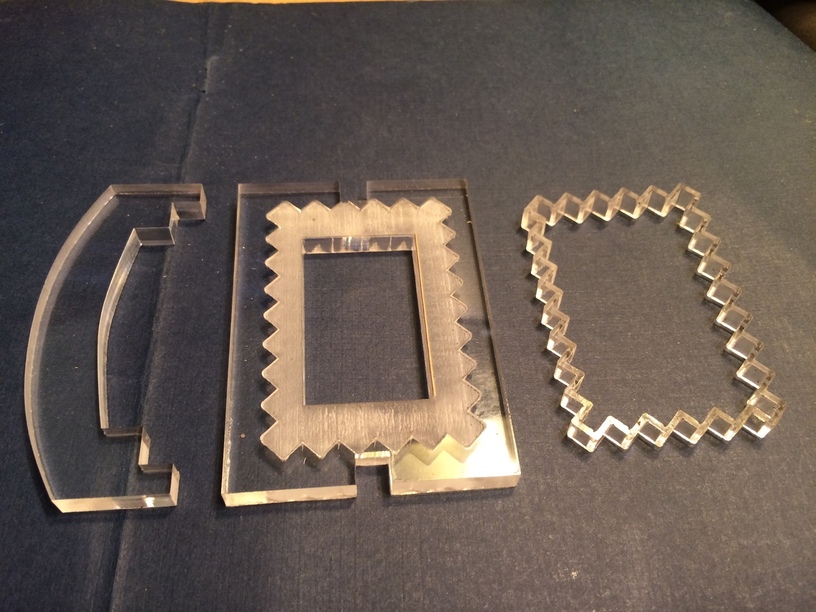
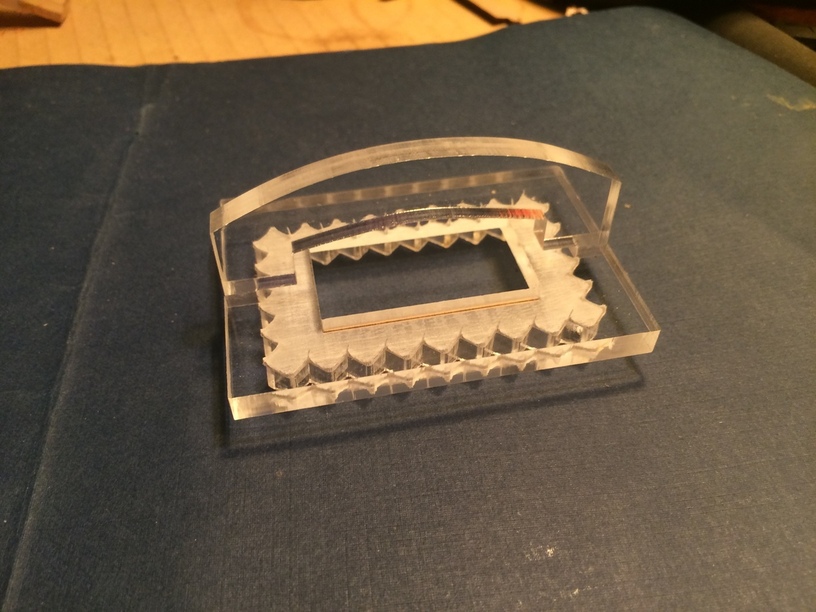
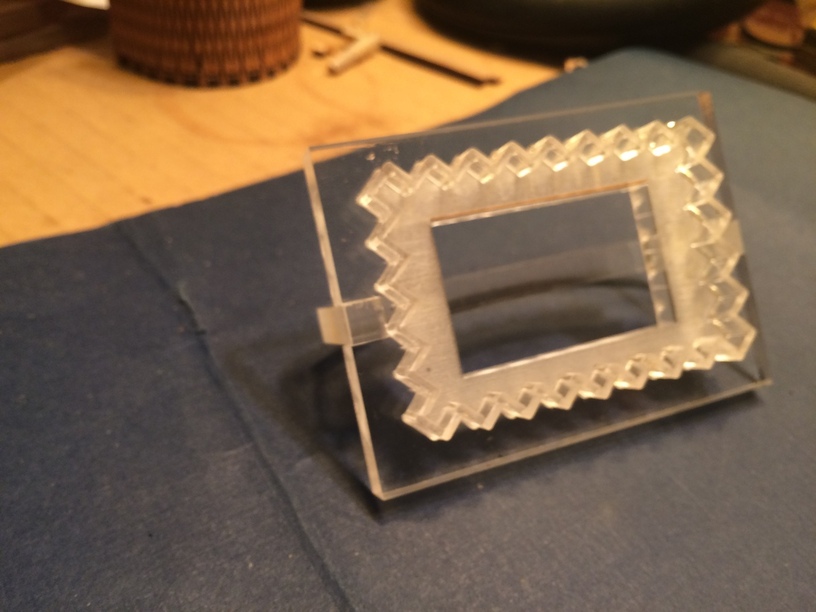

This is designed for my chemcast acrylic which is slightly thinner that the Proofgrade.