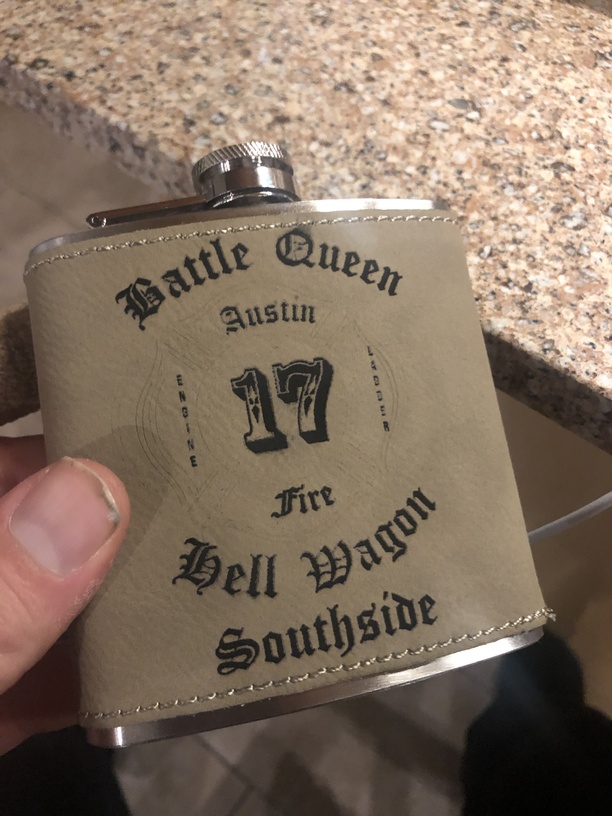
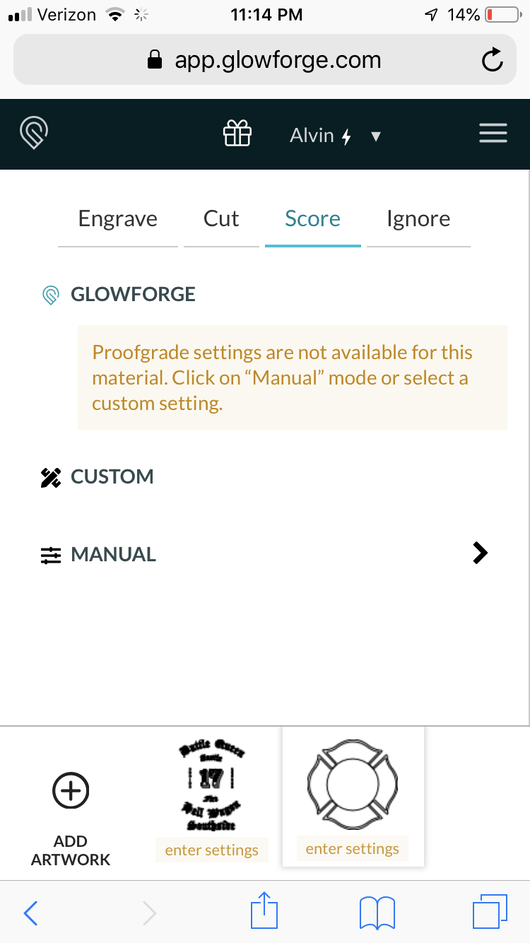
The engraved part consists of a vector shape with a Fill color (all the text), which tells the Glowforge that you want to Engrave it, and the surrounding frame is a vector that consists of strokes, not fill color.
The strokes are going to be processed as a thin line, the width of the laser beam, so you aren’t going to see them as well when you Score them.
You can try setting the Score to Engrave instead, and it will come out looking like the other engraving. (If the lines are thin though, they still might not come out quite as thick as you like.)
If you have used a variable stroke width for instance, I’m not sure how the engraving would process it.
To be safe, in Illustrator, select the medallion shape and click on Object > Expand > Stroke.
We tried setting the outline to engrave before, but it shaded the whole thing instead of only engraving the lines even though there was no fill color in the vector image.
Ahhhh…got it. Does the design have a white Fill? If so, set the Fill color to null before you Expand it.
What editing software are you using? inkacape?
Another way, since you are engraving, is to rasterize your image, it’ll definitely engrave as one step then. (rasterize a copy on a new layer so you don’t lose your original!)
In Illustrator: select the objects and choose Object/Rasterize
We are using illustrator
We did rasterize it but the quality of the image changed and didn’t etch like we wanted . We have done images like this before but never had them separate like this .
Are you trying to engrave or score the border, or do you mean it only works sometimes?
If score, and you meant “barely” and not “rarely”, then you need to adjust your settings to increase power.
If engrave then the machine is doing what it’s designed to do, it will “fill” enclosed shapes. If you want it to engrave just the edges of the design, you need to double up the path and it will “fill” between them only.
To run as one operation, the entire design needs to be vector and the same color (doesn’t matter which), or a single bitmap for raster.
Thanks for the info! I think we got the settings corrected
Were you setting the output resolution to something high? (At least 300)
Not sure if it works the same in AI but if i had this problem in inkscape i would select everything i wanted to engrave and export it as a png so it would combine them and then import that png back into my design
Have you double checked that the colors are exactly the same? Even a couple numbers/letters off and it is read as different layers. For example, I have something colored 000006 and something colored 000000 and to the eye they looked the same but to the program they were completely different.
I’m sorry you ran into trouble when trying to set up this print for your project. I’m glad to see that you’ve already received some excellent advice from our other community members. Thanks folks!
Did the advice they provided help you get the result you were looking for?
Yes we resolved the issue, the best way for us to keep the quality was to change the settings for the cross to score correctly. when we tried the image after the rasterize option the image became distorted even with output resolution above 300.
thanks everyone for your input
I’m so glad you were able to get your print to work the way you want it! I’m going to close this topic, but you can start a new thread or email us at support@glowforge.com if you run into any other trouble.