
There have been posts discussing this type of design and all these techniques are documented multiple times, but wanted to do this particular use case:
I thought a clear how to for one specific letter in the Tips and Tricks might be helpful. There are fonts that have this built in. There are also monogram fonts that give fancier single letters with flair. There are fonts that have more attractive individual letters to build on.
Again, this is one way to do it. You may have a different and even more efficient method, but this is trying to use the basic Inkscape functions to assist. It illustrates a very important operation, cutting paths up. There are different ways to do this, but each method lends itself to different situations. Don’t forget to look at the bottom information ribbon status indication that describes what’s selected and gives hints on possible operations.
I’m doing this so that it might be appropriate to engrave on a 4" tile.
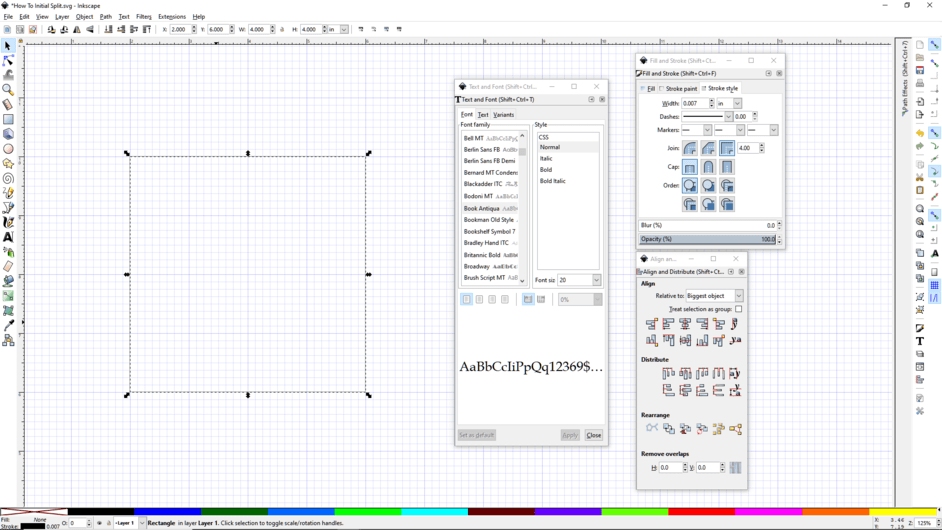
Make a 4" by 4" rectangle. This will assist in positioning the design on the tile, cutting out a jig and or making some felt backing.
Convert it to a path from the basic rectangle shape.
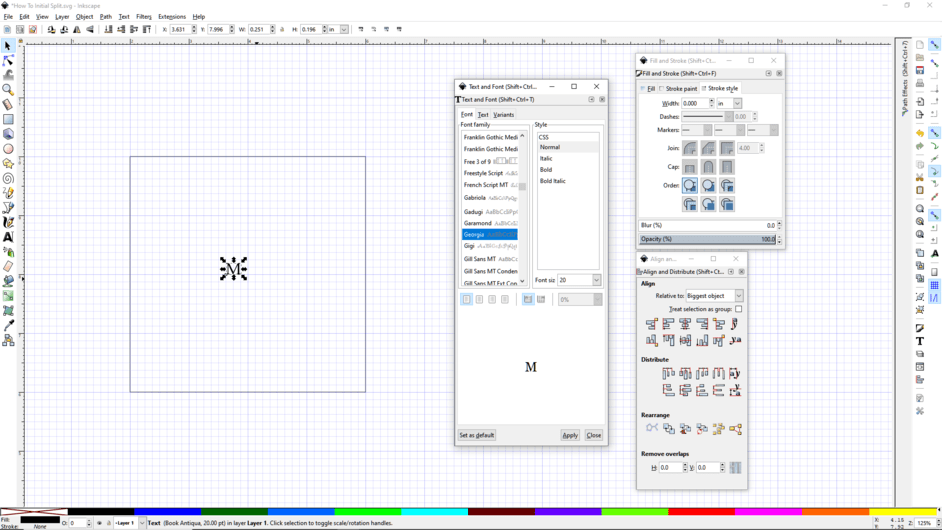
Use the text insert tool and put in your initial. Select that letter and choose the Text Menu to select the correct font. Don’t worry about size right now. Georgia is a great font for this because it has nice beefy serifs.
Holding Ctrl-Shift, select a corner control point and enlarge the letter till it is 3" wide, approximately (or whatever your OS requires for keyboard short cuts.) The Ctrl-Shift allows for proportional resizing of both axes.
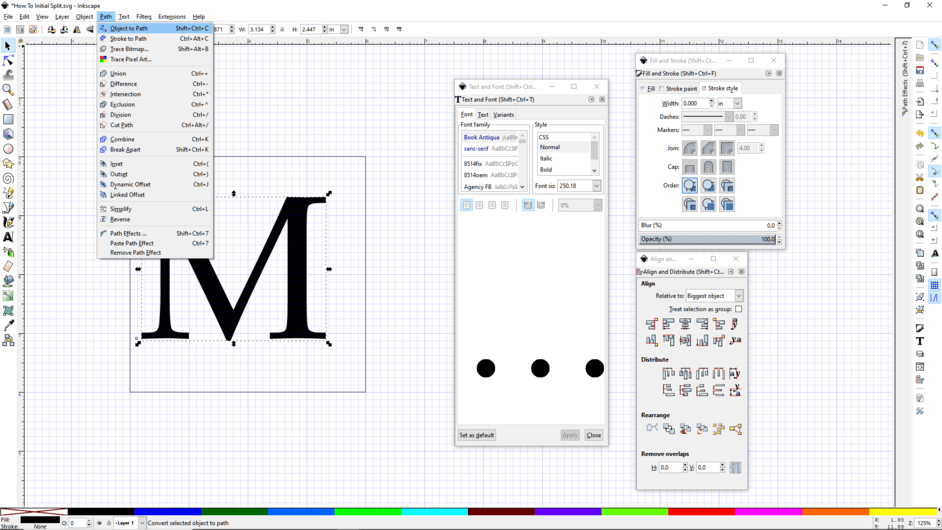
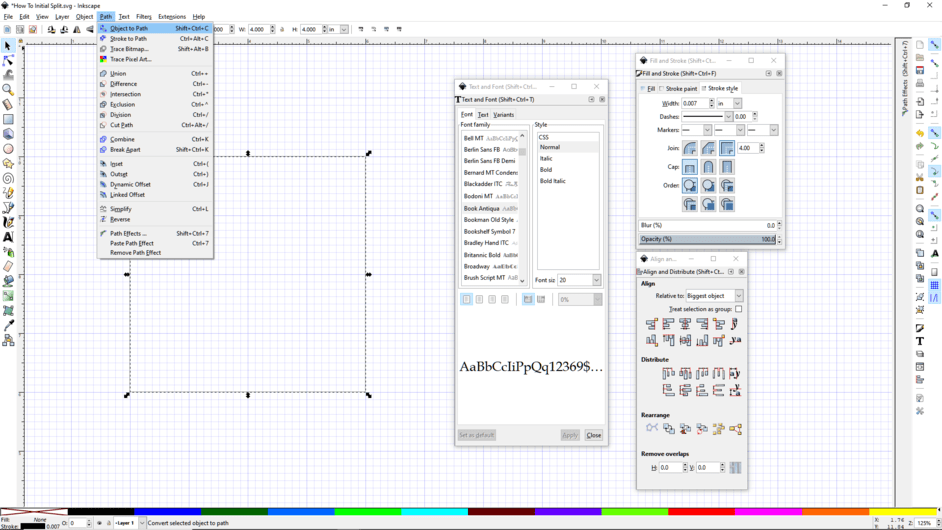
Keeping it selected, convert to path by Ctrl-Shift + C or Path > Object to Path
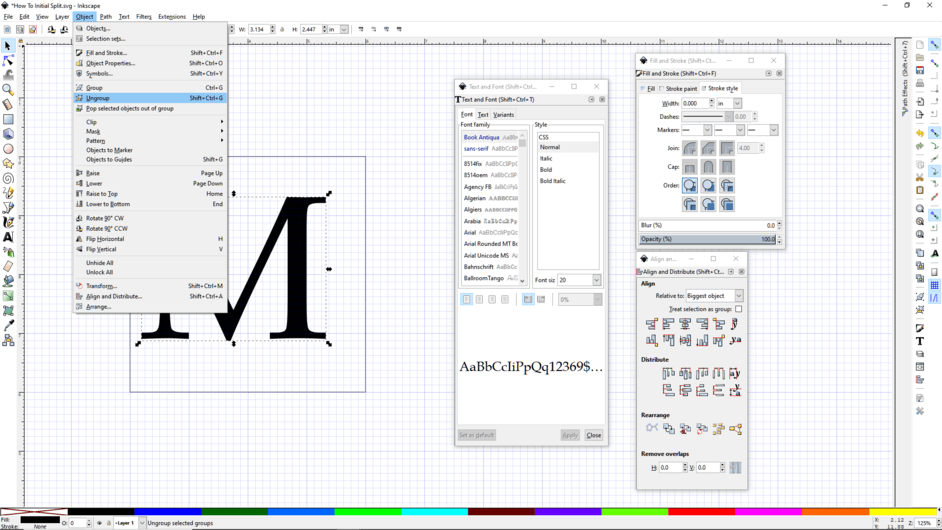
While it is selected, ungroup this letter. That may seem like a strange operation, but yes, there can be a group of one. Use Ctrl-Shift + G or Object > Ungroup. This is an important step for a later boolean operation (adding/subtracting, joining paths from one another).
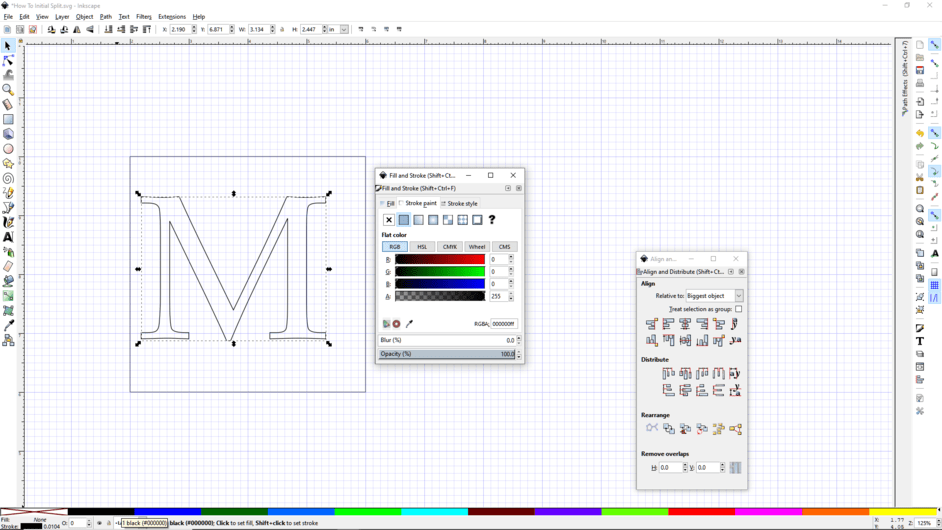
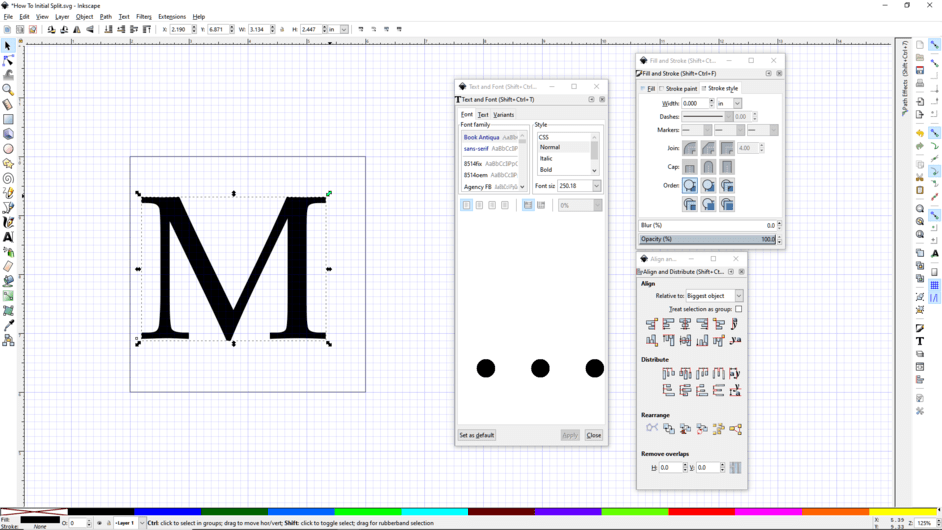
Remove the fill and add a stroke. Either Use the Object Fill and Stroke Menu and dialogue box, or more easily, while having the letter highlighted, click on the wide red x on the color ribbon. Then holding shift down, click on a color to add a stroke definition color.
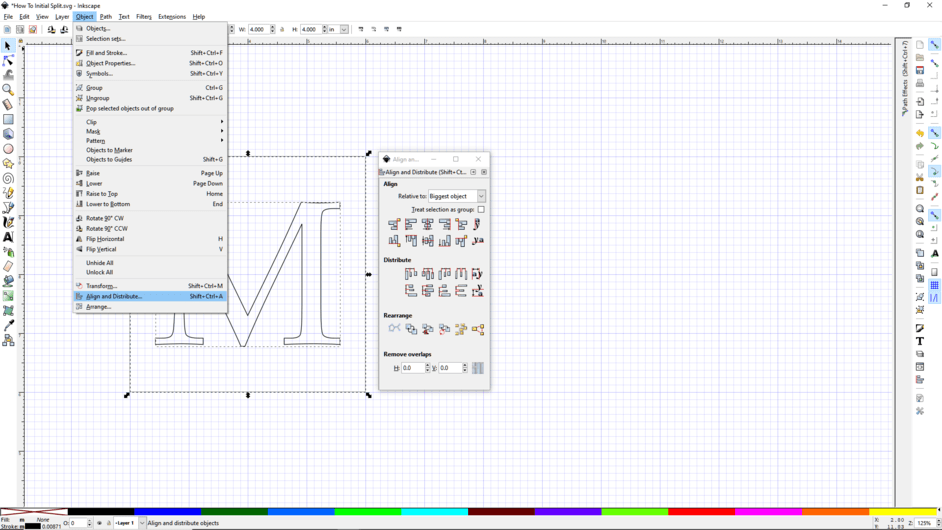
Align the letter to the bounding box. Select both object by rectangle selection tool dragging around, Ctrl + a to select all, or hold shift and click on both. Use the Object > Align and Distribute menu and dialogue box and keep it open. Center on Vertical and Horizontal axes.
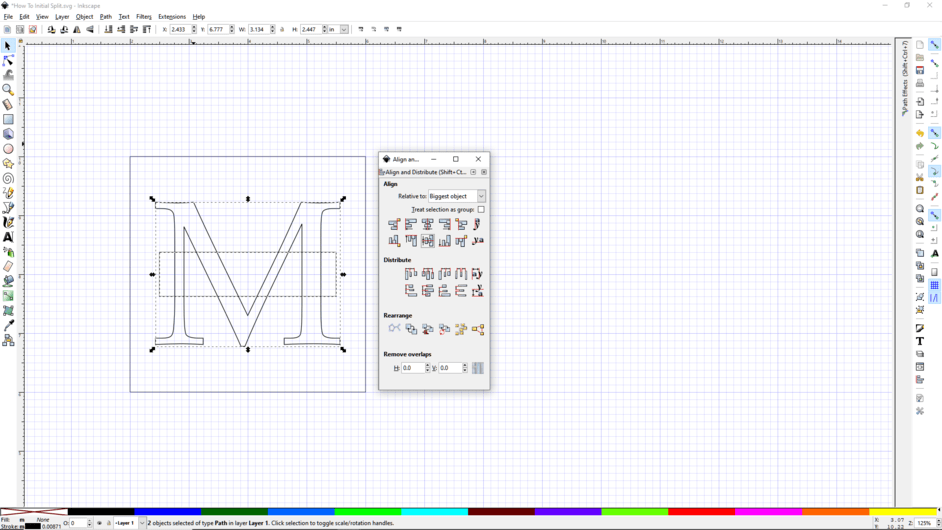
Make 3" by .75" rectangle, convert the shape to a path and align it vertically and horizontally to the letter.
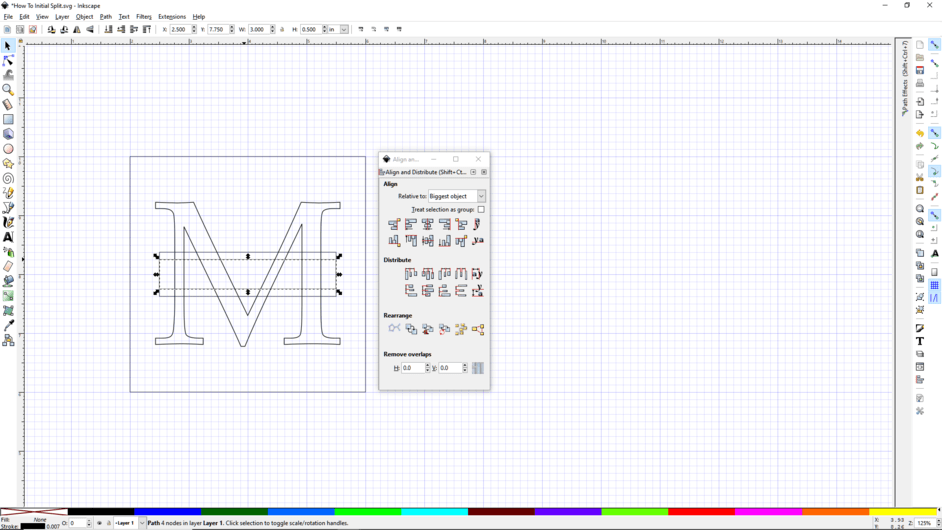
Click on the rectangle and press Shift + d to duplicate in place that rectangle. Keep it 3" wide and make it 0.5" high. Align it to the letter vertically and horizontally. These rectangles will be what we use to split the letter and then close the split so there is a line at the bottom edge of the top and a line at the top edge of the bottom.
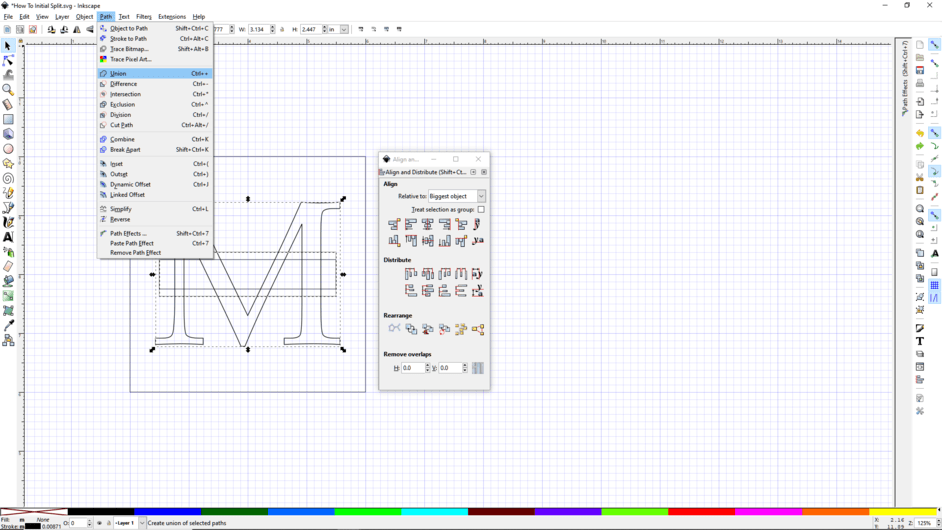
Selecting the taller center rectangle and select the letter and do a boolean operation: Path > Union.
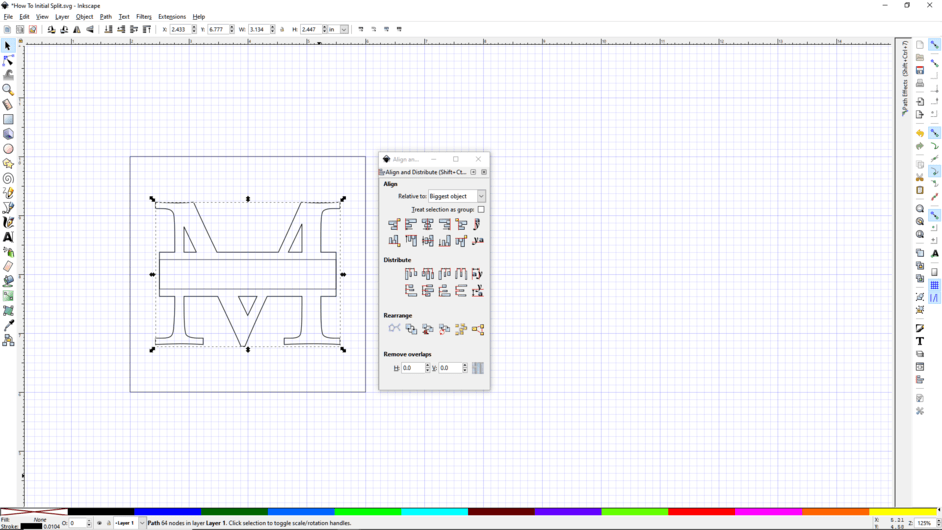
You can see now that the letter has a section through it. Next we’ll cut out the middle of that section and you will be left with two halves.
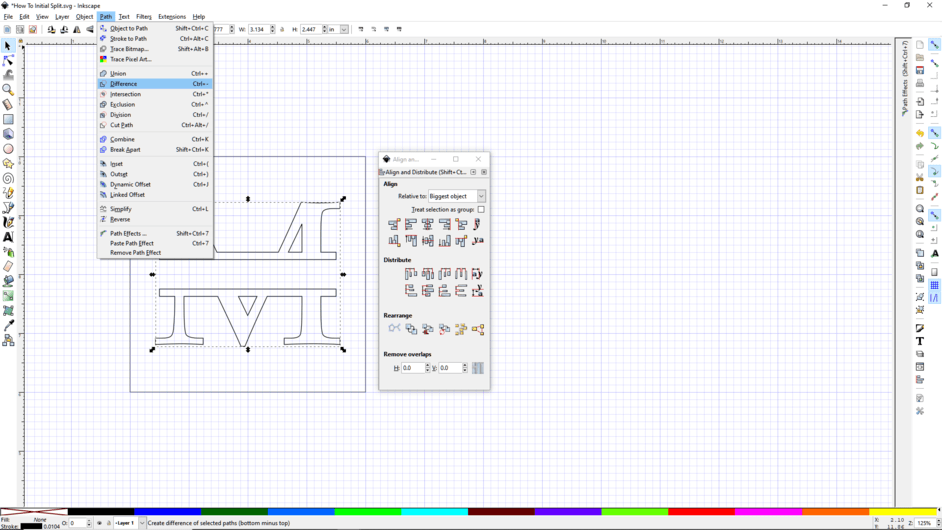
Selecting the center rectangle and the letter, do a Path > Difference operation.
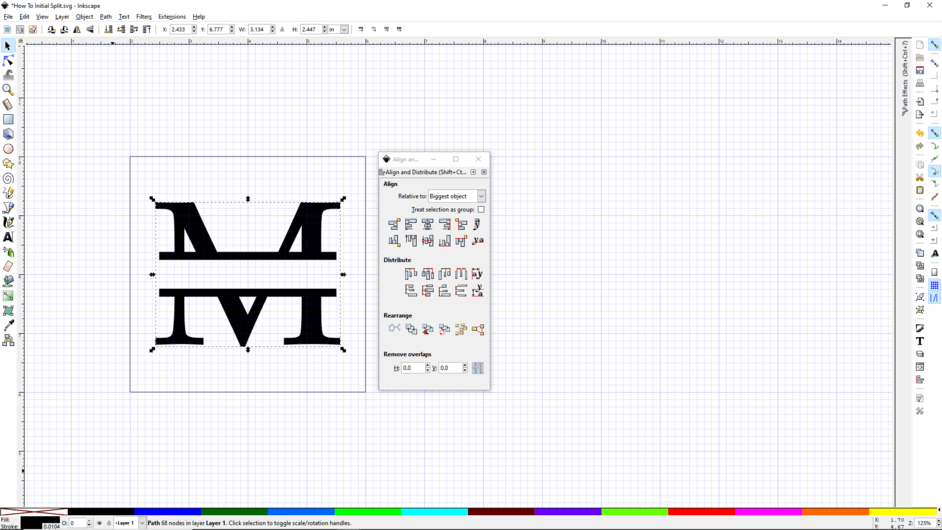
Selecting the object then fill it so that it engraves. Remove the stroke definition too so as not to confuse cutting and engraving (Shift Click on the wide red ex while object is selected).
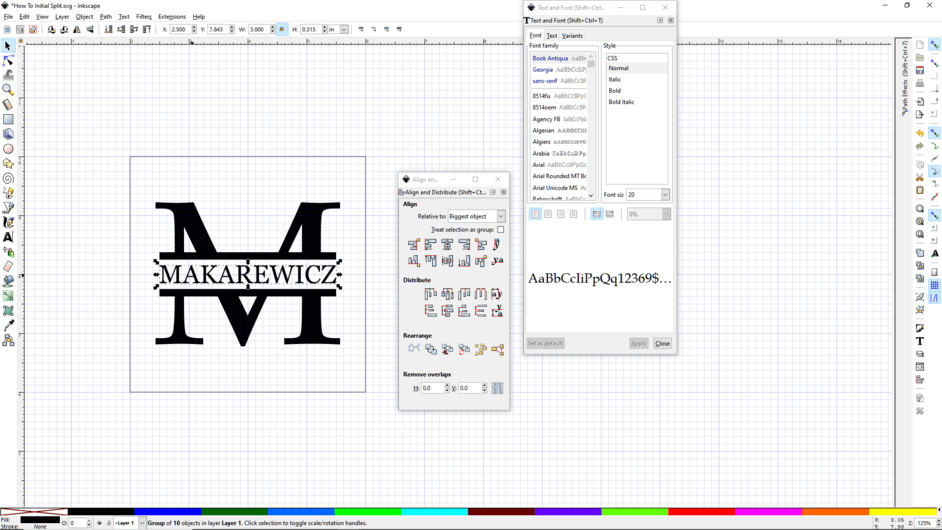
You can add the last name or other name of the person to personalize it. Size it and align it as you see fit. Don’t forget to turn the text object into a path object.
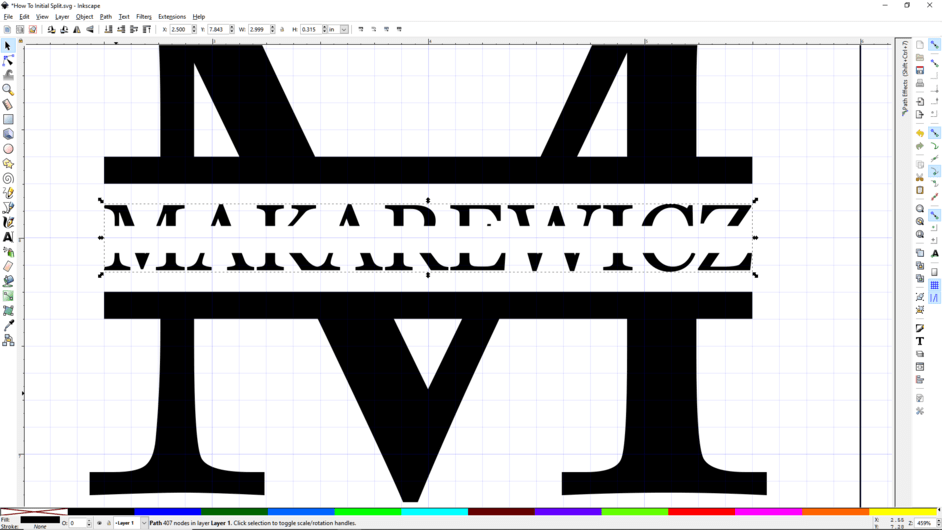
Extra tip: If you want to split a full name, a word or several words. It’s the same technique. Just remember to select the full name or text after it has been converted to a path, ungroup the object, then Path > Combine them. Then do the other booleans of union or difference with an intersecting shape (doesn’t have to be a rectangle). The whole text will get split.