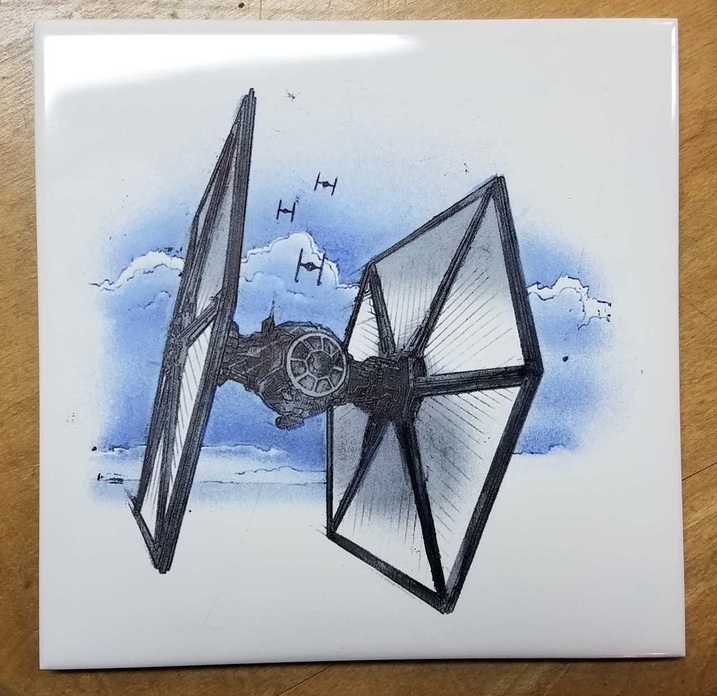
Like many others here, I’ve been having a lot of fun with the white ceramic tiles lately. The Star Wars tie fighter tile that was posted by another user really got me wanting to engrave on these some more. Did a few themed tiles from Star Wars, Mad Max, Dr Who, Dragonlance and also a few attempts at photo engraves, lots of lessons learned from them and many more to master.
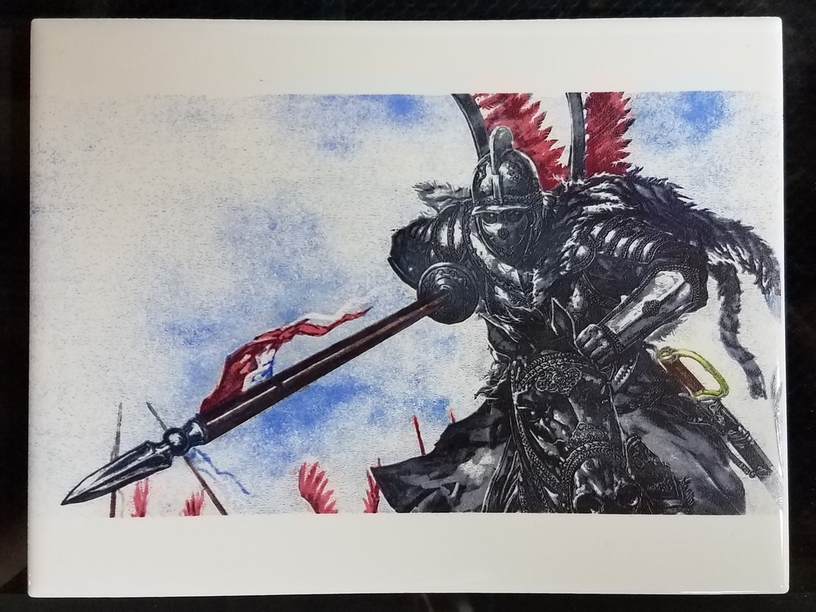
My youngest son is a big fan of the Polish Winged Hussars and had asked me if I could do a tile with the Hussars on them. I figured why not! He has this image as his wallpaper on his computer so figured it would work pretty good on a tile. I might re-do the tile to remove some of the extra white space above and below the image. I had some ideas that I was going to do in that space but changed my mind about it.
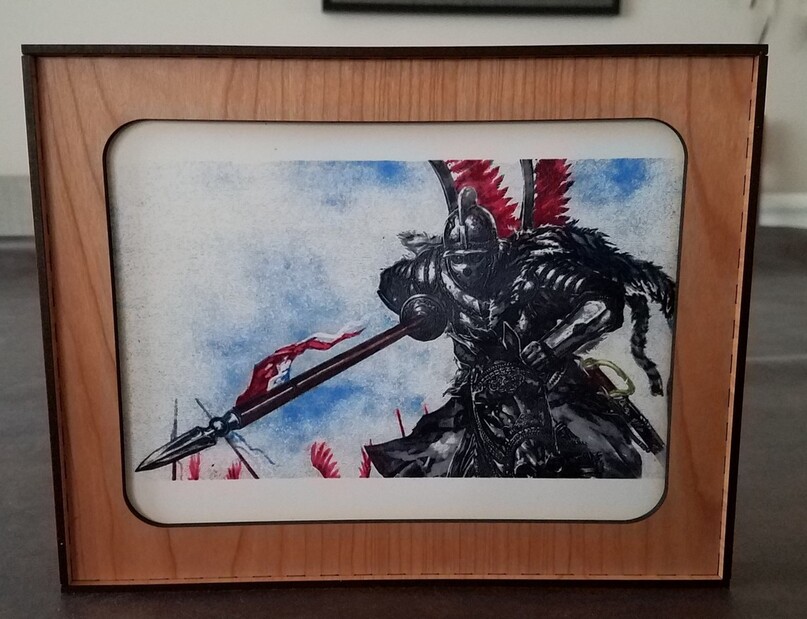
The tile was fine and all but it needed a simple little frame to help it stand on it’s own. I whipped up this quick little frame for it. I shouldn’t have rounded the window cut, would have looked better with it just being square. When I brought it in from the garage, the wife said “Oh, look, like a little TV!”. not at all what I was going for!
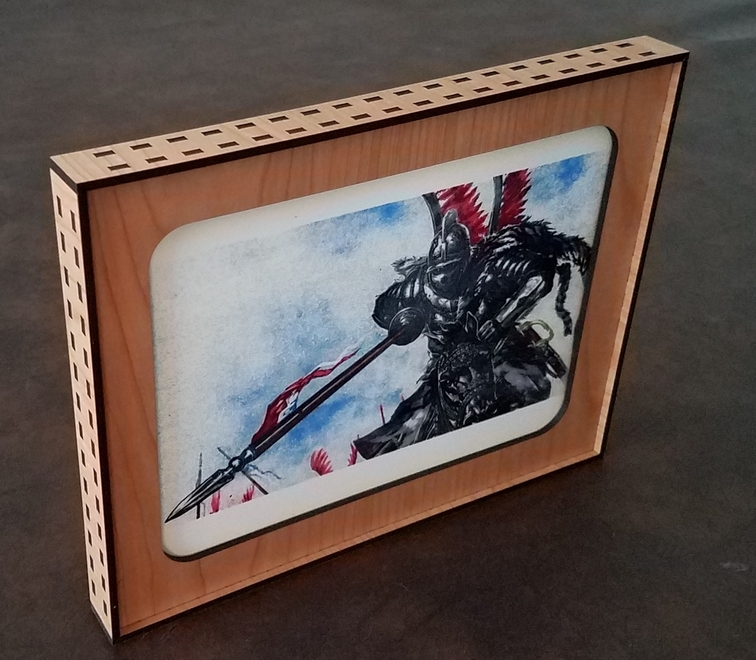
Pic from the top and side. It stands well on it’s own and you could likely hang it on a wall as the rear has a bit of an inset between the border and backing. No glue on the frame other than some liquid nails to hold the tile to the backing piece of wood.
I just used sharpie markers for the coloring. I colored in each of the areas that I wanted a specific color like I was a three year old (I don’t stay inside the lines very well :)). I gave it a few minutes to dry and then used an alcohol wipe to cleanup the mess. After I’ve colored, it looks like a pre-school art project and then when you start doing the cleanup, the image magically comes to life. Assuming you adjusted the image properly, otherwise you’ll either have lost features because it was too bright or all the features turn into a dark smudge because it wasn’t bright enough! Takes a bit of trial and error to zero it in. I’m still working on that for some of my photos that I want to engrave.
@cditty, I included some above in the thread. The keys to having the picture turn out well are really just trial and error. Getting the source image bright enough but still having good contrast so you don’t lose features is the most important. I have some large test tiles that are 12x12 that I’ll do much smaller test runs with to see if I’m getting the depth & detail that I want with an image. If it doesn’t come out the way I want, back to the photo editor to tweak things. Once I’m happy with it, I’ll put it onto the final tile. For GF settings, I do the engrave at full power, full speed an 450 lines per inch, Gray Scale - Convert to dots, 1 pass. I haven’t tried a lower LPI as I’ve been super happy with the level of detail that 450 gives me.
Getting the multiple colors on some of the tiles can be interesting and tedious. My first tiles were generally just colored black and they wound up giving different shades of gray depending on the depth of the engrave in the image. So instead of just black/white, it gives a nice gradient. My first adventure with color taught me some lessons. If you don’t color in places around where other colors are going to be, when you wipe the color off, it’ll spread into those areas and that’ll be the color it is from then on. If you look at the image above, just to the right of the right arm/horse, the sky is black instead of blue. I hadn’t put the blue on that part yet and when I wiped the Hussar and horse, some of the black went across and filled in that part of the engrave. At that point, I did the rest of the sky so as to not have that problem elsewhere! Once the color is in the engrave, it’s not very easy to change it unless you just soak it in alcohol. I’m still working on my process to keep the ink bleeding to a minimum. Others in the forum are MUCH better at it than I am!
The frame was made using boxes.py. I just created a basic open top box with the dimensions I wanted. I duplicated the holes in the outside of the frame for the front and set the space between them to be just slightly larger than the tile piece so it would be a nice tight fit.
Here’s a few other tiles that I’ve done. I’ve learned quite a bit from each one. None are perfect but I’m happy with the learning process.
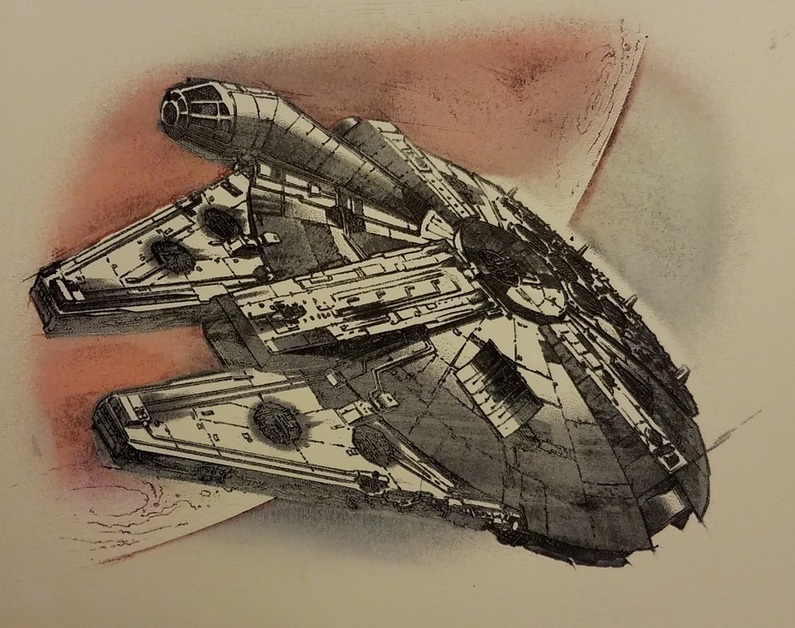
After seeing another use post a tile using this image, I just had to have one for myself. My first attempt was ok but then I found a better source image for it and tried again. On this one, I tried doing 2 colors for the first time. Black / Blue. I was pretty happy with it.
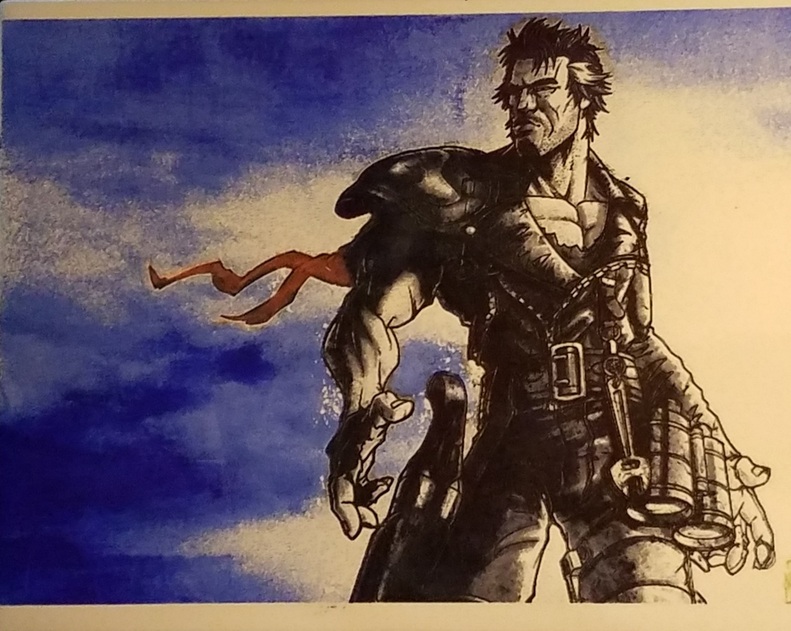
There were some related images to the Tie Fighter that I also liked, one being this next image. I tried to get fancy with coloring on this one. Failed miserably but learned quite a bit.
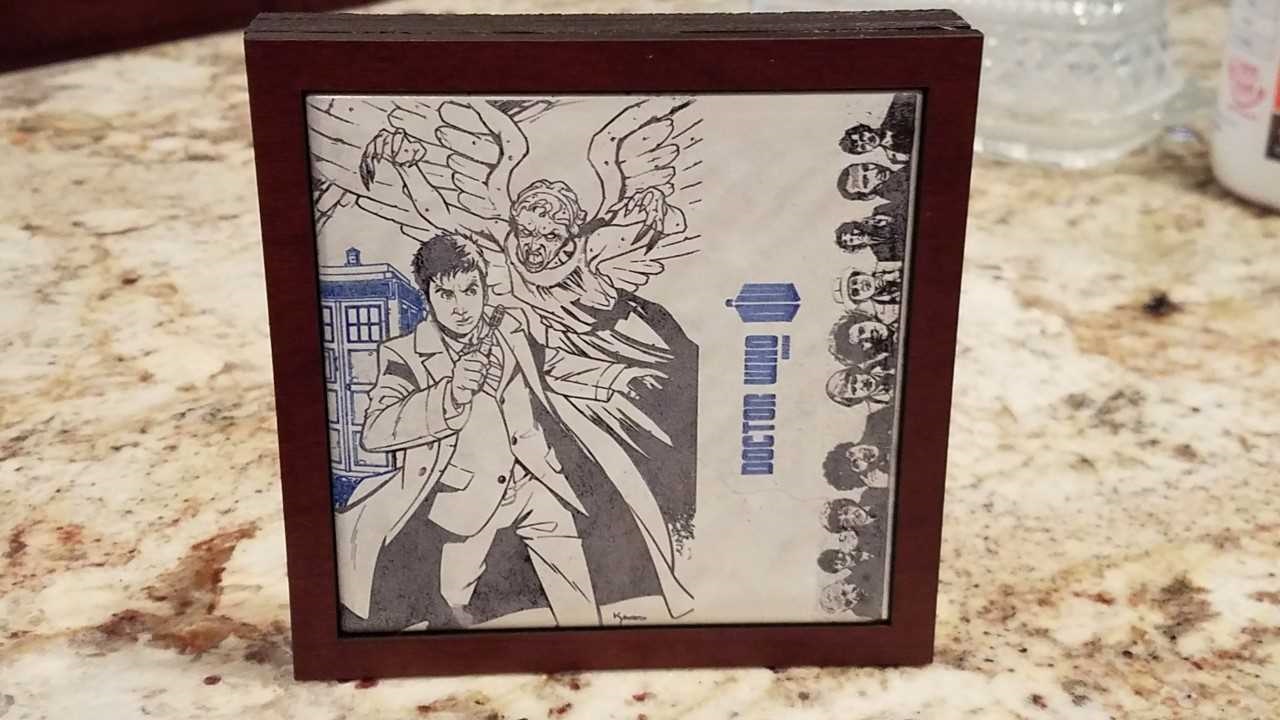
The next one was more just playing around with a wavy-textured tile as well as some random Dr Who content. Artistically, the piece is lacking but it was more just testing out a few things.
This one was another attempt with multiple colors. I got some good depth in the sky but accidentally bled colors into the arm band. Still looks good in person. The image wasn’t really bright enough to highlight all of the detail in the image. This one is going to get a redo later as well.
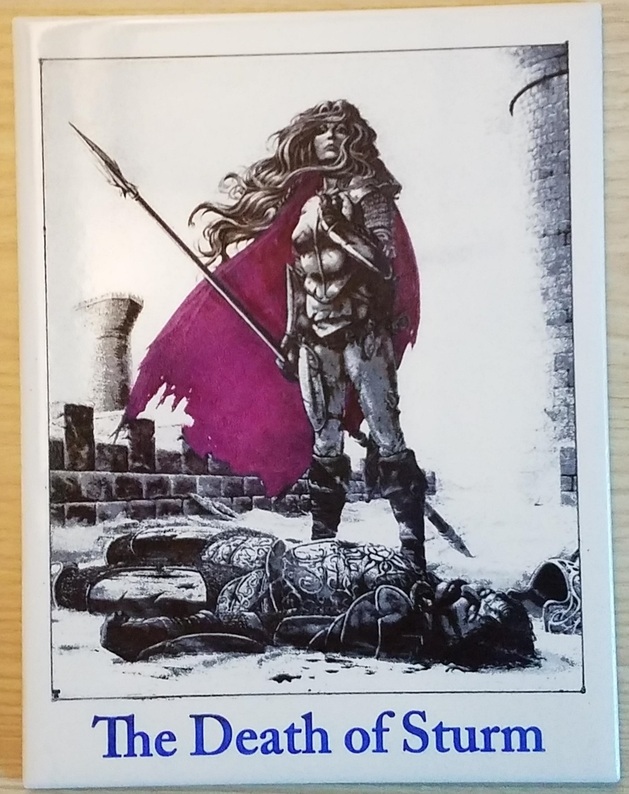
My favorite so far (other than the Hussar) is this Larry Elmore painting from the Dragonlance world. (No, she didn’t kill him!). The amount of detail that came through on the tile is just amazing. The cape should have been red but my wife stole my red Sharpie and took it to work, so I had to use the purple/magenta one. I’ll probably do another one of these as well, maybe adding some additional color where appropriate.
That comes from the alcohol wipes (I’m using the Zeiss wipes because I’ve got a few thousand of them laying around). It tends to mute the colors and gives a bit of a pastel / watercolor type tone to them. If I want a stronger color, I’ll just go over the area another time or two an then be more cautious about how much I’m wiping away.
Thanks. I was mainly wondering about the color process. I want to do multi-colors too but noticed the same thing you said. Once it’s got color, it stays. I was wondering if you did one print or multiple for each color.
Thanks! I just did one print. Doing multiple to help isolate the colors would a good way of doing it to ensure you’re not bleeding over but would require a lot more work to isolate those areas in the source image.
Yes, I did the Dr Who frame as well. That one is just three layers of PG draftboard and the front layer is part of a kitchen cabinet door I got from a Facebook group for free stuff people don’t want. That’s where I got the tiles as well. It was my first attempt at a self standing frame for the tiles. It works ok as long as you get all of the layers glued and aligned perfectly. The tile is very tightly wedged into the middle two layers and then the front layer has a window just slightly smaller than the tile itself. I had done on of the tie-fighter tiles with the same frame but spray painted the frame with a hammered-bronze paint. That looked really nice as well.
Take a look on this thread as well, it’s huge and has an amazing amount of information about tile engraving. Most of the tiles people have posted in that thread make my tiles look positively amateurish. I’m constantly impressed by the level of talent on these forums.