Hoping someone has a solution. Since I got my GF the lid has always hit on the right side when opening and closing. It is on a perfectly level and flat surface. It gets a little better if I place about 5 sheets of paper under the front foot. But it still drags pretty bad. I’ve noticed that it has been getting worse lately. I don’t know what else to do. Is there an adjustment to the lid that I don’t know about?
Many people have had to shim a corner to get the perfect alignment. You need something a little thicker under the area that corrects this misalignment. The case of the GF is flexible.
7 Likes
Gently lift the corners of the Glowforge noting how the lid changes as you elevate each corner. Shim the proper corner with index cards.
6 Likes
Does it get better if you add even more sheets of paper?
1 Like
I tried the corners. The only thing that helps is if I place some folded up paper right in the middle of the front foot.
It gets better when I add more pieces of paper. However, it got to the point where I had so much paper that it was only being supported in the middle where the paper was. The corners were completely off the surface.
Does that keep it from working? (It doesn’t sound like your surface is truly flat, most aren’t)
2 Likes
It’s pretty flat from what I can see. In fact, I bought a new cart hoping it would solve the problem. It’s the Husky tool chest from Home Depot. I placed as many pieces of paper as I could without lifting the corners completely off the surface. Maybe that’s as good as it’s going to get. It works fine, I just don’t like how the lid hits the edge. I just have to gently close it. Then, if I slightly lift the front center just a bit, the lid drops. So, it’s not a corner. It’s the center.
I had a real level surface as well and still had to shim a corner to get the lid even on both side of the opening.
Mine did the same. You just reminded me of something I had completely forgotten. I had to shim a corner to get the right side of the lid to lay flat, but there was still the slightest rub on the right side as the lid closed, and I couldn’t tolerate that.
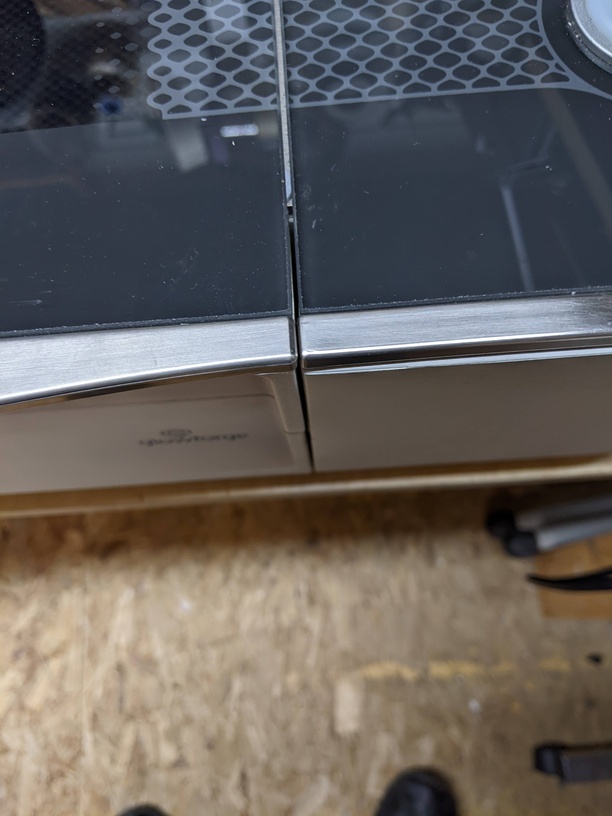
Looking at the clearance on both sides of the lid I noticed the gaps weren’t symmetrical.
Left side…
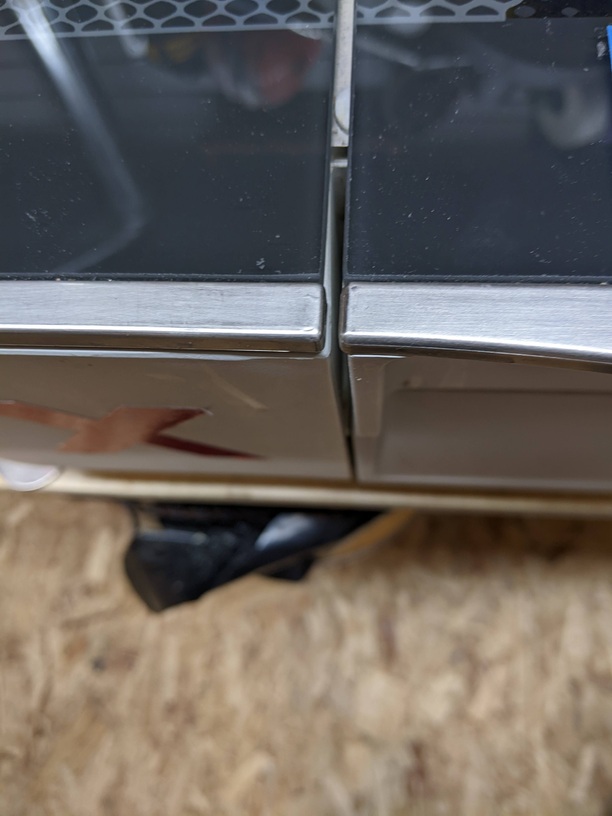
Right side…
In this picture you can see how close the metal trim is, that was the rub.
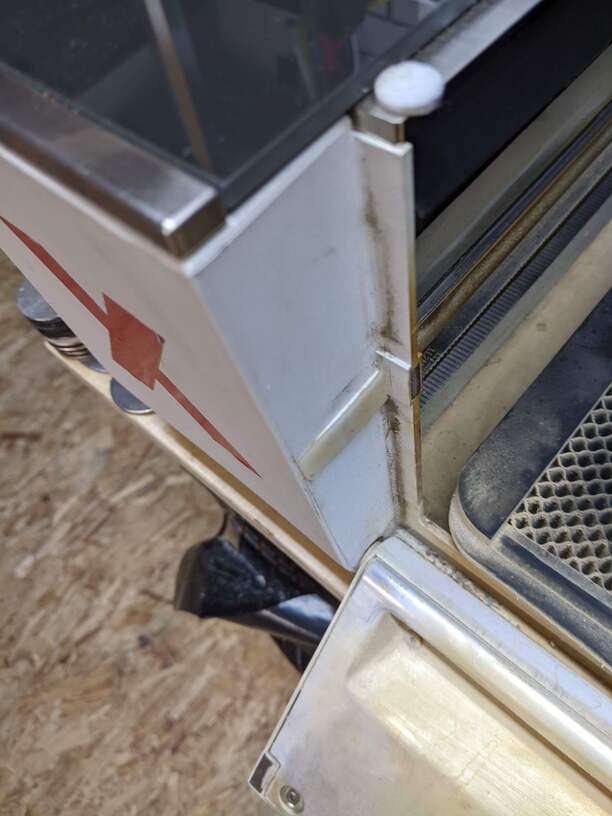
Open the front door and notice there is a ramp on both sides of the case where the front door pushes against the sides when closed. I cut a piece of plastic out of a jug, about 1mm thick, and used contact cement to affix one on each ramp. That gave enough clearance to eliminate the rub.
It doesn’t make sense to me that you had to shim under the middle of the case - unless the cart top has a low point in the center. A straight edge laid across it should show if there is.
1 Like
When looking at the tabletop, there is a very slight dip in the middle. But, even after making up for the dip with paper in the center, it still drags on the right. It better now that I added a few more pieces. But, it just seem like it shouldn’t drag at all.
The “feet” across the entire width of the bottom of the machine are not functional, only the 4 corners have any connection to the internal structure of the machine.
In all seriousness - add more paper/shims.
2 Likes
You’ve kind of answered your own question. The case is flexible. If the surface isn’t flat (which yours isn’t), the lid can catch. Keep shimming until it doesn’t. It’s very hard to see if a surface is perfectly flat. I use the side of a straight edge, from end to end in either direction, to see where the dips are and compensate for them.
2 Likes
Yeah, I didn’t notice it until I placed a long straight edge square on top of the table. Seems strange that a small dip (about 1/16 of an inch) can make that much of a difference. Kind of crazy actually. But, I guess it is what it is.
2 Likes
This topic was automatically closed 30 days after the last reply. New replies are no longer allowed.