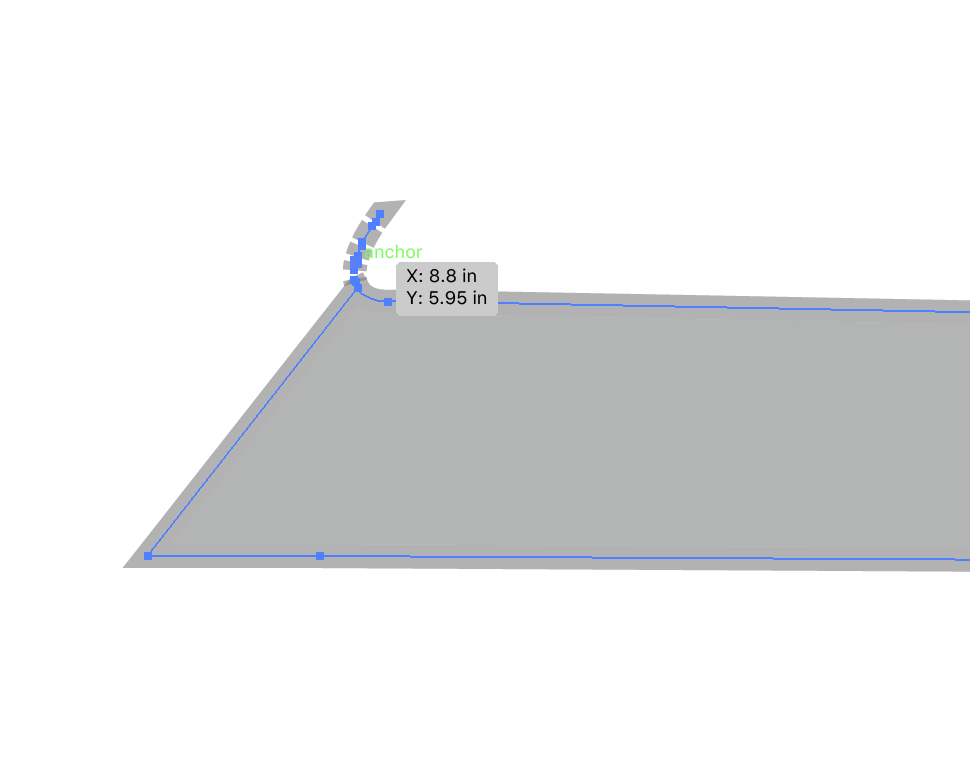
Hey team! Illustrator newbie here. I’ve been tracing some images to make assorted vector shapes. As part of that process, I might manually trace a handful of individual adjacent objects first. Then I’ll overlay them with a new shape, select the first objects, and use the “minus back” tool to cut away the objects on the back layer from the overlaid shape. The result is a cookie-cutter shape that fits right in between the original shapes like a puzzle piece. That works great, but I’ve discovered an artifact on many of the pieces created this way that have more complicated curves. Lots of them have automatically generated additional anchor points grouped as part of the main shape, but outside the extremities, following what used to be the original contours of the shapes removed by the minus back function. Like so:
I’m not sure why this happens, or if it’s going to cause a problem when I try to send these shapes to GF. If I ungroup the shape from the new anchor points I can usually delete them. Do I need to bother? Am I doing something wrong to cause this? Here’s a sample AI file exhibiting a shape with this issue:
If you ungroup the object, you can just delete those pieces. those are very small line shapes. Not sure how you created them, but they’re separate from the primary shape.
additionally, on the part you’re not showing (bottom right), you have part of the shape that sticks out a little bit. those are additional nodes. if you want to remove them, you can click the - (minus) key for the remove anchor point tool, then click on each anchor point to remove it. that removes the point without removing a stroke segment between the anchor points.
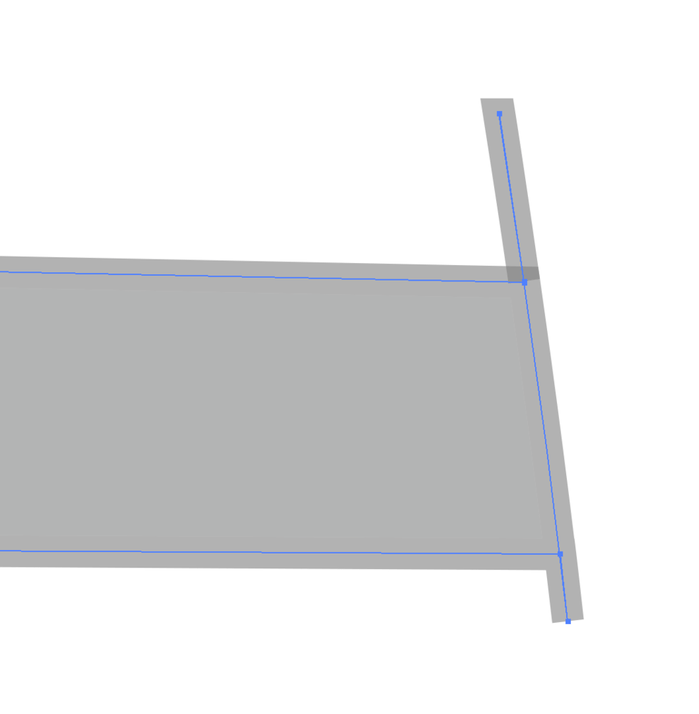
Thanks Shop. I think the “minus back” procedure I’ve been using may be less than ideal, but I’m hoping when the shape is sent to GF it’ll come out fine anyway. Supposedly I’ll be able to test it myself in about March! As to the “tails” on the bottom right you mentioned, here’s another look:
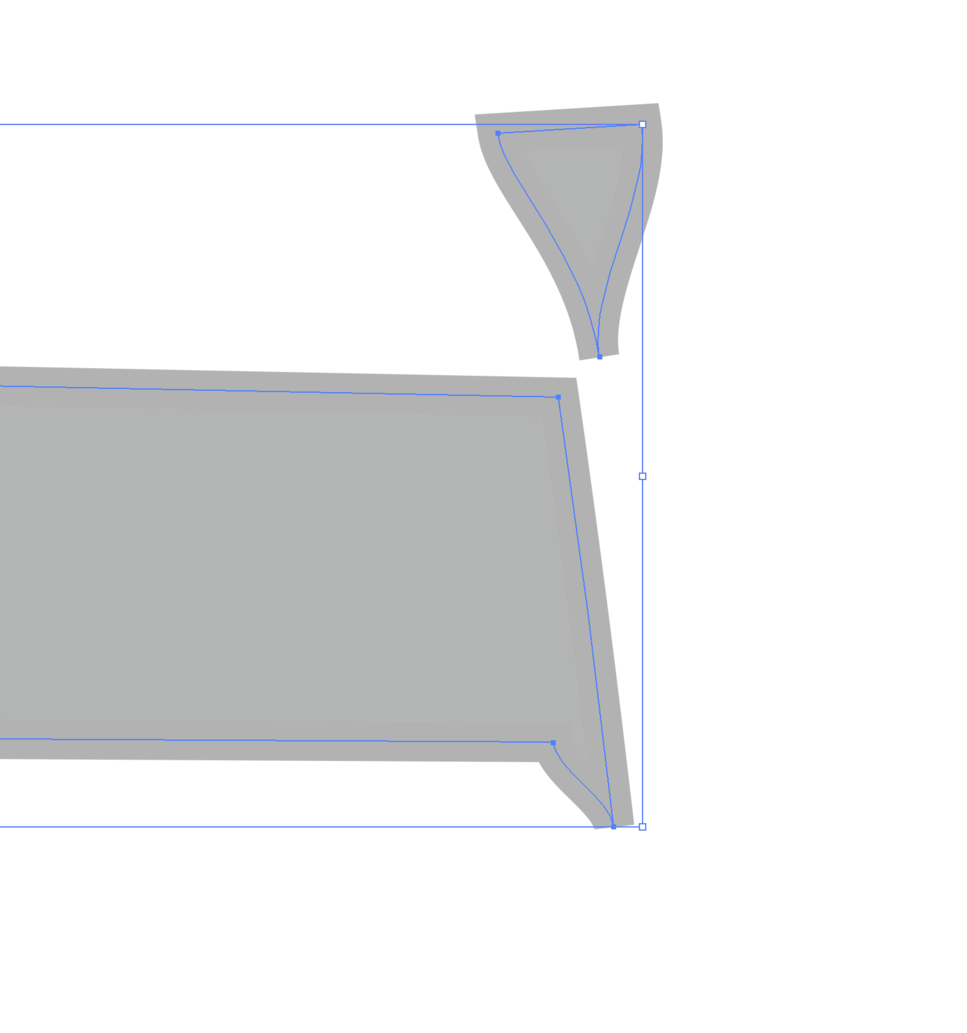
At first I thought those were just extra line segments. But then I used the direct selection tool and started dragging the anchor points around, and realized that the top tail is actually a completely separate shape collapsed on itself, while the bottom tail is a continuation of the original full shape, just squeezed shut. Here they are expanded:
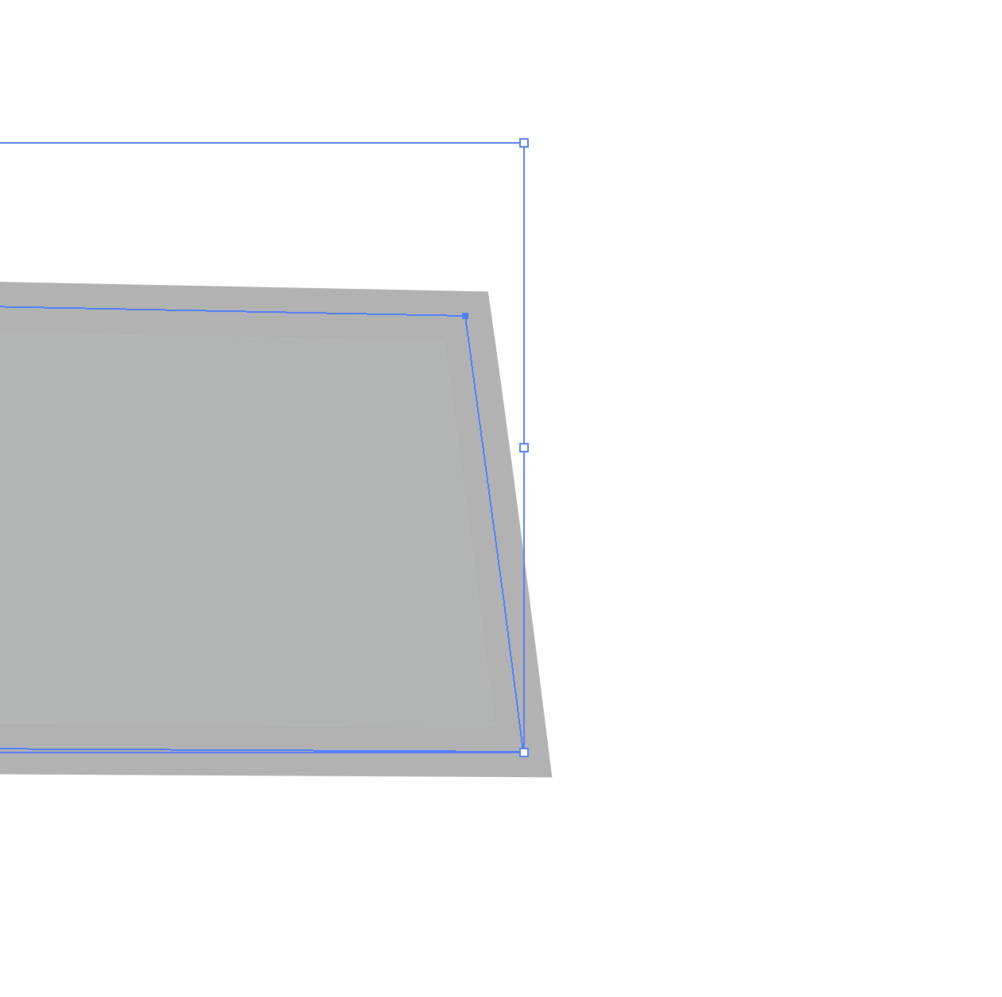
I’m not sure why this is happening. Most of the time when I use this technique I end up with a normal shape without these artifacts. Like this:
I supposed I could have “microgaps” in between bordering edge pieces that the minus back function is trying to fill in. I guess we’ll see what happens when I try to print it!
yes, there are probably gaps in the overlapping pieces when you do minus back. just zoom in really close to make sure you have everything lined up the way you want before you run minus back.
otherwise you’ll just need to look for little pieces to clean up like this.
It’s a lot easier to catch those little bits too if you turn off the stroke colors when you design.
The Minus Back and Minus Front operations are meant to be performed on filled shapes…if you have varying stroke widths on the shapes, it can be easy to miss a little gap in coverage when you are aligning things.
(You can always assign a stroke later to the resultant shape, so I just turn off all the strokes when doing the initial designs.)
Oooh…And use the Smart Guides…they let you lock point to point to make sure that everything is covered.
I’m glad you resolved it! I’m going to close this thread - if the problem reoccurs, go ahead and post a new topic. Thanks for letting us know about this!