Just to simplify this a bit…
-
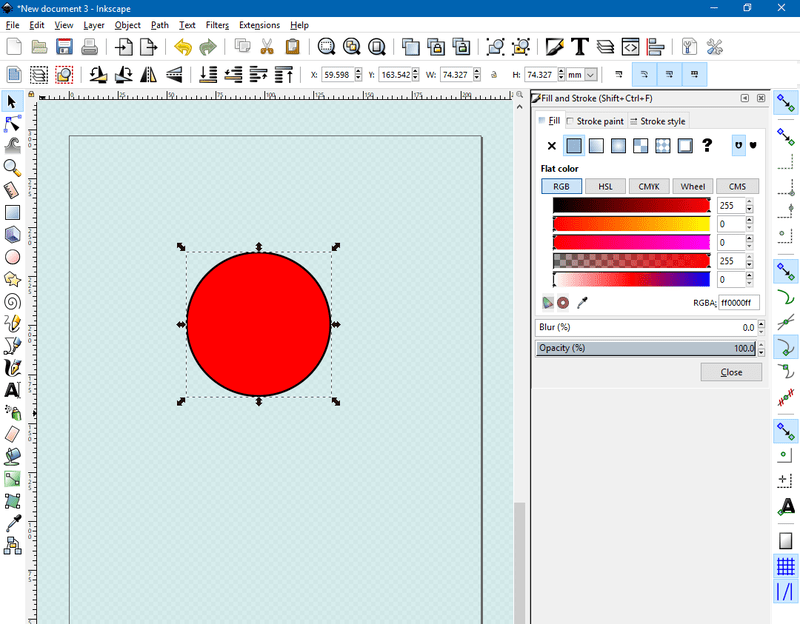
Starting with a red-filled solid black stroke circle:
-
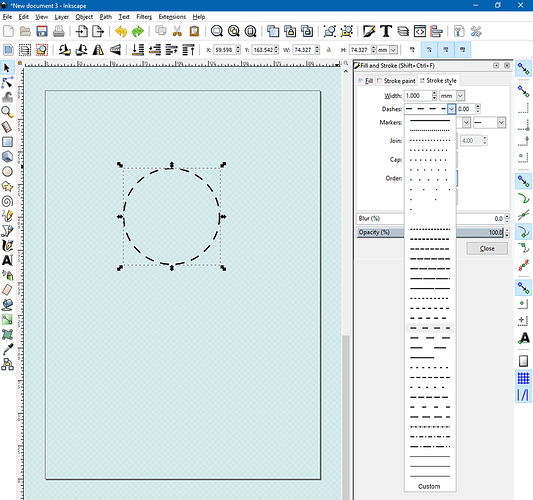
Change it to NO-fill, and assign a dash from the stroke menu:
-
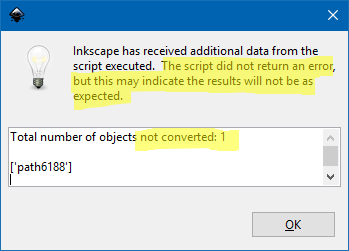
Sidenote: Don’t bother trying to use the Convert to Dashes extension at this point. If you do, you will see a warning dialog box like this indicating that it fails:
-
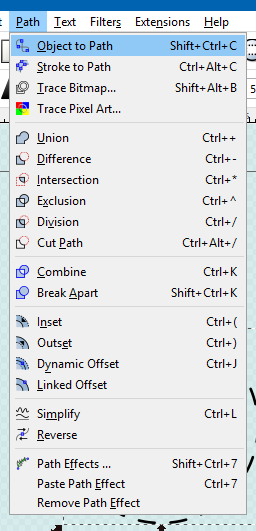
Go to the Path > Object to Path menu and first convert the circle to a path.
-
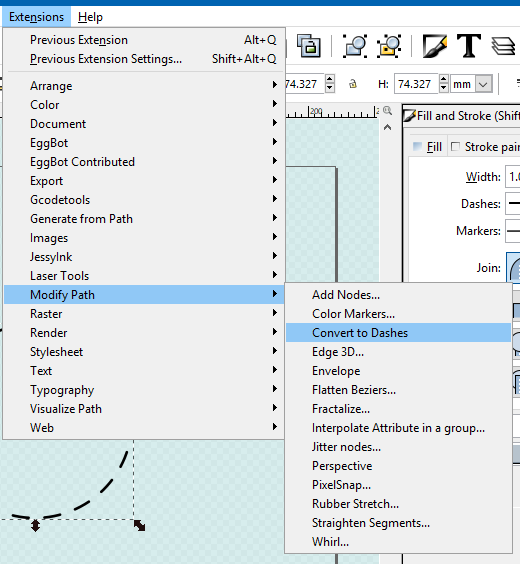
After you convert Object to Path, it might deselect the circle. Reselect it, and then use Extensions > Modify Path > Convert to Dashes
-
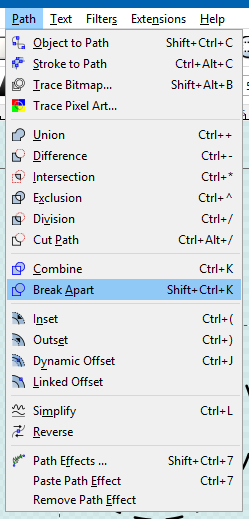
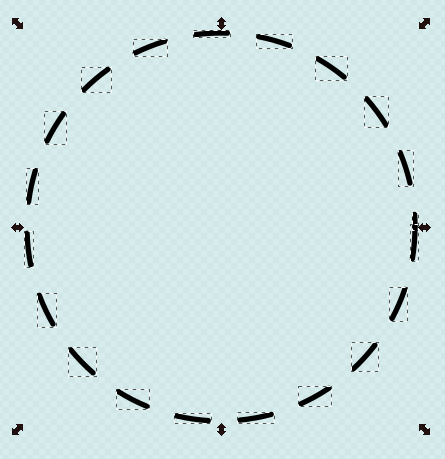
The circle will still be a grouped set of dashed lines. If you need to modify or remove some of the dashes for your shape requirements, break them apart with Path > Break Apart.
…and you should now see them individually:
-
Do whatever else you like to the dashes – delete some, change the color for creating separate cut layers in the GFUI, or even repeat the process on a single dash to make “dashes on dashes” if you like.
-
When you’re done tweaking it, I recommend combining it back together again so it’s easier to manipulate and move it as one unit.
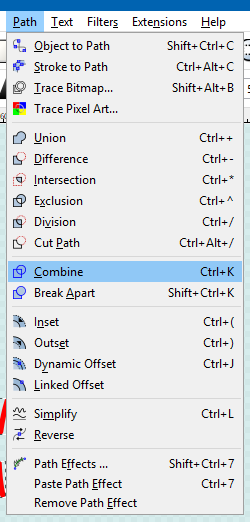
8.1. (not as recommended) Use Path > Combine to combine the path again. I don’t recommend this because if your tweaks included different cut colors for layers, it’ll lose them because you can only have one Stroke style applied to a single path – so it’ll revert to a single style.
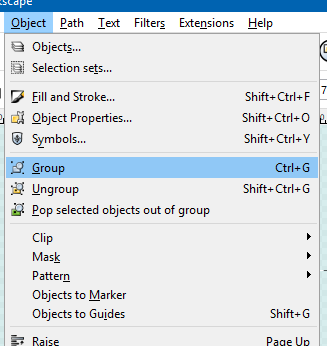
8.2. (preferred) Select all of the dashes and use Object > Group to keep them together.
