
iOS Video
Just putting this here, not knowing what the plan or how more tutorials are going to be done regarding dashes. In this with the circle and the one with the straight path, the extension that is part of a normal install of Inkscape seems to be an easier way to do this. Just change the path style to a dashed and set the dimensions as you want. Then select the path and apply the extension Modify Path > Convert to Dashes. This results in regularly segmented, broken path. You can do a lot to modify the default dashes in the stroke style dialogue. This allows you to make any path a dashed line. Something hard to do with irregular squiggles.
12 Likes
 The Extensions > Modify Path > Convert to Dashes extension is entirely underrated for what it does.
2 Likes
Just to simplify this a bit…
-
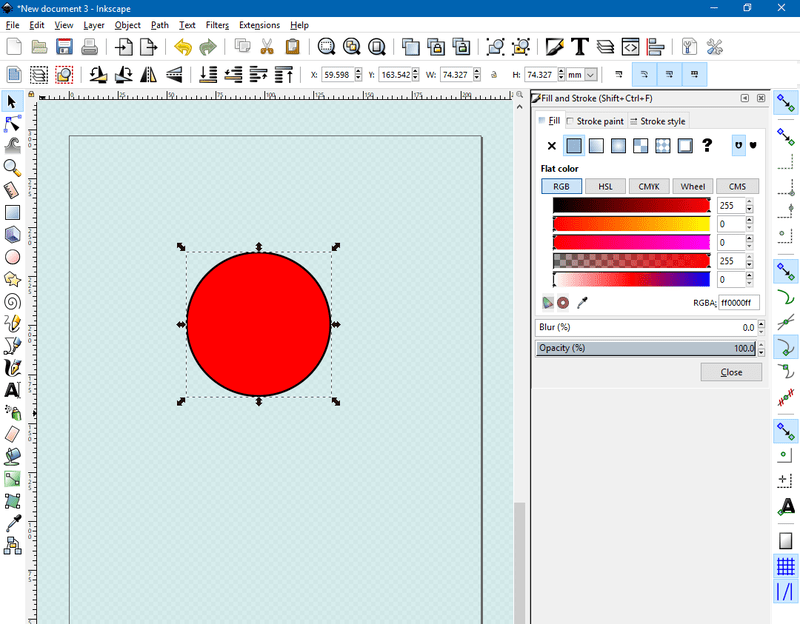
Starting with a red-filled solid black stroke circle:
-
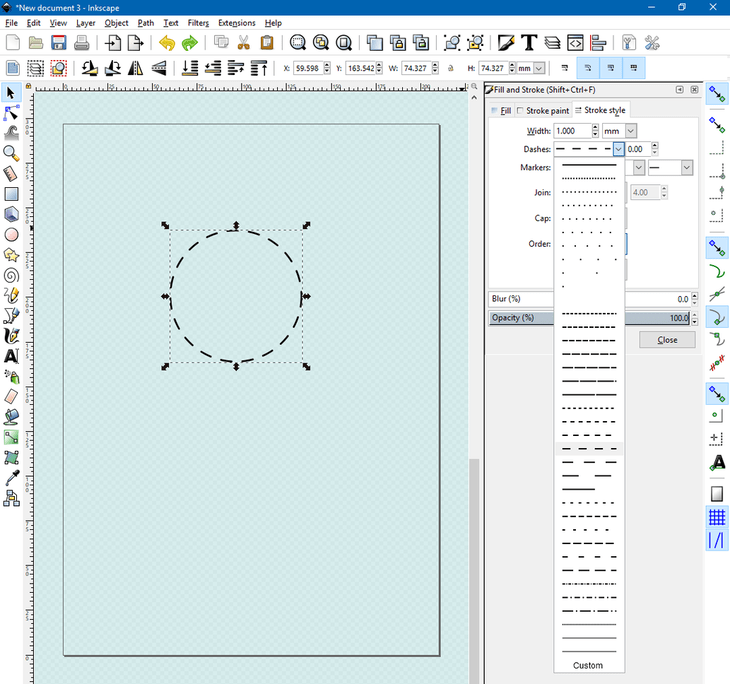
Change it to NO-fill, and assign a dash from the stroke menu:
-
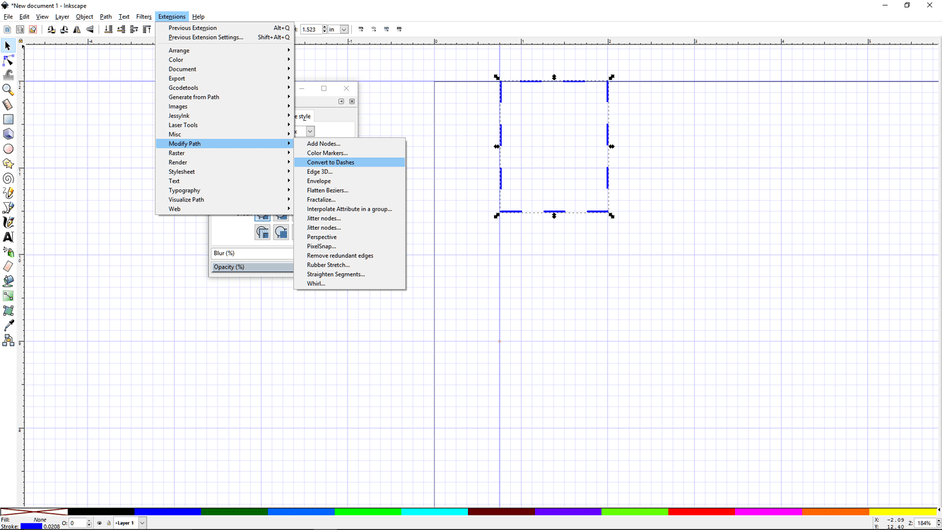
Sidenote: Don’t bother trying to use the Convert to Dashes extension at this point. If you do, you will see a warning dialog box like this indicating that it fails:
-
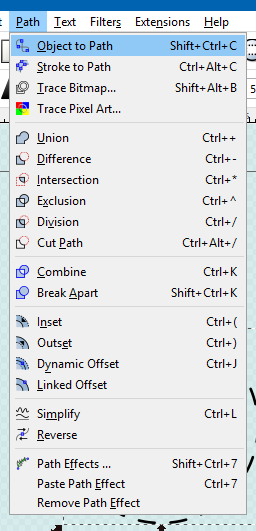
Go to the Path > Object to Path menu and first convert the circle to a path.
-
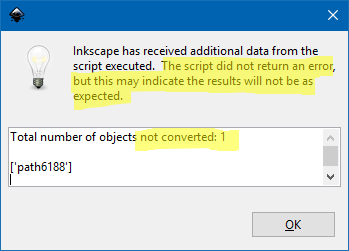
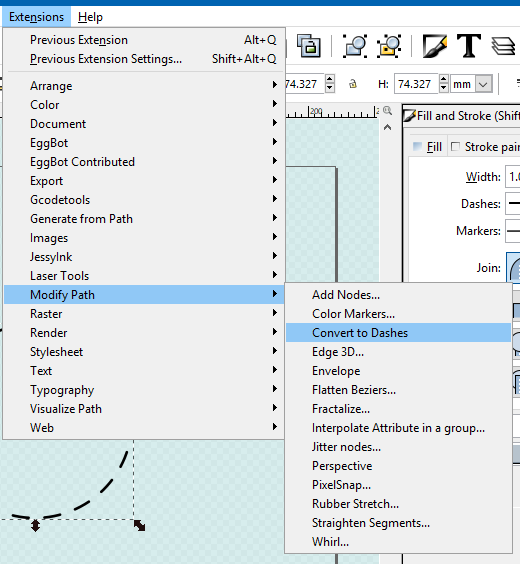
After you convert Object to Path, it might deselect the circle. Reselect it, and then use Extensions > Modify Path > Convert to Dashes
-
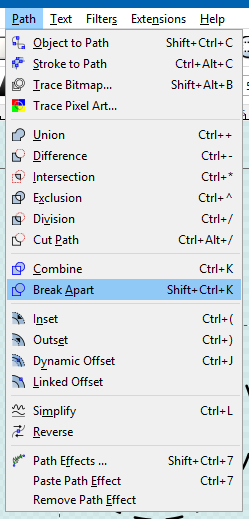
The circle will still be a grouped set of dashed lines. If you need to modify or remove some of the dashes for your shape requirements, break them apart with Path > Break Apart.
…and you should now see them individually:
-
Do whatever else you like to the dashes – delete some, change the color for creating separate cut layers in the GFUI, or even repeat the process on a single dash to make “dashes on dashes” if you like.
-
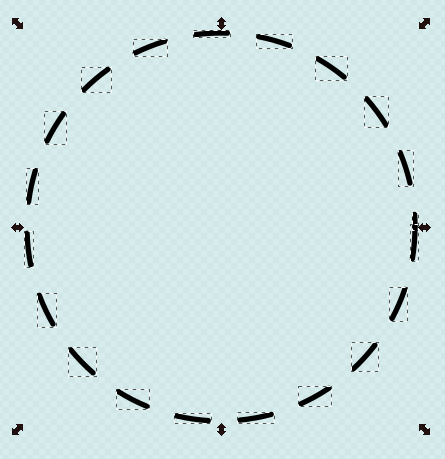
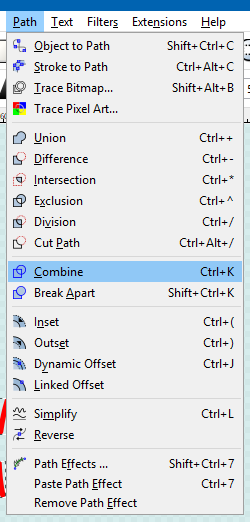
When you’re done tweaking it, I recommend combining it back together again so it’s easier to manipulate and move it as one unit.
8.1. (not as recommended) Use Path > Combine to combine the path again. I don’t recommend this because if your tweaks included different cut colors for layers, it’ll lose them because you can only have one Stroke style applied to a single path – so it’ll revert to a single style.
8.2. (preferred) Select all of the dashes and use Object > Group to keep them together.
21 Likes
I realize this is crazy old, but I ran across this today and it’s brilliant. I do exactly your method - but instead of dashes I choose this dot:
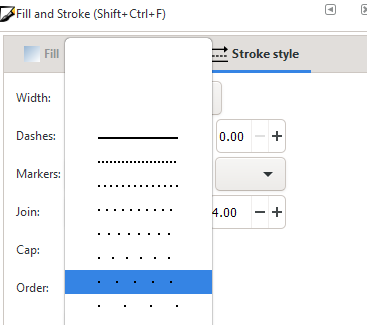
Then follow your steps 4. through 6.
Then select the dots and do an outset

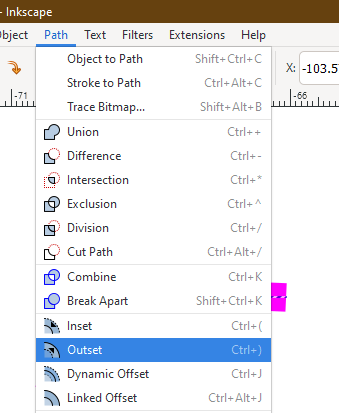
You now have little circles which are perfect for sewing in leather!
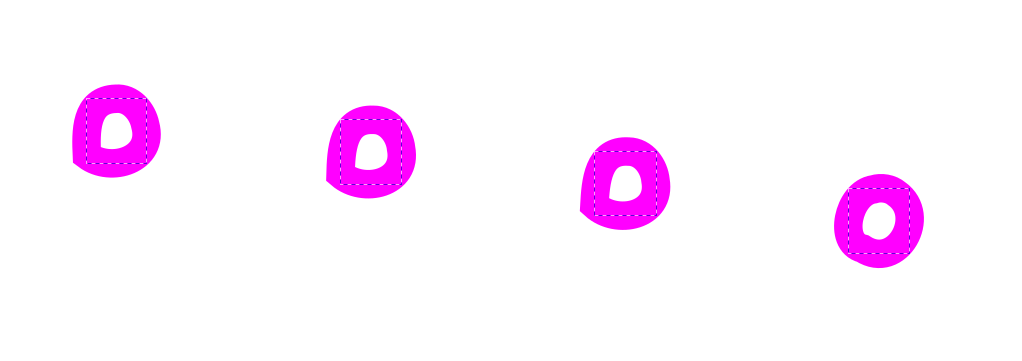
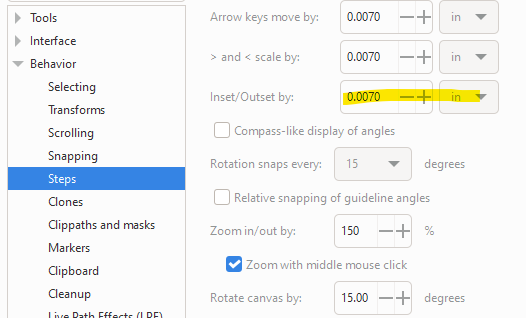
I have my outsets set to .007" so I did it twice to get these .06" circles which are just the right size.
Thank you for leading me down the path!
1 Like
Well, kind of, right? They are a bit lumpy. I would suggest using the line to dashes approach with rounded line ends, then stroke to path.
Follow @dan_berry’s great advice to make your dashes into line segments.
Then change the line ends to be rounded…
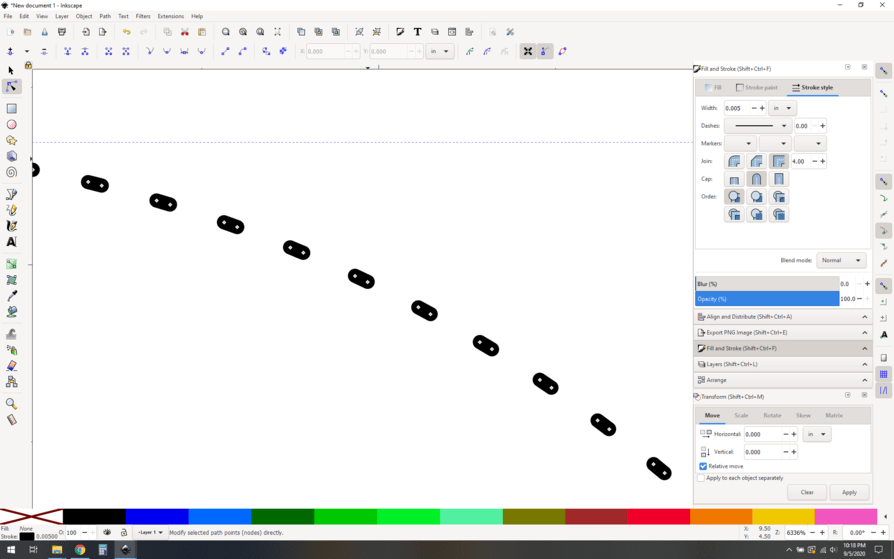
Now do Path->stroke to path. You’ll end up with “ovals”. (not true ovals, but close enough for this discussion)
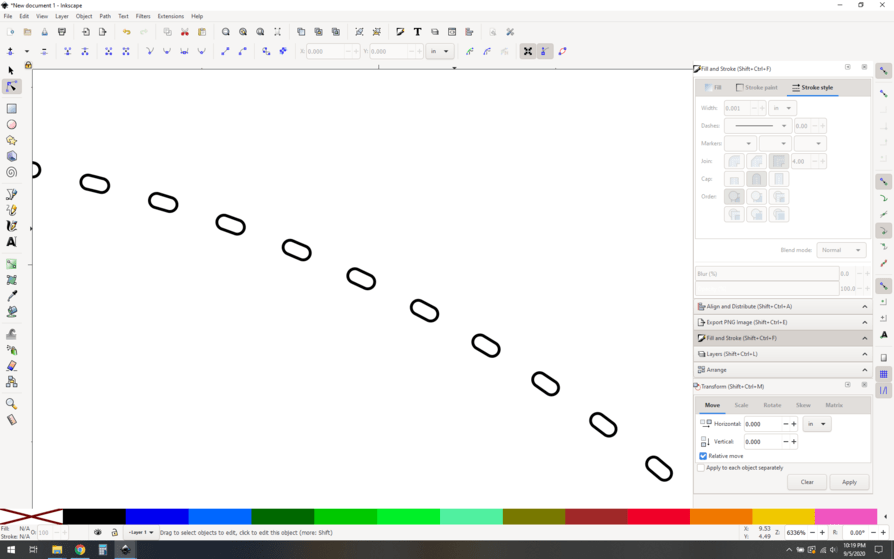
That’s pretty good. I personally like oval stitch holes, but you said you wanted circles though. We can do that.
ADVANCED OPTIONAL:
The trick is to use a custom dash pattern, or to modify the existing pattern.
Get your dashed line. Now open the xml editor and change the dasharray values:
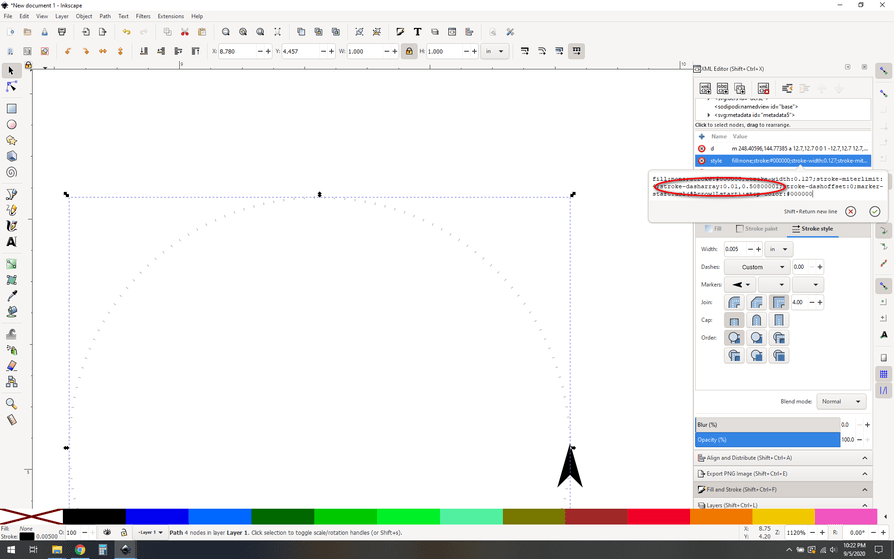
The first value is the “line”, the second is the “gap”. I believe by default these are in mm, but don’t quote me on that. Your dashes are now ridiculously small. Now do the same trick of rounding the ends of the stroke and converting to dashes…
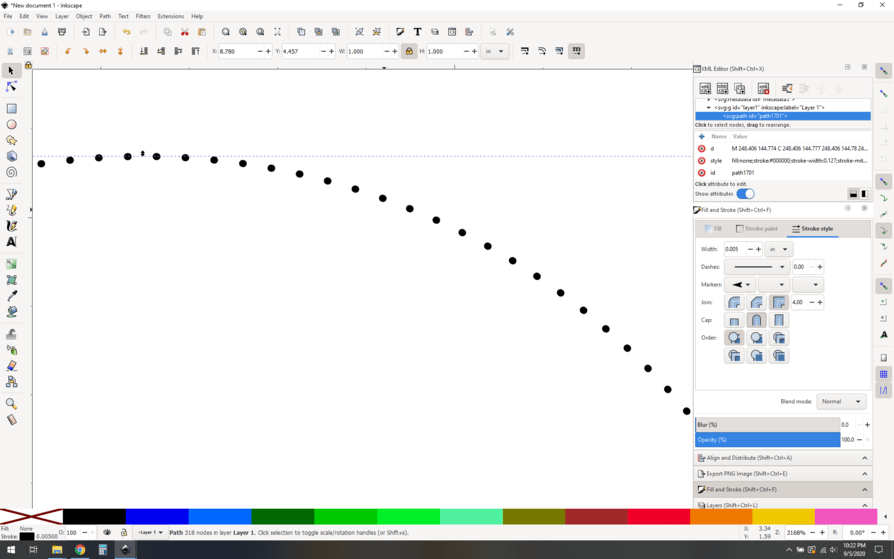
…and finally stroke to path, and you get:
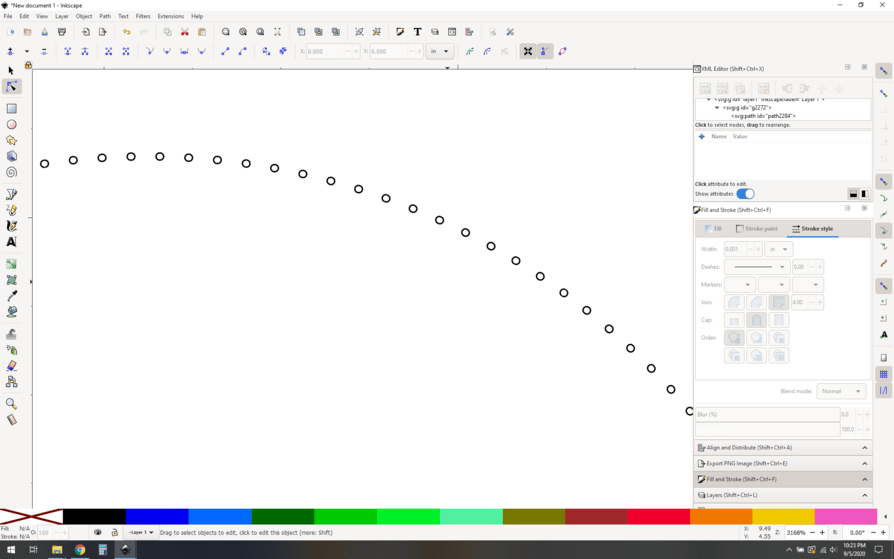
Wee circles or very very close to circles. They will have a diameter equal to your initial stroke width on your dashed line, so you can make the holes any size you like.
You can manually edit dash patterns in a configuration file, a little googling will tell you how to do it. This would make the process as simple as selecting your teensy dash pattern from the start, no manually editing the XML.
2 Likes
In leather they make perfect circles - at that size you cannot tell that there are overlapping ends, and it seems to allow the laser to make a faster cut. My perfect circles take a touch longer (we’re in milliseconds but when you’re cutting hundreds of them you tend to notice).
I’ll take my 2 step process ![]()
Love this idea for perforations! Thanks, @Jules and @dan_berry !
Has anyone used this technique to create tabs for joinery?
1 Like