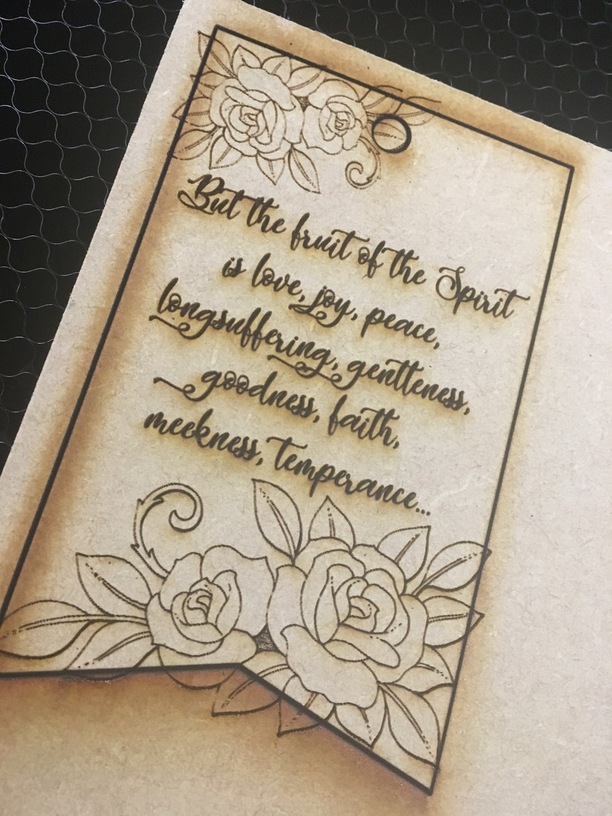
Can someone tell me if there is a (simple) way to exclude the design that is outside the cut path? I’ve just started with Inkscape & cant figure it out. Much thanks!
1 Like
If Glowforge supported clip paths it would be trivial. Doing it without clip paths is more difficult. 
1 Like
The easiest way would be to reduce the flowers to fit inside the cut. But you can delete the nodes that make up the flowers to line up with your cut. There are some good videos on YouTube that explain how to use the node tool. It takes a while the first few you edit but gets faster once you get the hang of it. 
1 Like
In this case, are you sure you want to? There’s nothing wrong with extending the design beyond the edges of the shape. As a matter of fact, for scoring, you get a cleaner result that way. 
If you do want to truncate the design, I believe you can select the Node Edit tool and then use the node options to cut the lines where they cross and delete them. (Not an Inkscape user though, so there might be an easier way to do it.)
2 Likes
Thank you all. The nodes are just tedious. I guess I was thinking in terms of efficiency, faster engraved & grouping multiples closer together. I didn’t think about the edges looking cleaner. Thanks @Jules !
1 Like
By duplicating the rectangle and flowers I believe it is the intersection command that gives you just the part of the flowers inside the rectangle.
I often get confused and hit undo a lot and try different ones till I get it right.
If you don’t want the score line same as the rectangle you can highlight the two nodes and turn off the line there.
3 Likes
Is there an Inkscape equivalent to the Illustrator Direct Selection tool, where you could just drag to select a group of nodes and delete? Should work fine (if there is) since it looks like those are scores and not engraves.
1 Like
I tried several things, but couldn’t get it. I will try that. Thanks!
You can select several at once by dragging a square/rectangular selection box around them. You have to go in individually & tweak each node after though. There are several options, difference, exclude, etc. That made me think there must be a simpler way to do it.
You can hold down the Shift key and just pick, or go into your objects list where holding down the Shift key will get you all between the two you are picking or the control key and you can pick the ones individually.
If your design is a vector, here’s how I would do it in Illustrator - I believe there’s an analogy in Inkscape, although I don’t remember the commands.
- Ungroup everything (or bolean operations don’t work)
- Copy the cutline
- “XOR” (it’s the two empty squares that overlap, and when they overlap, it’s filled in) the cutline with the art
This will leave the part of the art that overlaps with the cutline only.
If your design is a bitmap, then edit the design in photo editing software like Gimp to remove the extra bitmap.
Or just ignore it, it looks lovely.
4 Likes
What I learned the other day is this:
- Select your object(s), the flowers and text, and go to Object -> Pattern -> Objects to Pattern
This should make it into an Inkscape Pattern.
- Select the plaque and select Pattern from the Fill option. The pattern you just made should be the one selected. Mine had a name like pattern6099. If you figure out how to rename the pattern please tell me. I haven’t gotten that far.
- The plaque should now have the flowers and text in it without anything outside the lines.
- At this point the glowforge will only recognize the cut lines for the plaque. So go to Edit -> Make a Bitmap Copy. Now when it is loaded the Glowforge recognizes an engrave and a cut.
Disclaimer - I only found this workflow Wednesday from the website of a graphic designer. I have loaded it into the GFUI and everything looks good. I’m currently painting a square of draft board and when that is done I will do my cuts and engraves with what I did using this technique.
I saw how patterns work but I have not yet seen how they translate to the GFUI they cannot be used as raster to vector inside Inkscape, But I have not tried exporting it yet, I think that they will be like a gradient that the GFUI cannot handle yet.
I’m thinking the pattern is going to have to be engraved (eliminating a pattern of scores), based on my limited investigation. Maybe not, but probably so.
Just tried it.
As a png it works fine but as an svg you get nothing. It is just like a gradient.
1 Like
Doesn’t surprise me. I figured if nothing else @toriemarie could export the flowers and text as a png, then import it and do the above steps.
You get a little more speed by zapping the stuff outside the cut, but your materials savings are minimal, and unless you’re reprinting that piece a lot, you spend more time messing with it than you save. It’s mostly about the elegance.
(I had an epiphany on this when I was designing some slot-together structures last fall – the first time I did it, I made little rectangles and very carefully merged their paths into the outlines of the things I was cutting. Then I realized that if I just left the rectangles alone I could adjust sloth depth/width/position much more easily, at the cost of a few extra seconds in cut time and a fraction of a square inch of excess material use. )
3 Likes
My sloth runs pretty deep (yes I know! typo! but cute )
2 Likes
Yep. My old method was making the slots/tabs integral to the design and now I do what you’re doing - just drop a box on it for slots (for tabs I drop U shapes). Easier to adjust for material differences as well because I can select all of them and resize them at once.
1 Like