Not sure where to put this so I will start here in Everything Else. In inkscape I know you can make a variety of patterns in many ways. In a past post there was an explanation of the clone feature.
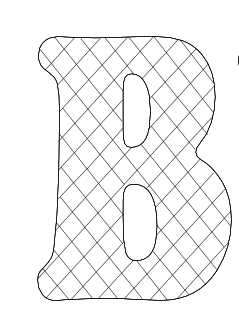
You can also make a pattern using “object to pattern” and then fill in a shape with that pattern.The pattern can be manipulated from there, too. Here is where my problem starts. Lets say you have a letter that has been turned into a path. A “B” say. You can use the pattern tool to fill that B, but the pattern (created by object to pattern) that you place in the letter (or any other shape) is NOT a vector and, as far as I can tell, you can’t change the pattern into a vector. This means that if you want a pattern to perfectly (and automatically) be placed/fit into a shape, you have to freehand the pattern. That is what I did to achieve the pattern in the picture. Does anyone with more experience have a different view? I simply could not get the automatically generated pattern made using object to pattern to go vector.
Referencing the past post, you can make vectored patterns with the clone tool, but I don’t think inkscape recognises it as a pattern that can be placed into a shape and cropped to fit automatically. Or at least I don’t see a way to do this. Any others see it differently? Any help is greatly appreciated. The picture is what I am trying to achieve with the line pattern being a vector that can be recognised in the GFUI. Of course, Ideally a pattern would be made automagically without having to trace over it with the bezier tool. One could also make the font and pattern in photoshop, then import and scan the bit map, etc. That is just additional work added that seem like it should be avoidable. Maybe not though! All help is greatly appreciated!