How to Make a Simple Lattice Pattern in Inkscape

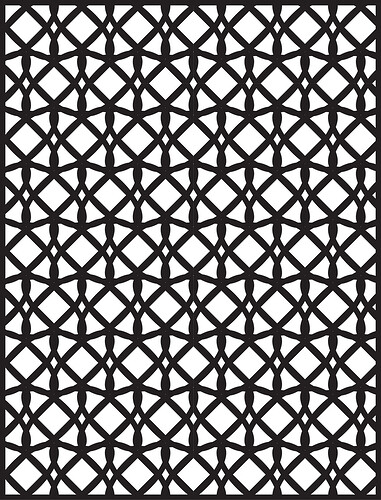
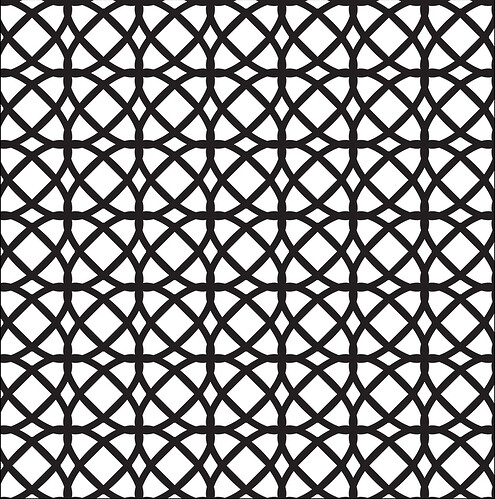
I wrote myself a “cheat sheet” for how to create a simple lattice pattern in Inkscape. The .svg attached has the detailed instructions which I’ve copied below - feedback is always welcome. I’m sure someone out there has a better/simpler way to do this :slight_smile:

Create a simple shape.
Select that shape, then Path/Object to Path to get some nodes.
Click the little Nodes icon in the left button area so you can edit the nodes.
Alter the nodes as desired (make some round ones corners, etc.)
Make a duplicate of this object (so you have a copy of the original).
Use that duplicate in all the following steps:

Set the Stroke width of your shape to be the width of your lattice lines (.15 inches).
Wiith your shape selected, got to Edit/Clone/Create Tiled Clones.
Click the Reset button on the bottom of the popup.
Enter a number of rows and columns to use.
Set Shift Y to -55% per row, Shift X to -5% per Col

Click the Create Button.
Continue to “undo”, alter the settings, and cick Create until you are happy.
Once you have a lattice pattern that you like:
Under Edit/Clone, choose Select Original and then delete that object.
Select the whole lattice you just created.
'Under Path menu, choose Combine.
With it stll selected, choose Path / Stroke to Path.
This makes the whole lattice a single stroke.

Next, set the fill to some color other than black.
Set the stroke width to 1 px.
Remove the Fill.
Set the Stroke Color to Black. >>> forgot to add this to the svg file, but it’s important <<<

You can now duplicate the whole lattice, squish it, etc.
to get a design you like.

88 Likes

I bookmarked this so that I can reference it later. Thanks for the walkthrough.

3 Likes

Awesome write-up

1 Like

Thank you for that lesson! The digital equivalent of doodling - clicking and dragging does let you stumble into inspiration.

1 Like

Wow, thank you!

1 Like

Thanks for that, I am sure I will use that in future projects.

1 Like

Nice tut! Lot of Inkscape users will find that very helpful. :grin:

1 Like

I could not follow these same steps in Illustrator, but your posting inspired me to find a way to achieve it in that software. Thanks! Lots of shapes and overlaps and offsets to explore to find the best patterns to employ.


This is what I did in Illustrator to create my lattice.

Using whatever drawing , shape, vector tools you want, create a basic shape that will form the foundation for the lattice pattern.

Select it and turn the fill color to null. With the shape still selected, increase the stroke width until it looks good.

If the shape has multiple pieces (for example, an oval and a square), make sure they are aligned the way you want, and then group them (OBJECT/GROUP). Resize as necessary.

Select the finished shape, then create a pattern (OBJECT/PATTERN/MAKE). Click OK in box noting a new pattern swatch will be created.

In the Pattern Options panel, click a checkmark next to “Size Tile to Art”. The boxes underneath can be used to specify the horizontal and vertical offsets. Enter NEGATIVE numbers to create overlaps of the shape.

In the Pattern Options panel, Select the Tile Type, that looks good for you. For example, all rows and columns of the shape pattern can be aligned or offset like bricks.

When the overall pattern looks good, click “SAVE A COPY”, and name the new pattern. Click Done.

Create a rectangular (or other shape) frame that will hold the pattern. Select it. Click on the pattern in the swatch panel. It will be filled with your pattern.

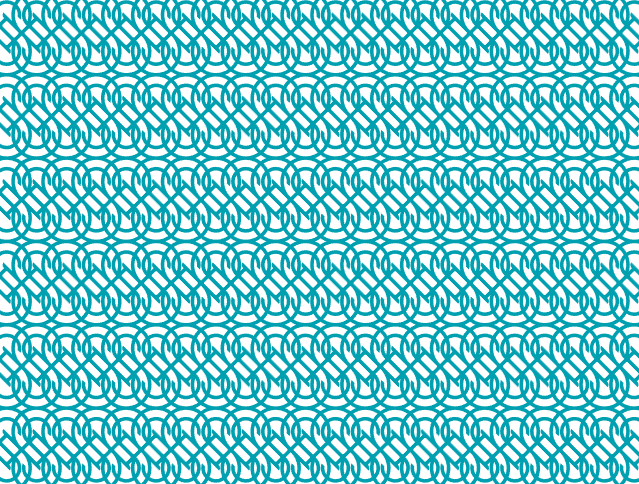
The pattern below is from the same original shape, but with different horizontal and vertical offsets.

23 Likes

lovely! I see shadow-casting lanterns in our near future :thinking:

3 Likes

And our past:

2 Likes

Bookmarked

1 Like

thx for uploading those images.

That makes me think - the way the GFUI seems to work (haven’t seen it first hand yet), maybe we don’t need that last step of making the lattice outline a single line with no fill. I think the GFUI will just read in our black-filled lines and ask us if we want that cut out (vs engraved) and do that last step for us.

so… maybe with just the one step of creating the black-filled lattice, GFUI can do a cut out of veneer for us, giving us the very cool lattice, and then we can swap in a different material (1/8 inch) and have it do an engrave from the same image. Then, we can glue in the veneer lattice as an inlay. I’m looking forward to testing that out someday soon! :glowforge:

1 Like

From what I understand, @cynzu , the GFUI interprets a vector line as having no width, even if the drawing program you make it 8 strokes wide or whatever. So I think you do need to outline where you want the cuts to be made, if you want something like a lattice pattern to be cut out.

3 Likes

Thank you!!! bookmarked!

1 Like

You can keep the fill and keep the stroke. These will come in as two operations, even if they are the same color, if you want to engrave for an inlay. Excellent description and very inspiring.

3 Likes

What a great idea.

21 Likes

Is it just me or do those look like $ signs?

7 Likes

I imagine that’s what Glowforge is hoping :wink:

1 Like

I keep seeing smile emojis hid in it personally.

3 Likes