Inkscape Question for engraving

Hi Everyone! I am having trouble with trying to figure out in Inkscape how to create an engraving. I am trying to engrave a box that has text in it but I don’t want the text portion engraved.
Screen Shot 2021-09-13 at 7.10.39 PM|474x150

Hopefully the image shows up…
So the dark part is what I want engrave. Does anyone know how to set this up in Inkscape? I have searched a ton today and just can’t find any information on it so I thought I would reach out here.
Thank you in advance!

OK so it’s pretty easy in concept. There are like 3 steps, hang on and I’ll post screen shots.

8 Likes

OK! Make a text and a rectangle.

Now, align the text and scale things to your liking.

Looks good. Now, you need that text to be a shape instead of text. Select the text and do Path->Object to path

Now your text is a group of paths. Note the little text at the way bottom left, it tells you what you have selected.

Ungroup it, now it’s a bunch of independent paths (hence the separate highlight boxes…)

But we want this to be one single path, so now do a Path->union and they’ll be fused into one big shape:

Now you want to subtract that from the surrounding rectangle: select everything and do Path->exclusion, you’ll be left with this:

But you want it to engrave, so you need a fill, so choose a fill color and remove the stroke color:

And that’s it, ready to go.

16 Likes

The basic concept here is path manipulation, specifically a set of operations called “boolean” operations. I’d recommend reading at least the first three tutorials on the inkscape site:

They have some really fundamental features documented there, including all the boolean operations. It’s time well spent to go through them, however long you spend there will pay you back over and over.

10 Likes

This was great and super helpful!!! Thank you so much. It is greatly appreciated.

7 Likes

WOW!!! Thank you, thank you, thank you!!!
Such an awesome tutorial!!! I so appreciate it!!!

2 Likes

You’re welcome and no worries! This is the kind of thing that only takes a minute or two to do, once you know the steps. Hopefully it’ll help you in many future projects too :slight_smile:

Getting ready to do it now! Can’t wait! Thank you again!

I have another question…so I want to put an engraved border around my map but when I load it to GF it wants to engrave the whole box…how do I just create an engraved border?
The area in orange is what I want to engrave…like a frame around the map…

Thank you in advance!

So the concept is the same. You need to convert the lines to a shape. The way you do that is again with stroke to path. Hang on and I’ll show you a couple tricks to get it perfect.

1 Like

Thank you. You are the best.

So there are many ways to do this, I am going to do it the “long” way, with the simplest commands. Shortcuts and efficiencies can come later, but when that day comes, you can look at using offsetting or designing the whole frame as one larger shape, etc. The skills that come in here are alignment, precise resizing, and path booleans. All really fundamental things to know.

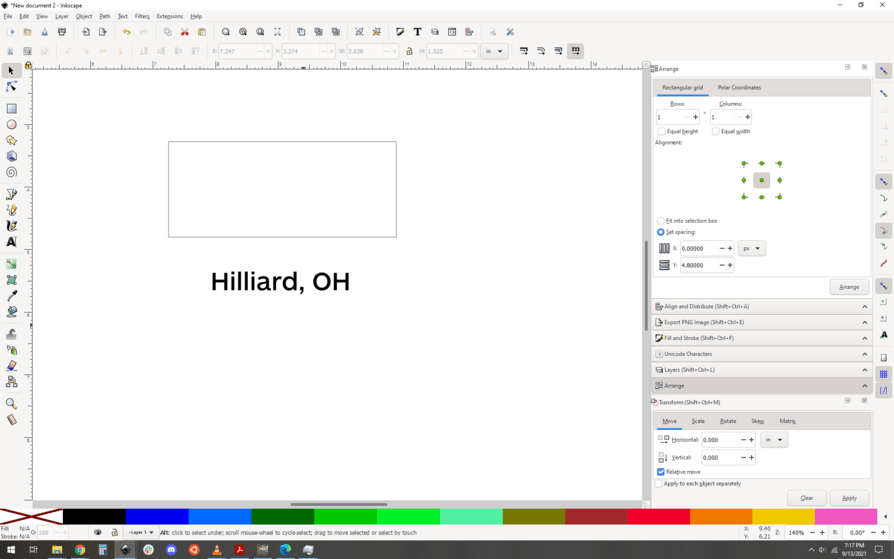
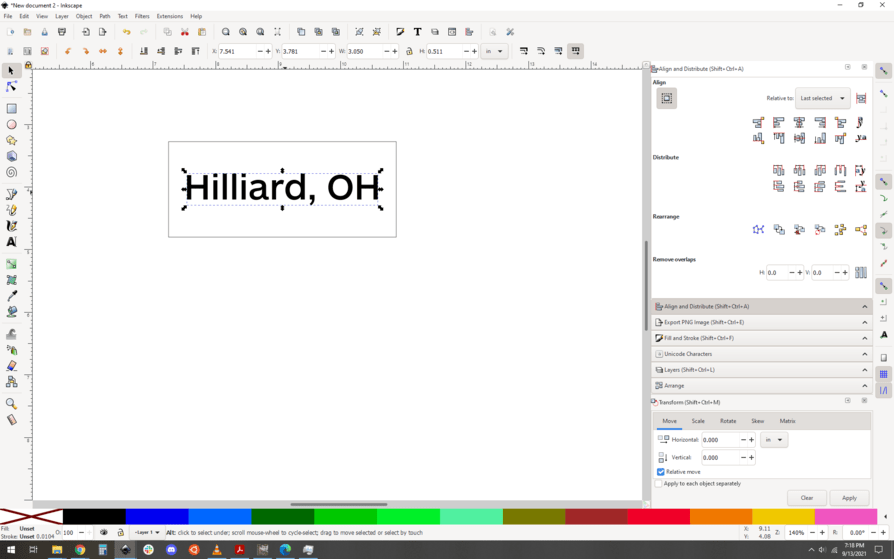
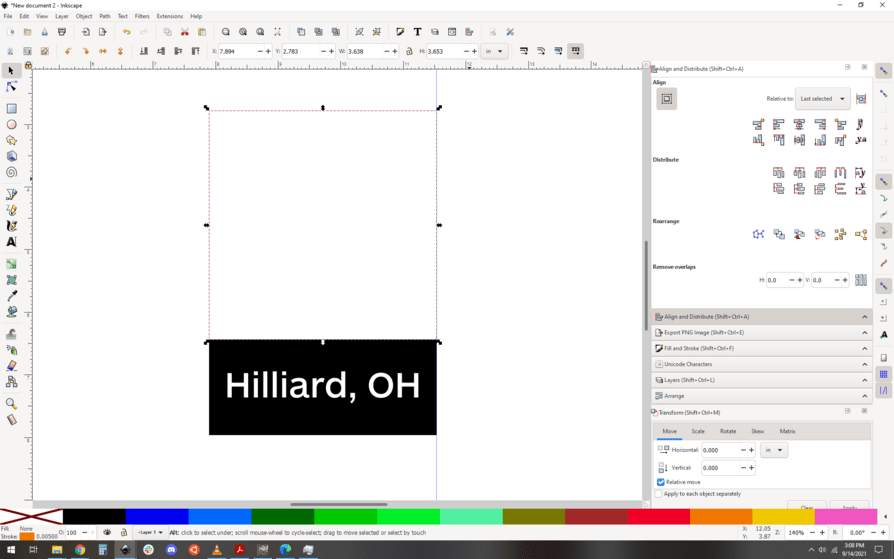
First things first, you draw your outer frame rectangle. To do that I use a guide:

Then I start at the top left corner of my Hilliard shape, and drag a rectangle to the guide.

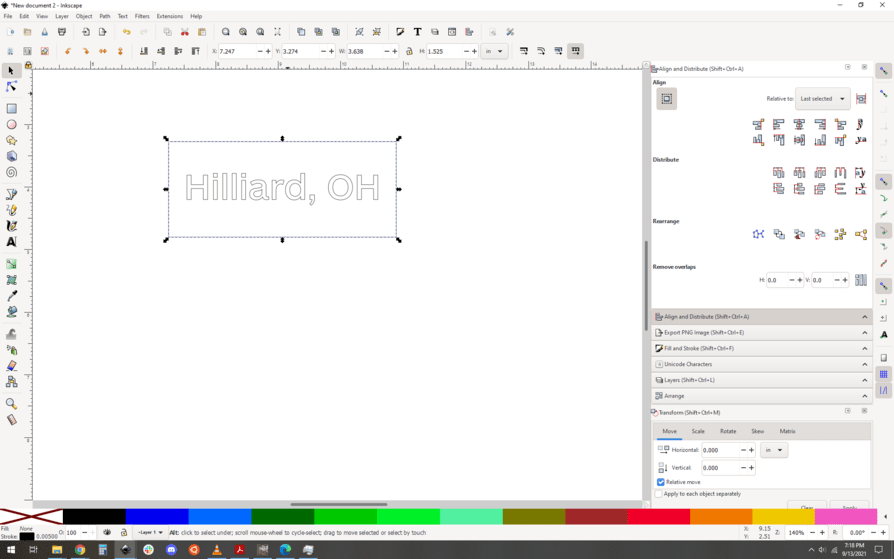
Excellent. Now I want to make that frame have a thickness. I chose 0.5", just as an arbitrary width. There are lots of ways to do this, I will do it the really manual and precise way:

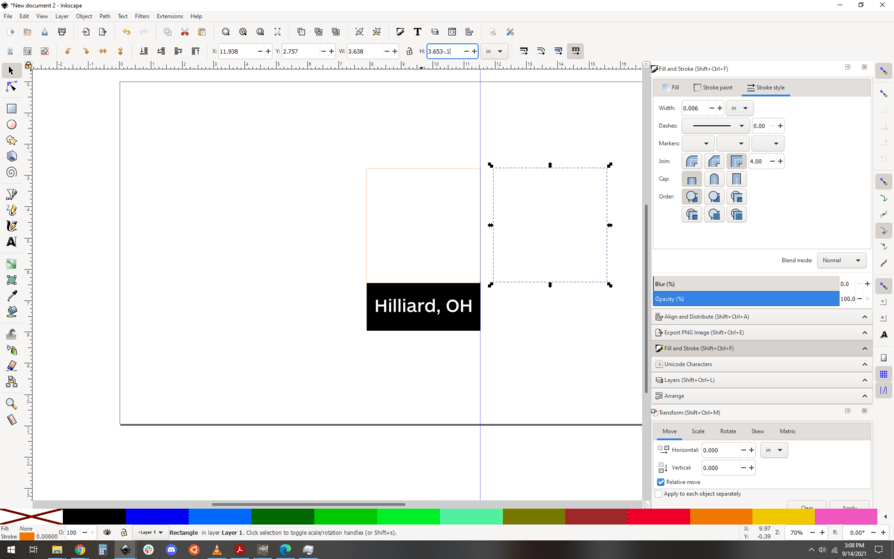
Copy the frame outline. Now you have two copies.

That second one is your inner frame outline, so it need to be 0.05" offset from the outer frame dimentions. Therefore, it need to be 0.1" shorter and thinner than the outer frame… subtract 0.1" from the width… (note the dimension box highlighted in blue at the top of the last photo)

And again for the width: (again, note the highlighted blue box)

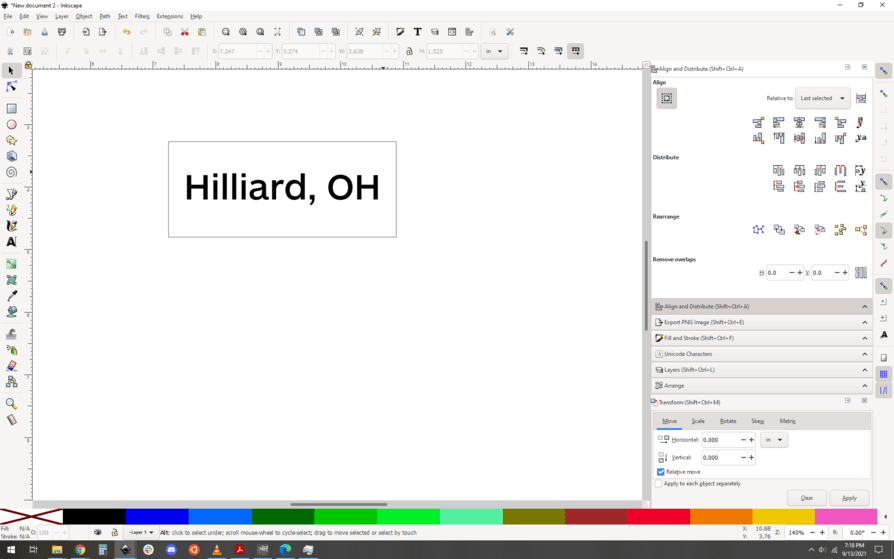
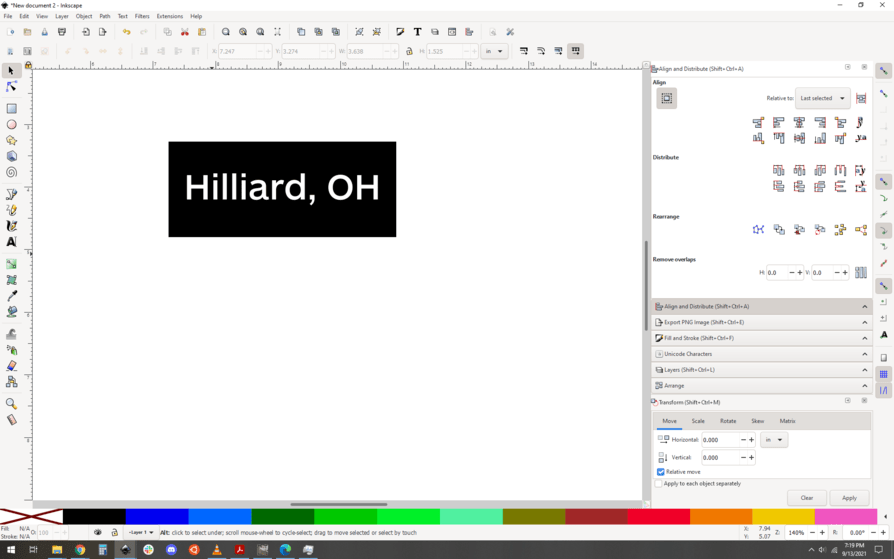
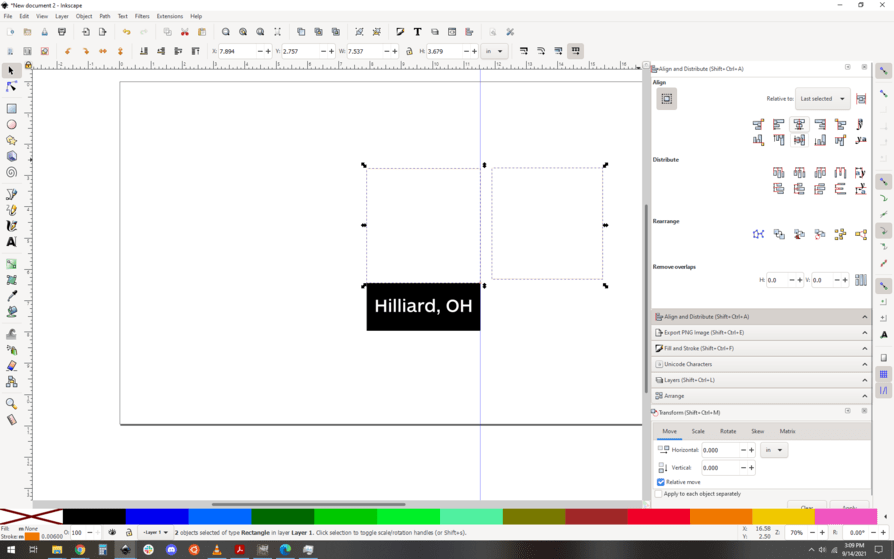
And now your inner frame is set, it’s noticeably smaller than the outer frame.

Perfect. Now align the two shapes using the alignment buttons…

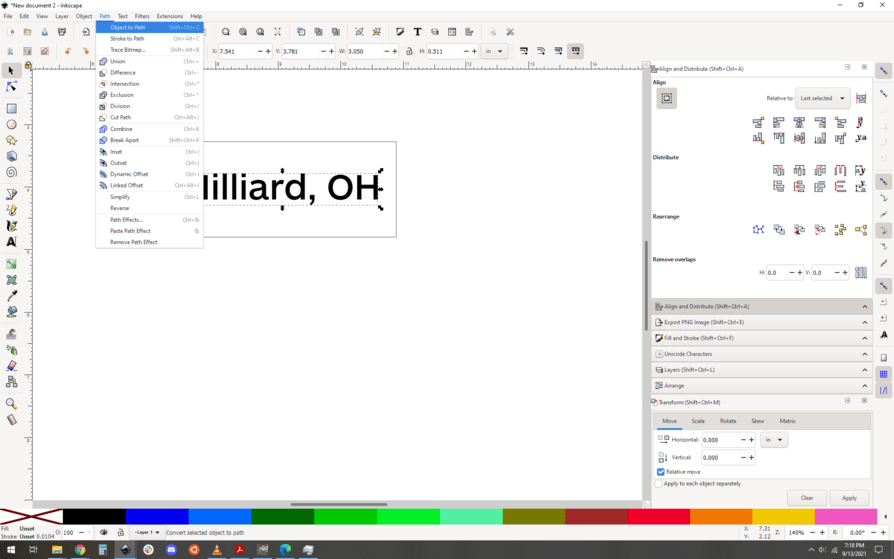
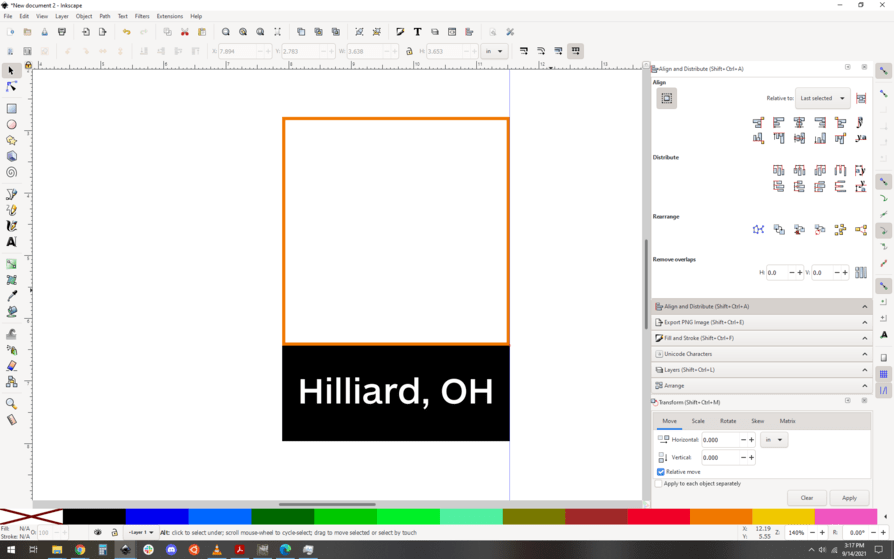
Looking good. Just like the text, we want to exclude that inner frame from the outer frame shape, so Path->exclusion, followed by setting the fill color and removing the stroke color:

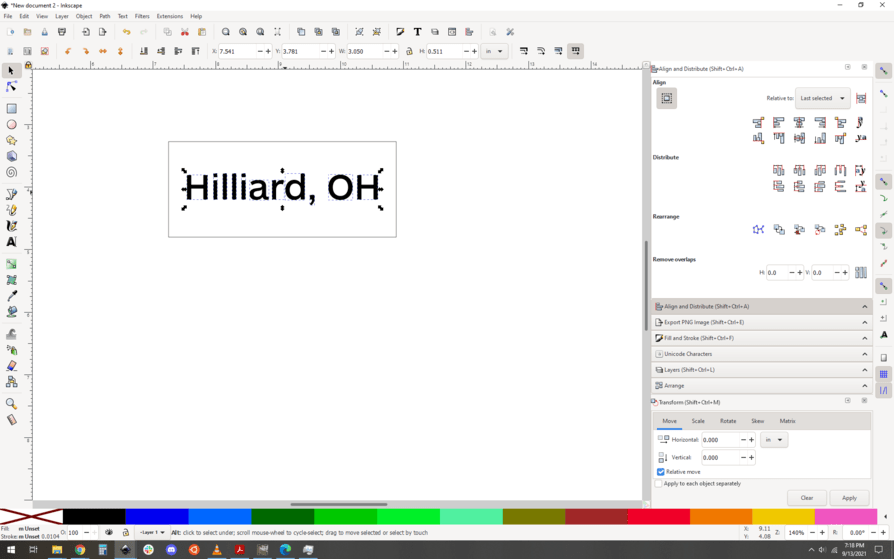
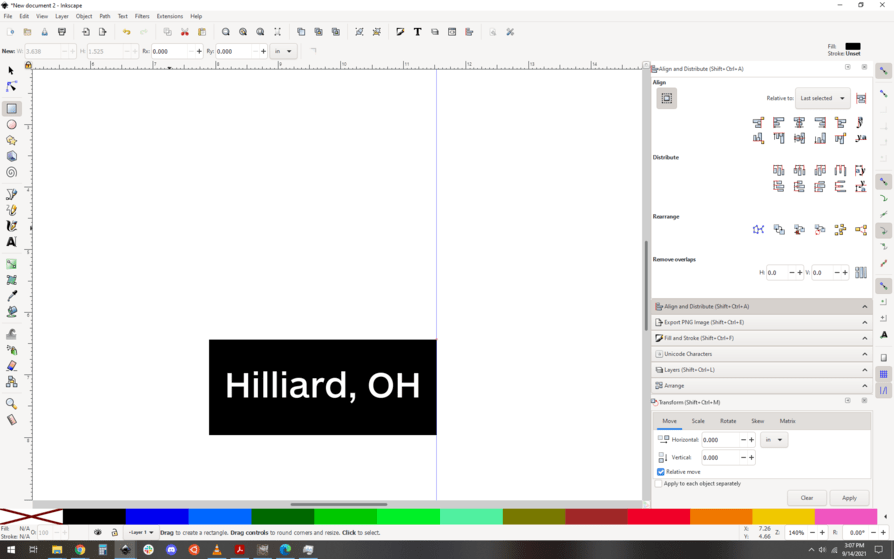
And now let’s join those two shapes, the frame and the nameplate with path->union:

And you’re good to go.

2 Likes

Thank you! I would never have figured that out…so grateful for your helping me with all this!

Well, as I said there are lots of ways to do it, and there are definitely more efficient methods… but like lots of design projects, sometimes the design changes as you go, so knowing how to add stuff like this together in parts is a really good skill to have.

I’m sure you could have figured it out. but I’m happy to help you with a quick tip or two. We’ve all been there, it can be frustrating when you know what you want and it looks simple but you just don’t quite know the tricks yet. When you finally get this map out of your system definitely go dig through those tutorials I linked before, they’re so helpful.

1 Like

Thank you.
I plan on going thru those tutorials for sure. Thanks for passing them along!

I must be doing something wrong because it didn’t work for me. The part that didn’t work was when I got to excluding. I had the inner box selected and did the exclusion and but nothing happened…and I couldn’t see my map under it.

Select both the inner and outer frame parts, then do the exclude. You’re excluding the inner shape from the outer.

Be sure that just those two shapes are selected.

That worked! lol
However I still cant’ see my map which is layered under that. I thought be doing the exclusion it would make my map visible but I’ve tried like 6 times and it doesn’t do it.

It should be visible… pop the pre-exclusion SVG file up here and I’ll see what’s up?

The frame should be a hollow shape, with no way for it to obscure anything underneath it.

HILLIARD MAP

Not sure what is going on! I have tried and tried! lol
It just doesn’t exclude like it did with my text.