I have used my machine for about 20+ hours. I have cut numerous projects, and for the most part I am a happy camper. But… lately my cuts are not cutting through Proof Grade material AND after I carefully align the drawing onto the material preprint, the laser does a great job engraving and cutting, but the starting point for the print has moved!
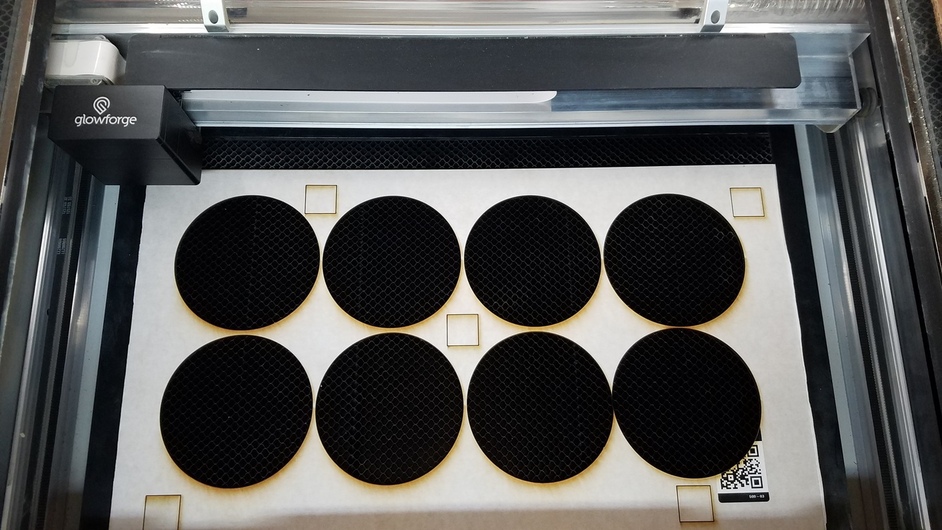
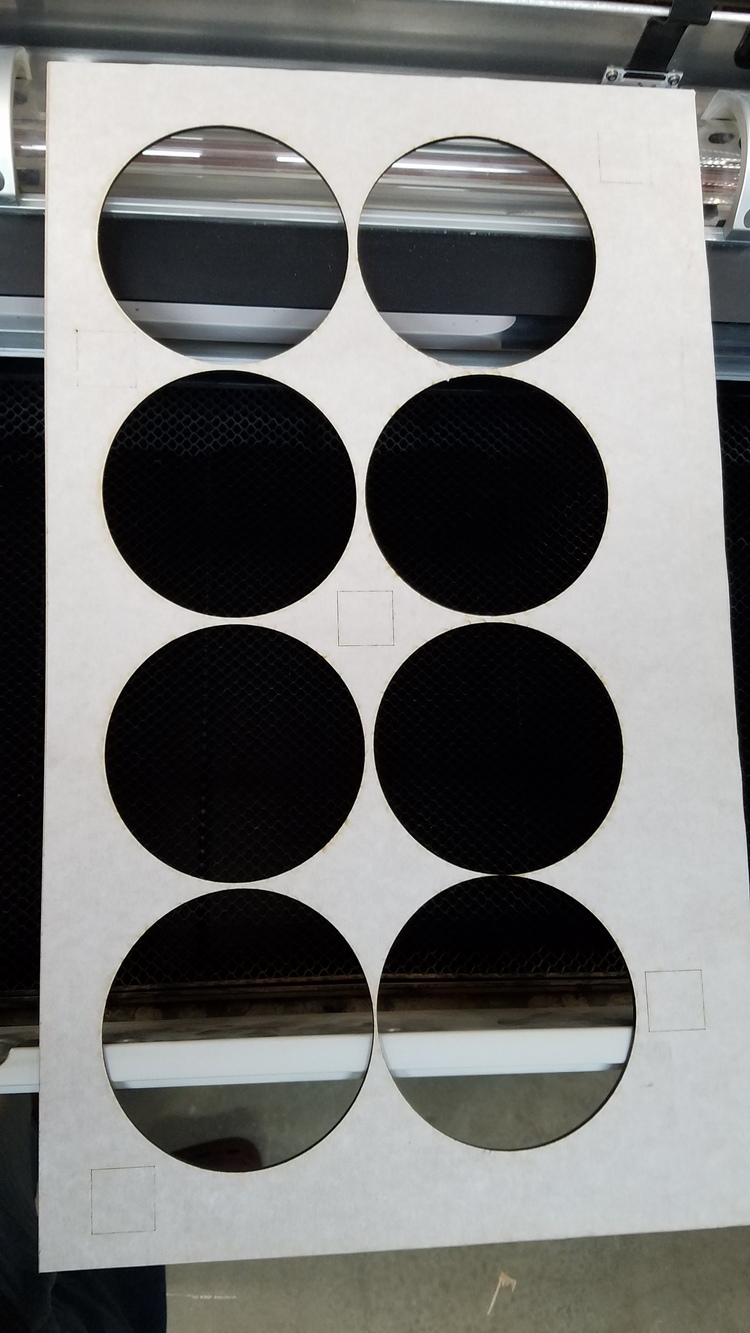
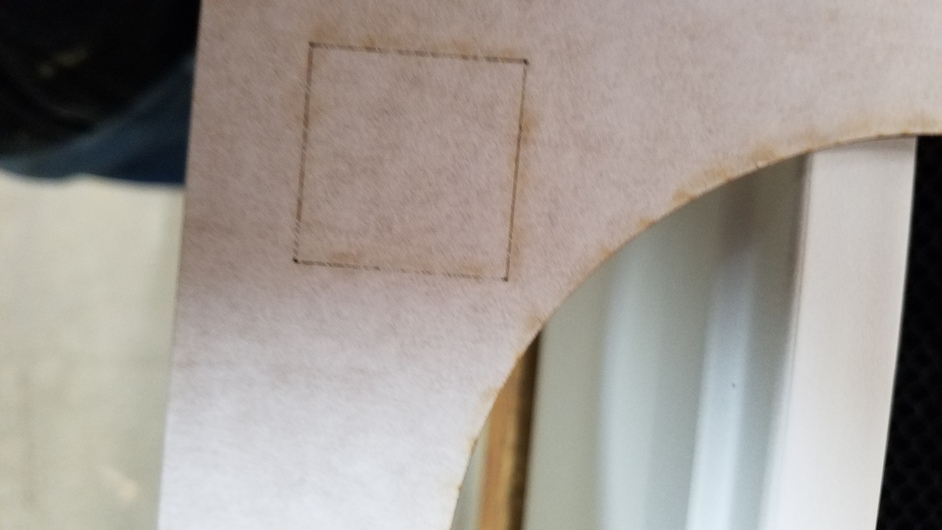
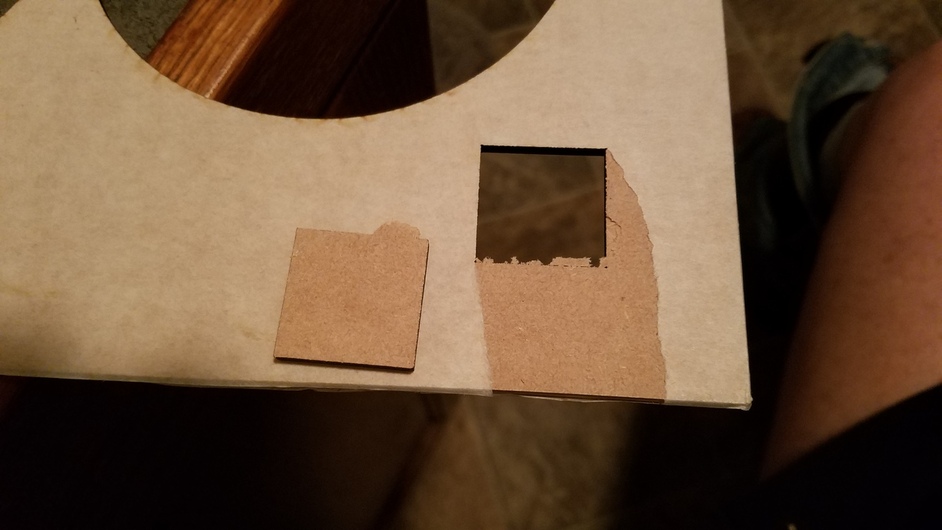
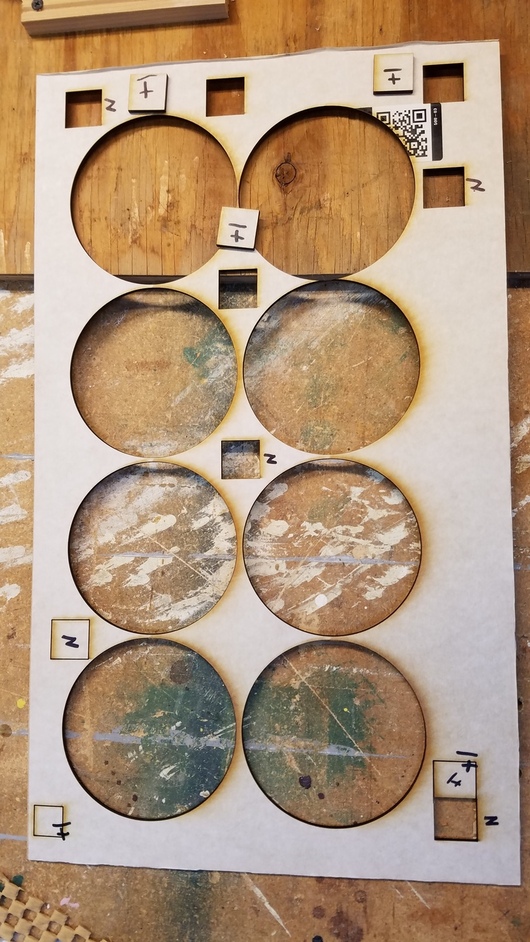
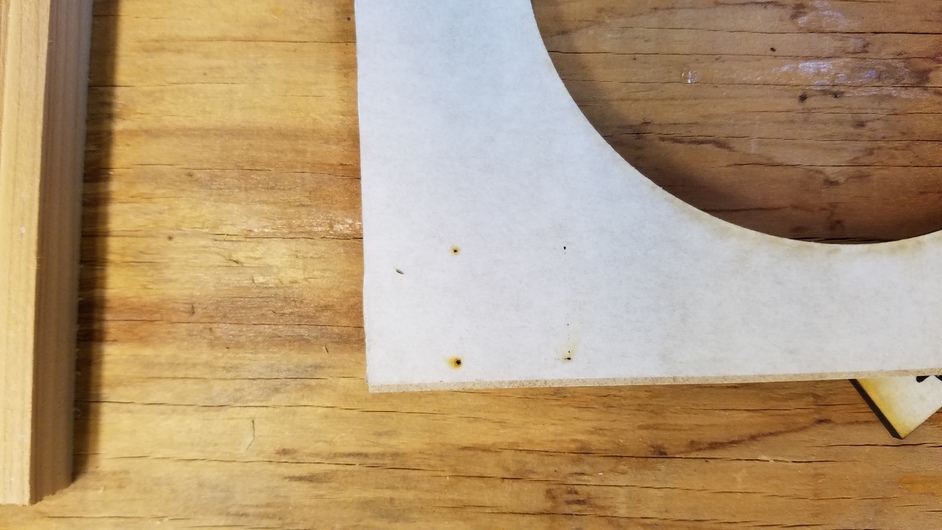
I am attaching too many photos for your information. The last two “Insufficient” photos labeled #6&7 show the results of raising the material an additional 0.125". Still unable to cut through on the left side.
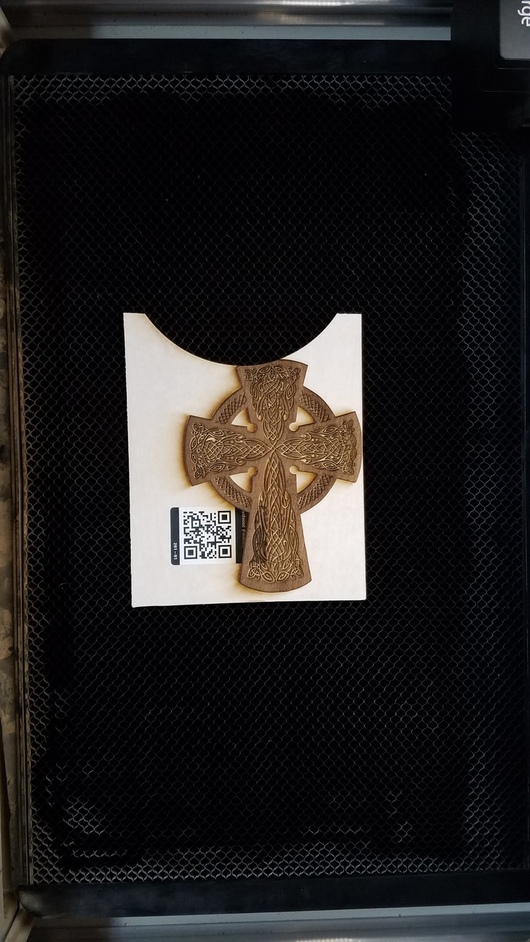
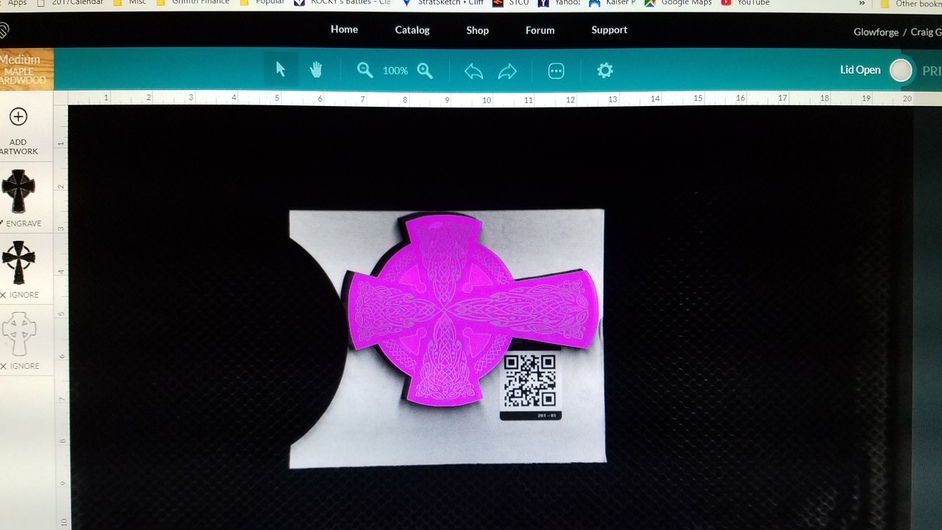
Photos labeled “Improper alignment” are simply that. I am trying to document lining up the drawing preprint with the resulting shift in starting position.
I can certainly give you more clarification if you want it, but PLEASE help me solve this issue. I have too many jobs that count on accurate printing!
Thanks,
Craig G.
Some things that made everything seem easier for me …
Measure the material with calipers … enter that number for the thickness. Sometimes even proofgrade can be a bit over or under the standard.
Make some of these pins: Honeycomb bed holdown pins
Press gently down on your material once it’s in the bed of the Glowforge. If there is any bounce anywhere … adding these pins to secure the material makes a HUGE difference. (Sometimes people use magnets to secure their material).
If you are raising your material to make it closer to the beam … the Glowforge will get a distorted view. Telling it the correct thickness will make it work properly.
For the issues with cuts please check that the optics in your Glow forge are clean using the recommended wipes. I apologise for not supplying links on guides of how this is done, but a forum search for these topics will get you there. The mirror in the print head may also have a smudge on it if you can’t find and residue blocking the laser through the various lenses.
Cutting: To cut successfully, there are three important things to check. First, your material must lie flat. This requires a clean, properly installed crumb tray and flat materials. Second, there must be no obstructions, dirt, or damage preventing the laser light from reaching your material. Third, your design must be set up properly - for example, with lines that are fully on the material and that are set to cut.
Print Location: Most alignment problems come from the material being closer or farther from the camera than expected. While the software is still improving, you can take these steps for the most accurate alignment results:
Use Proofgrade™ materials.
If you don’t use Proofgrade materials, use a precision set of calipers to measure your material, and enter the thickness in the “uncertified materials” dialog.
Use material that is not warped or tilted.
Place your design near the center of the bed.
Clean the area underneath your crumb tray, particularly the four indentations on the floor.
Reboot the machine. Alignment can drift over time, particularly if you bump the head of your Glowforge while removing material.
Should you finish all of these steps, and find that you have an alignment error of more than 1/4", please let us know so we can investigate.
Steps to take:
Turn off your Glowforge.
Please thoroughly inspect your unit and design according to the suggestions in our cut-through troubleshooter.
Check the lower door to make sure it closes all the way. It may require some force to open, but open it, wipe any dust off the edges, and close it all the way.
Check the lid to make sure it closes all the way. Small particles of material, such as dust or debris, can prevent it from closing completely.
Check the surface your Glowforge is on to make sure it’s flat. Ensure it is not twisted slightly and that there is no debris propping up one side of the machine.
Turn your Glowforge back on.
We included an extra piece of Proofgrade Draftboard with your materials shipment for troubleshooting. Place Proofgrade Draftboard in the center of the bed and print the Gift of Good Measure using the default settings.
When the print finishes, without moving your artwork or your material, take a screenshot of the workspace to show us the difference between the artwork placement and the actual print placement. Make sure to include the rulers in your screenshot and show as much of the bed as possible
Mac: Press Shift-Command-4 and click and drag a box around your image. You’ll find the screenshot file saved on your desktop.
Windows: Click on the Start Menu and search for the Snipping Tool. Open the Snipping Tool > New then click and drag a box around your image. Click the Save icon and name and save your file.
Send us the screenshot along with the date and time of the print and photos of the front and back of the print, and we’ll follow up.
It’s been a little while since I’ve seen any replies on this thread – I hope that’s because it turned out well. If you still need help with this please either start a new thread or email support@glowforge.com.