I scored a cache of maple veneer with adhesive backing at the ReStore. My idea is to make weaving stick shuttles (photos later, I know this doesn’t make sense except to weavers) with wood on one side and acrylic on the other. For max bling, I will use mirror acrylic. This is not PG, so it’s here.
[Question: when I have finalized the testing and made one, can I show it in ‘Made on a Glowforge’, or does it have to be posted here, since all the materials will be non-PG?]
This experiment helps tie different info together in ways I had not anticipated. Now that I see it, I can say in hindsight, “why didn’t I know that was going to happen?”
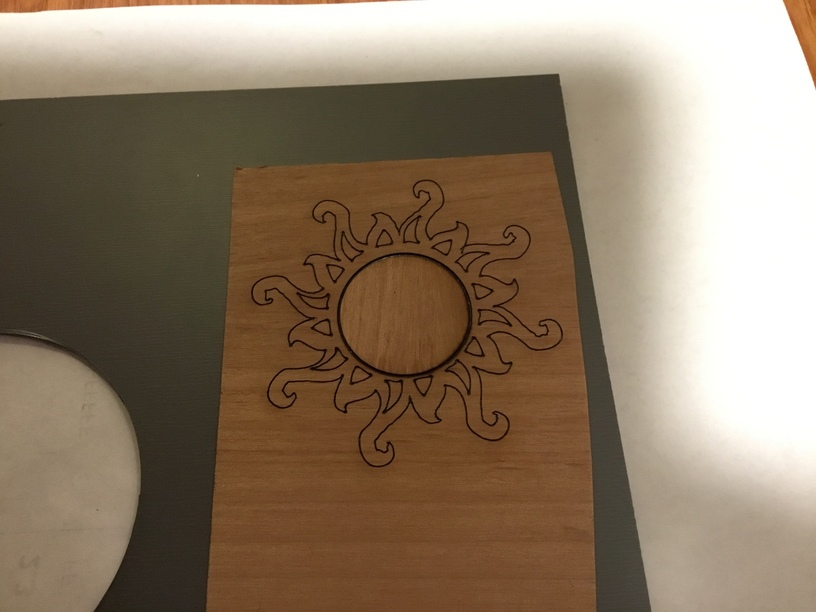
Top of cut surface. The inner circle has been rotated wrt the wood grain so it’s easy to see. Small fidddly designs like this make the machine want to dance, even on a heavy table. I didn’t clamp the (small piece of) material to the honeycomb since it was heavy enough for cut pieces to not fly away. The GF dance helped wiggle the material around enough that it distorted the design. Lesson learned
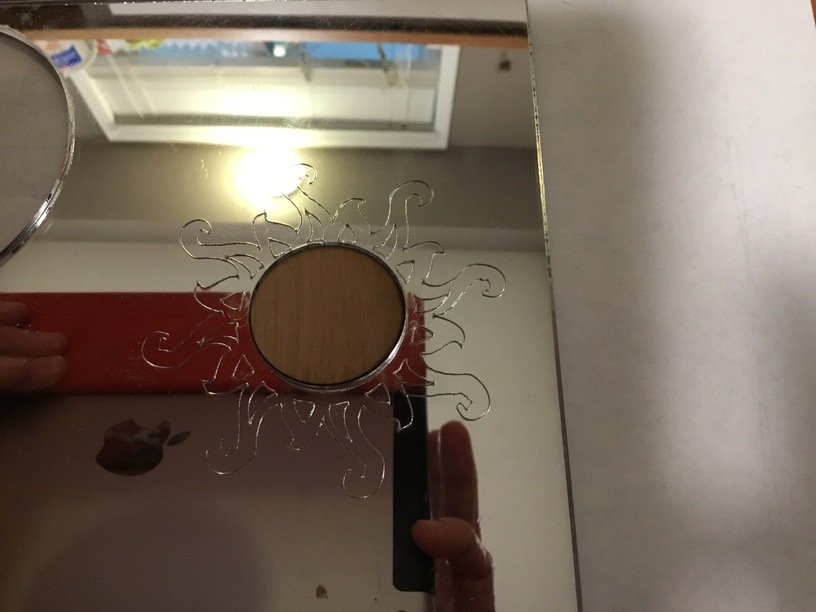
Although the circle was cut just fine, the detail work didn’t go all the way through the acrylic…but it created a neat effect on the acrylic side. The cuts are fine enough you can’t see “through” the cuts, if backed by a colorful material.
So, next try is to clamp the material, unless it’s a full sheet and wedged into the honeycomb edges. I’ll make the simple cuts in one pass, then change the settings for the fiddly bits of the design…or not. I just realized I can have the same design appear on both sides of the laminate in just one operation (and not have to turn it over). Oh, this is fun…
I’ll mask the acrylic next time; this was just a QnD (quick’n’dirty) operation. I can see I’m not going to do the laundry today–there are more important things calling me.
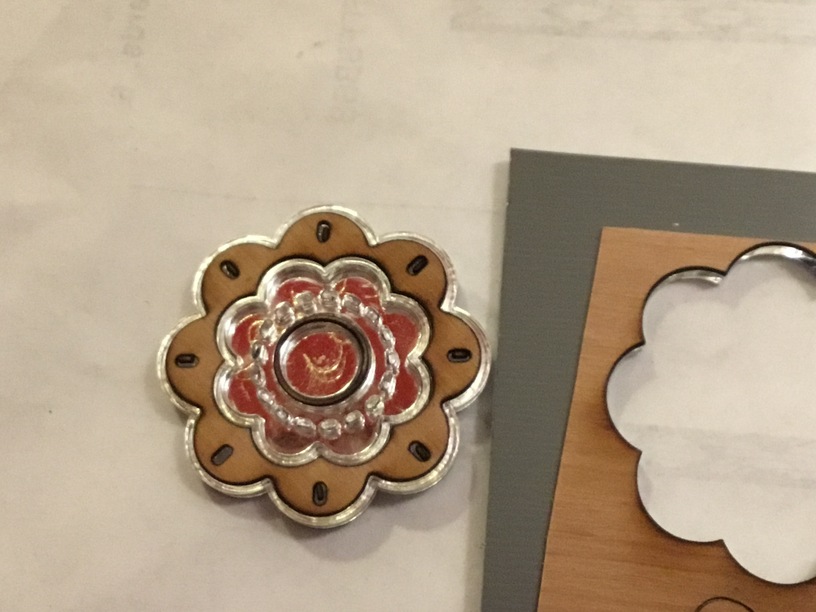
Another thing: I didn’t change the settings, I just clamped the material down. This design was not as detailed as the original, so another step in the experiment awaits.
So as for the machine dancing, have you cut hold down pins or gotten magnets to keep your material stable?
Also, if the dance is too much, you can slow it down, just run a cut test where the speed is constant at your desired target. For example, speed 175, then vary power on the various test cuts, 50-60-70-80-90-100-full.
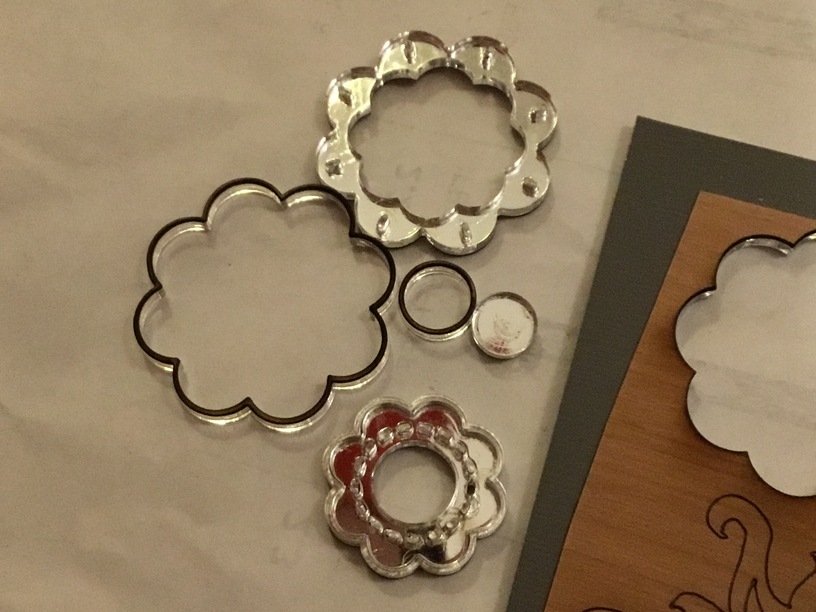
I figured out what happened on the first one - I selected Score instead of Cut, but used the ‘same’ settings. That’s why the lines are so fine and the machine did the dance. On the 2nd, 3rd and 4th sample, I did use magnets. (my hold-down pins don’t fit the honeycomb and I need to re-make them.) GF did not dance.
I do use the material sample test you created, but did not on this particular combination. Like I said, QnD. Before I make a full-size piece, I will do so. I just wanted to see if there was a good reason to NOT pursue this combination.
added comment: One thing the material test file doesn’t do is sample really small cuts/small design. I guess I could down-size it to create a similar experience? Cutting out piece #2 went as expected, but #3 and #4 did not. Too many curves and cut did not make it all the way through. So I should slow down on complex designs.
No, your logic is pretty solid. Acceleration effects are increased at higher speeds. Generally that manifests as overburned sharp corners – the GF software is pretty good at mitigating that now, but it’s not perfect. Lower speeds are a more consistent experience overall.
The tradeoff of lower speeds is that generally increased residency time (as in how long the laser sits in any one spot) leads to more heat being absorbed by the surrounding material. This can lead to undesired heat effects that range from heat damaged fringes that mark your mirror layer all the way to fires. As always use caution when testing new settings.
With 1/8" thick materials I do almost all cuts at full power and back into the speed that makes consistent cuts. Significantly thinner than that? I will often lock the power at 100 and back into the appropriate speed. I find that full power is just too much for things like cardstock or very thin (1/32") plywoods at any speed.
I seriously need to get mirrored acrylic - that stuff’s amazing! And you @kelly1 do amazing work. I know nothing about weaving, but I can certainly admire the tools you make.