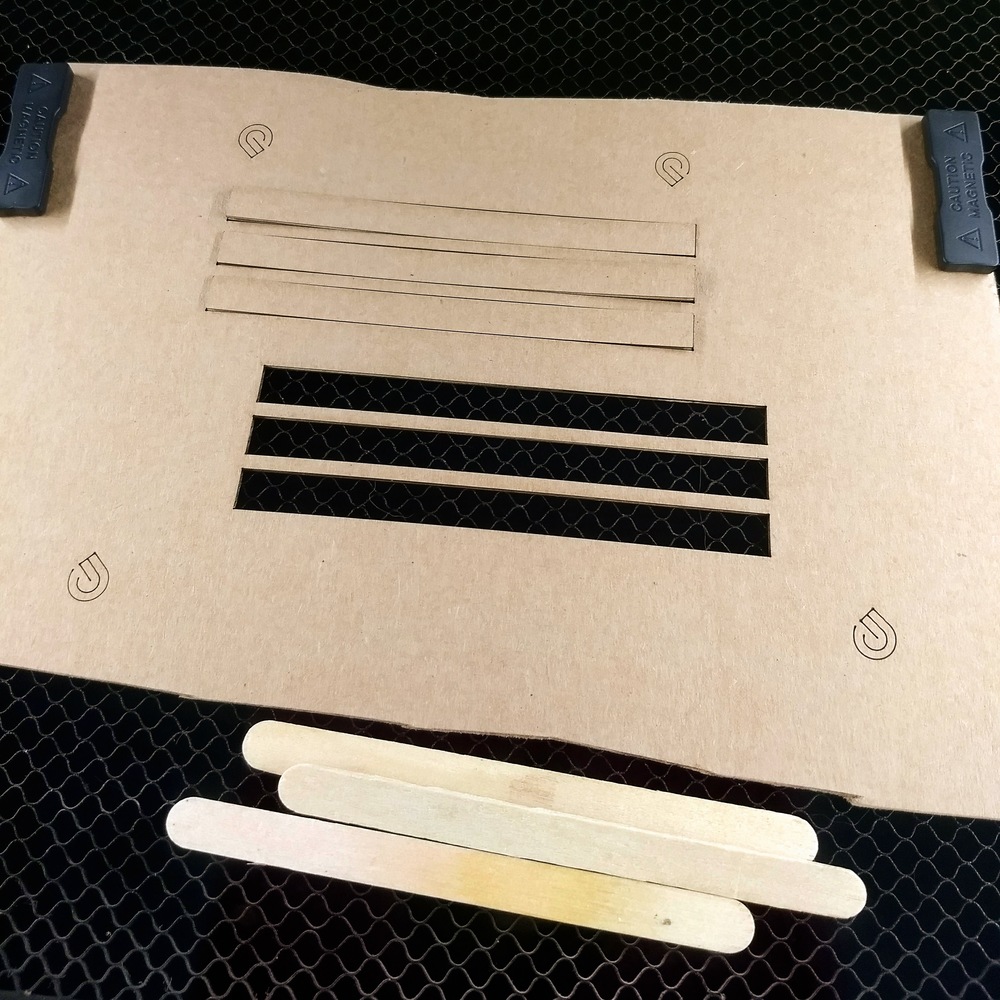
Got an e-mail this morning saying that my Basic got the little magnet ;p Had to go try it out, but I only have mechanical pencils. Not to worry, found some popsicle sticks! Edited the pencil file so the popsicle sticks would fit in the boxes, found some flat cardboard (pizza box top), inserted into laser and uploaded to GFUI.
First attempt was a bust. I had moved the Snapmarks to my material so it would look closer to the tutorial image, and broke the connection to the file. I flipped over the cardboard and tried again.
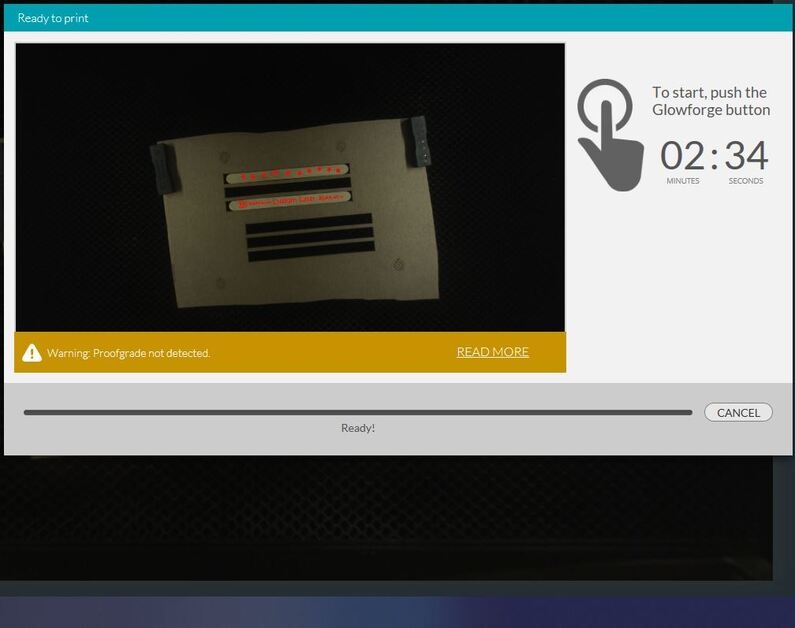
Opened the template in Inkscape, moved the Snapmarks in, saved, loaded to GFUI. Lasered, hit magnet button… 3+ minutes later success! GFUI told me to happily Click Print to Continue, which I nearly did before remembering that I needed to change the laser settings on all the layers first.
Worked great, everything was perfectly centered on the popsicle sticks. For a tiny stress test, I tweaked the jig a bit diagonally, added some more scrounged up popsicle sticks, hit the magnet button again and after the “Search and go find” found the Snapmarks, hit print.
If you look closely at the cat head, it doesn’t look like it will line up perfect in the pre-laser image.
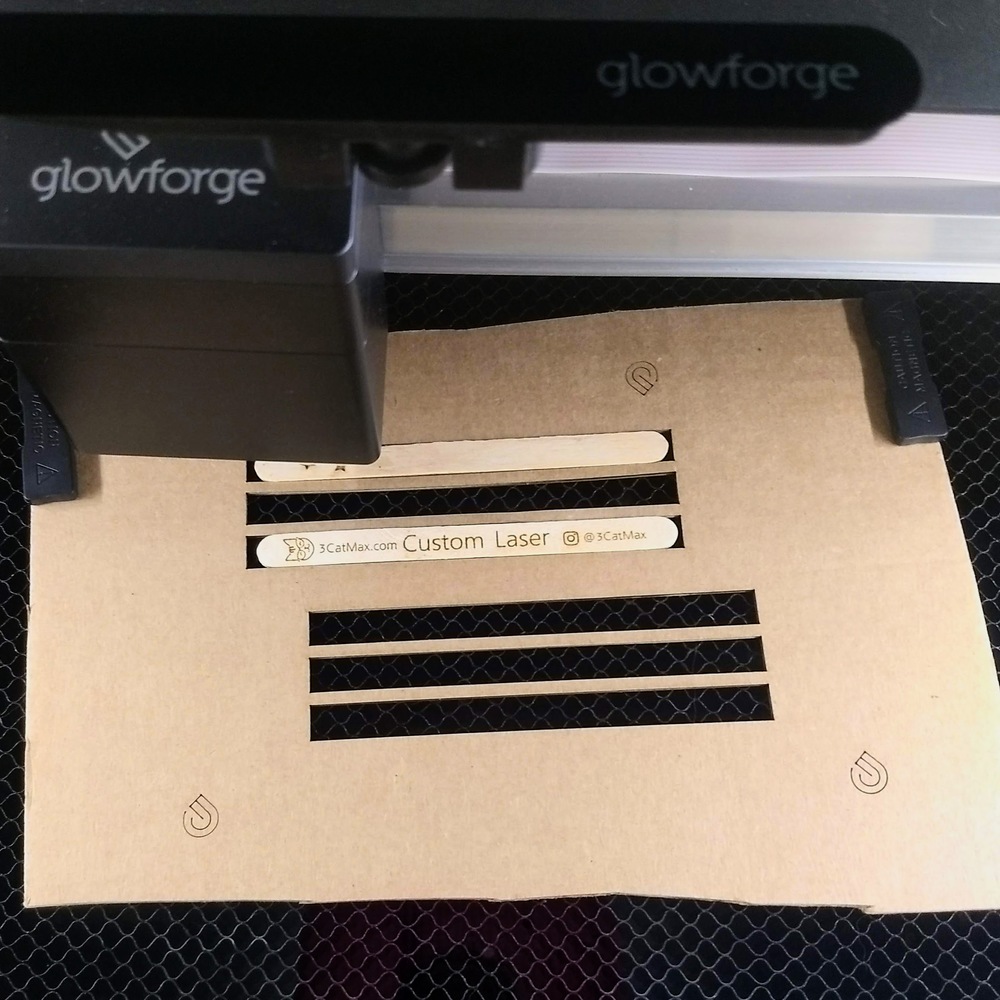
Worked Great! Notice the diagonal of the engrave.

Top is the first engrave where I hadn’t moved the jig at all, bottom is the second where it lasered on a diagonal. Here is a closer image of the more detailed engrave.
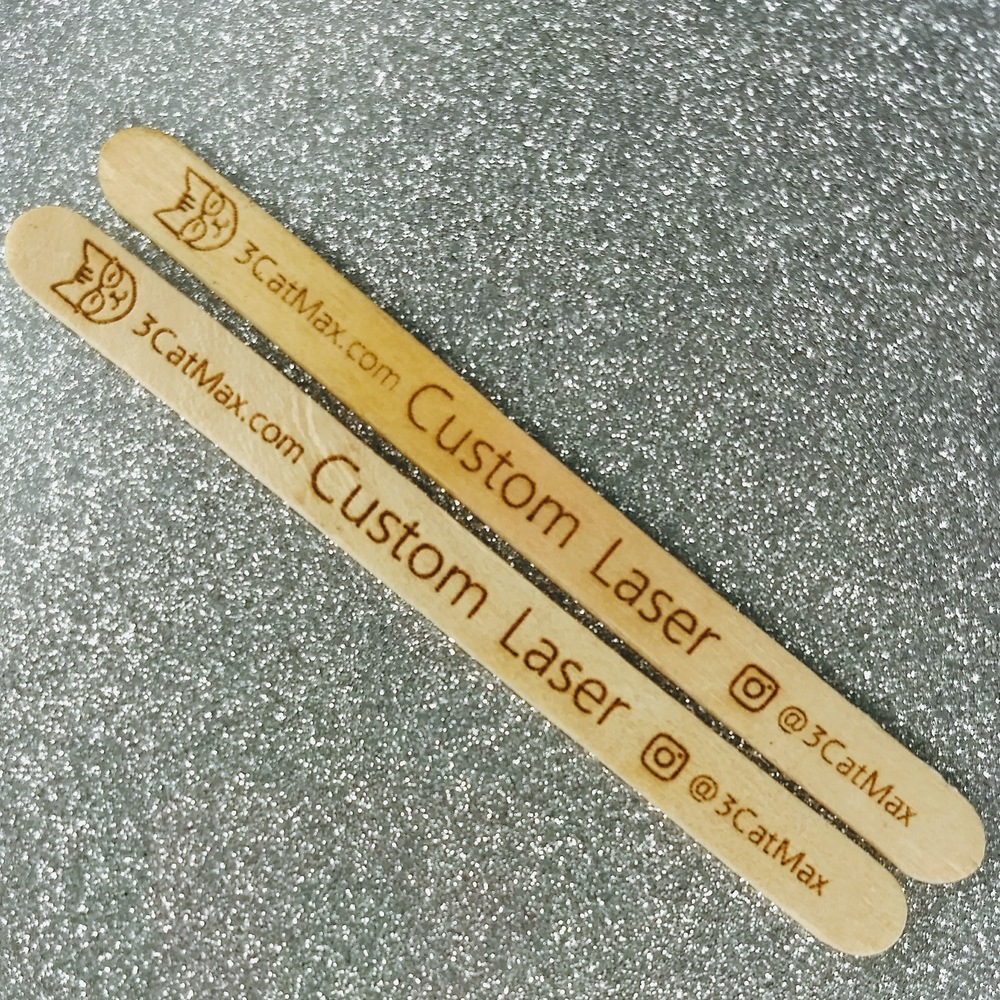
Verdict: Awesome.
Notes on the Tutorial:
- a.Either change the pic or change the file for the pencil template. The tutorial image shows a smallish piece of wood used as the template, but the Snapmarks in the file are spread out to the edges of the file. My first reaction was to move them closer in the GFUI, thus breaking the file link that enables the precision.
1.b. Tell people to right click and save SVG link as “Save Target as”. At least in Edge, it just pulls up a webpage with the SVG on it.
- Add a starter list of “materials”, i.e. a bit of artwork, pencils, jig scrap of ~L"x W" size, settings to cut said scrap.
- Mention about remembering to color the individual layers that you want different settings on. I can imagine if the user set the Snapmarks and their art the same color, it would not work well.
- Clearly state not to move the Snapmarks. Or only if you move everything together.
- Maybe add to GFUI “Adjust Layer Settings, then Click Print to Continue” instead of just “Click Print to Continue” to avoid accidental follow through and re-cutting the snapmarks and jig again.
- Add somewhere to remember to re-connect to the Snapmarks by clicking the magnet button again before printing if the user moved the jig.
Thanks for the tutorial, it is nice and simple, even if I managed to get caught on a few snags. It only took 1 extra attempt to get it to work perfectly!
 with its builtin cameras. Hope to see some progress soon!
 . A few seconds over a minute later I got the “Looks good!” message and hit print.