How I used snapmarks in making this:
This was a first try at something I haven’t done before. I might have wanted to go back and do a second pass… I might want to tweak it, and at the price I had quoted when I thought I was using linoleum, then changed my mind and bought rubber… well. I didn’t want a lot of waste. (like Glowforge, I had promised something and then discovered materials and timelines were not what I had estimated.)
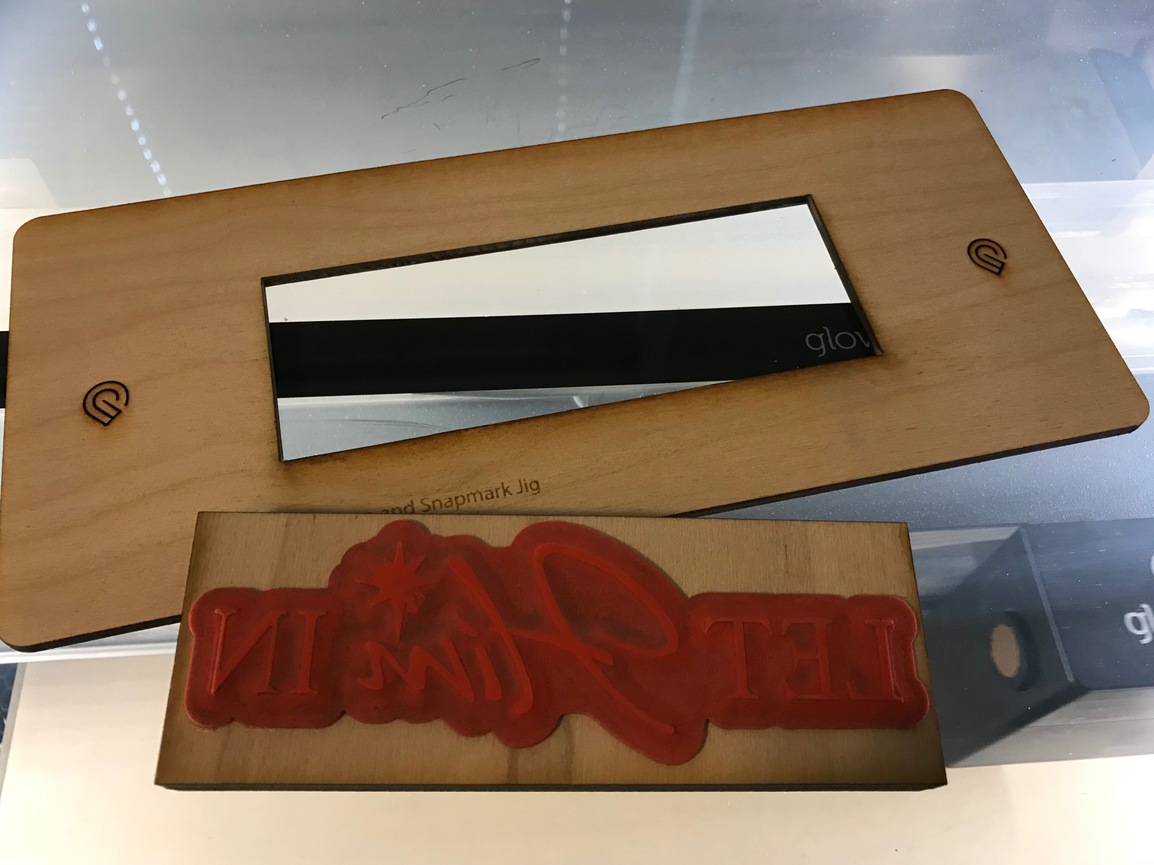
So I designed, I tested in cheap wood, I designed again, and I really tried to zero in my file. I chose snapmarks in case I’d want to go back.
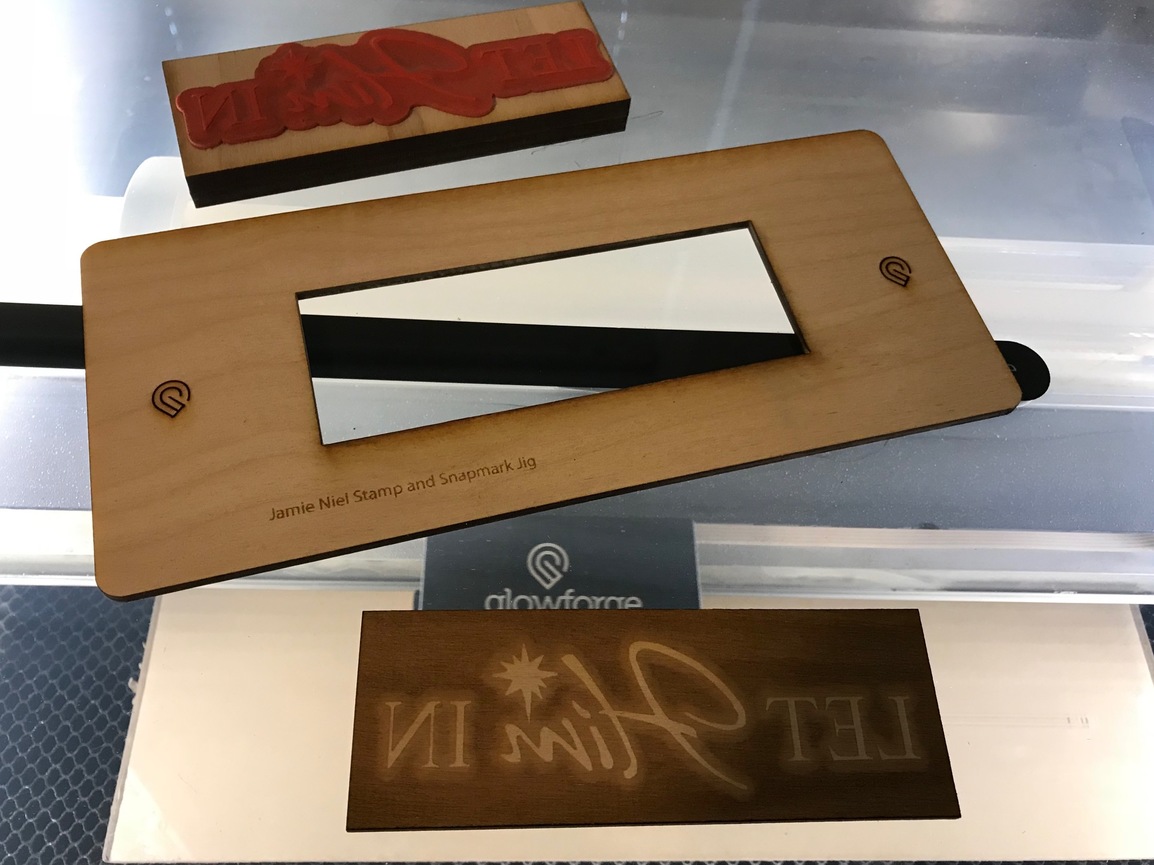
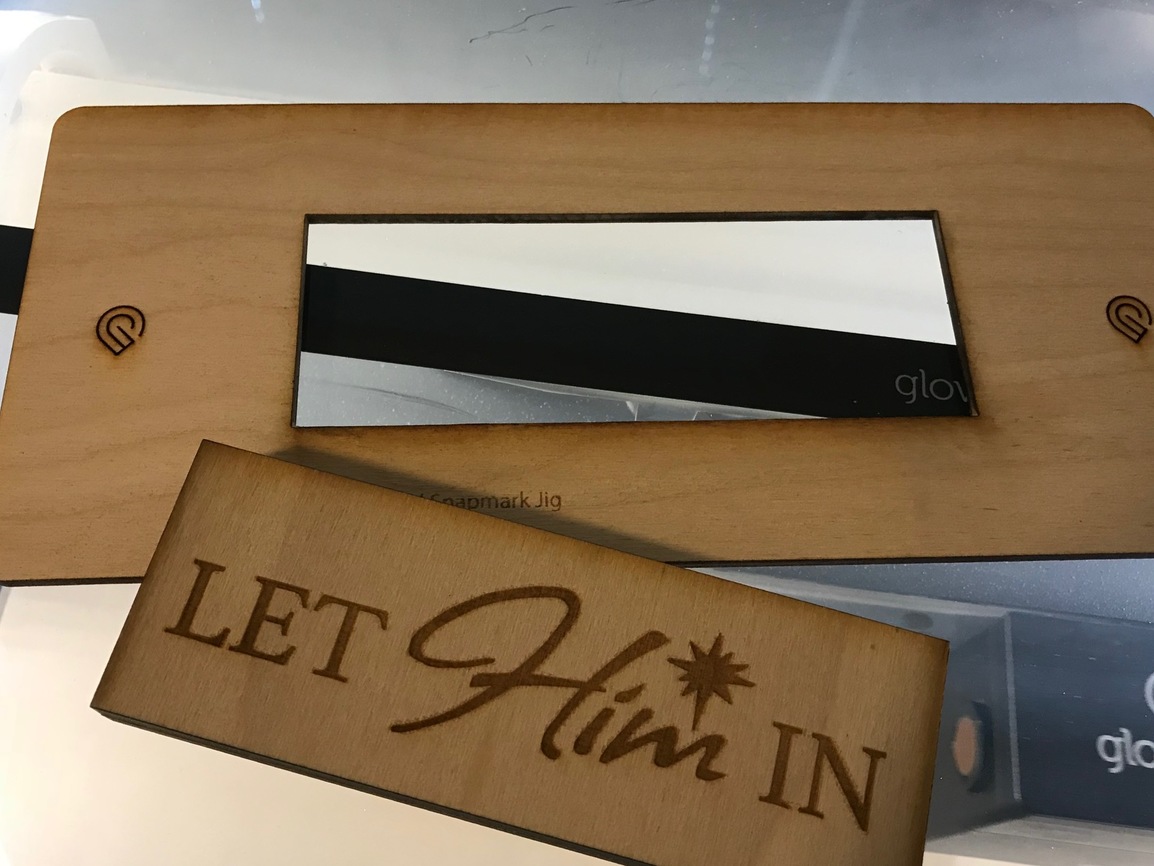
It turned out a good plan. With a stamp, you want the image on top of the block as well as on the rubber.
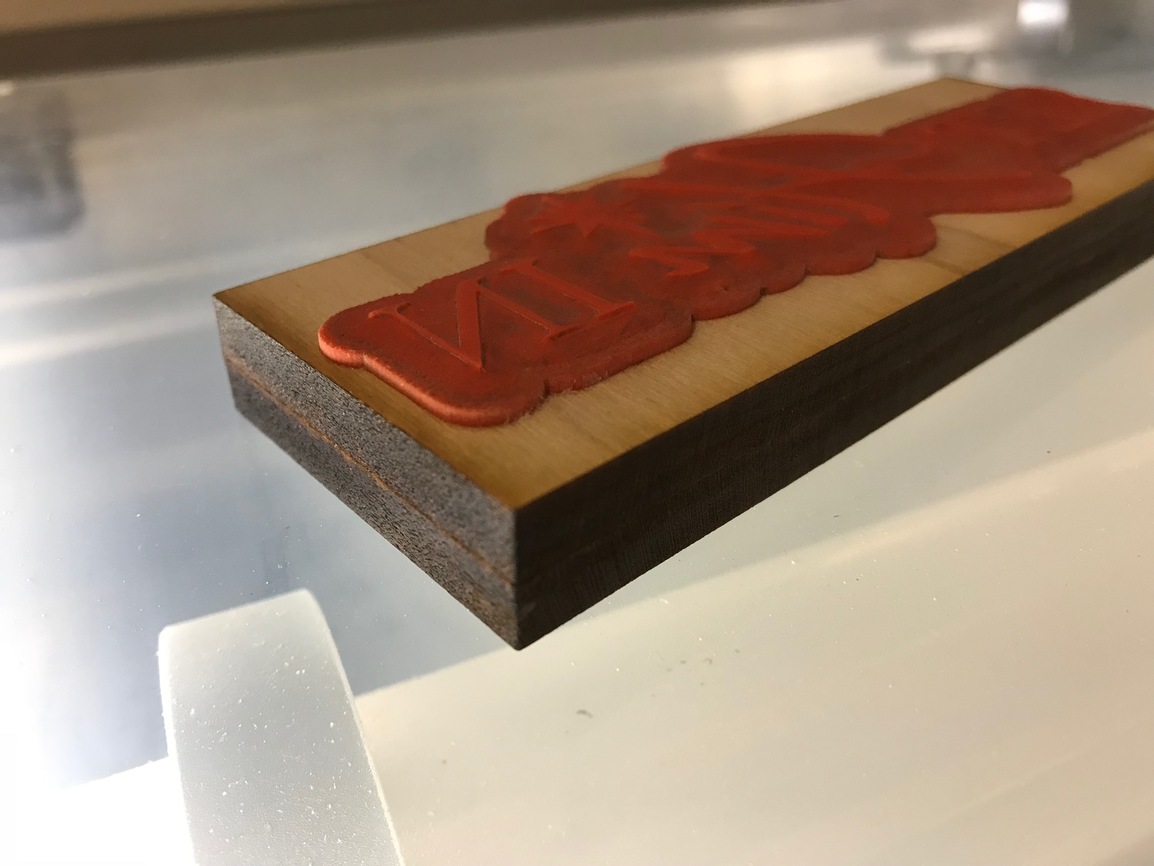
Also, I engraved the stamp rectangle but didn’t like the edges and decided I wanted to go back and cut a skirt around the design. My edges are great because - after the fact - I engraved beyond my margin. (Or shrunk my outline to fit inside my margin… whatever.)
I didn’t know HOW I would use it exactly at the beginning; but Snapmarks helped me make a professional product without wasting the material that I felt was in short supply. It helped me iterate something new to me, again, with less waste.