Introducing Snapmark (September 2018)

Beautiful Jules.
Now, if only I had snapmarks… :slight_smile:

5 Likes

Soon, soon…
(Soon being a relative term here.) :wink:

4 Likes

What I find weird in your pictures is the direction of your smoke/flames off to the upper right. If your printer head fan was working correctly they would be pointing down. If it was not working it would cause a great many other problems including as seems to be the case from the photos that the smoke would flame up pretty constantly scorching the wood and perhaps even cooking the printer head and making very inconsistent cuts depending on how much smoke and flame the laser had to cut through to reach the wood.

I have been wrong many times but looking into this may improve your results no matter what else if I am right.

If you are making a cut or engrave near the front of the bed you should be able to lean over and see the fan spinning consistently and not even off and on. From the look of the cut I suspect that it is not spinning at all. But like I say I could be wrong about that.

2 Likes

that’s a good catch. if the air assist is not working, the direction of the char on the material would be upper left like that, since that’s where the exhaust fan is pulling from.

1 Like

Same here. No joy.

1 Like

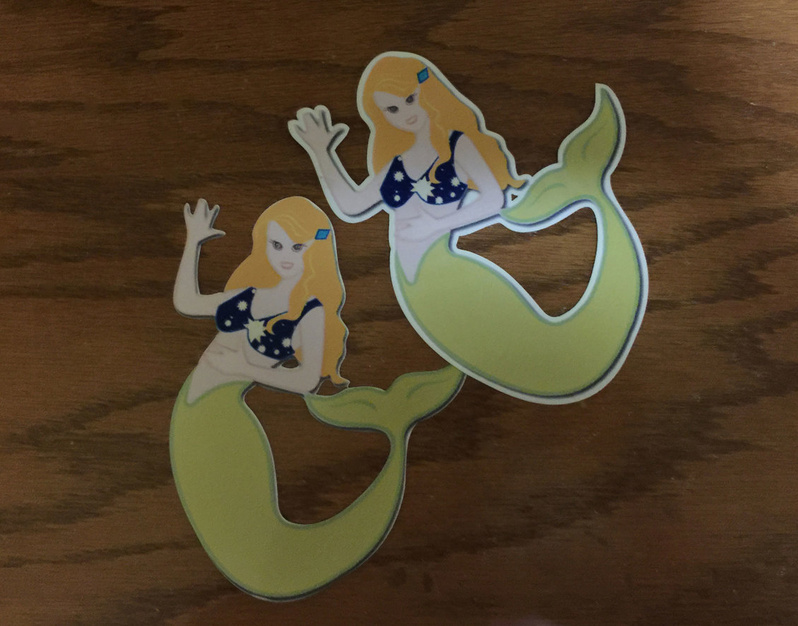
More Print and Cut examples:
(Just going to load these all up in one place, I think everyone understands how to do it by now.)

Fiddling with border offsets:

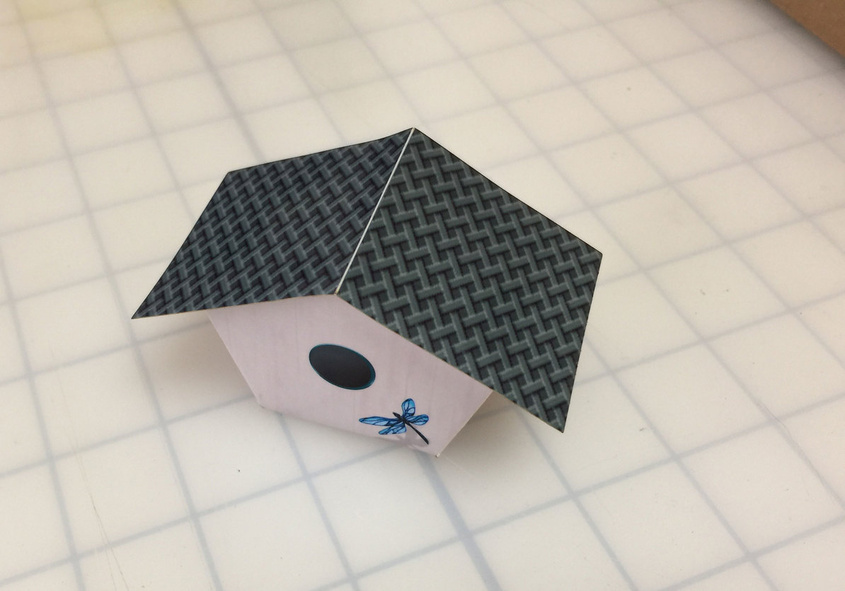
Another birdhouse box:

Some kaleidocycles:
https://community.glowforge.com/uploads/short-url/n9GtdrT9Z4bofagYix08f5XyWlg.jpg

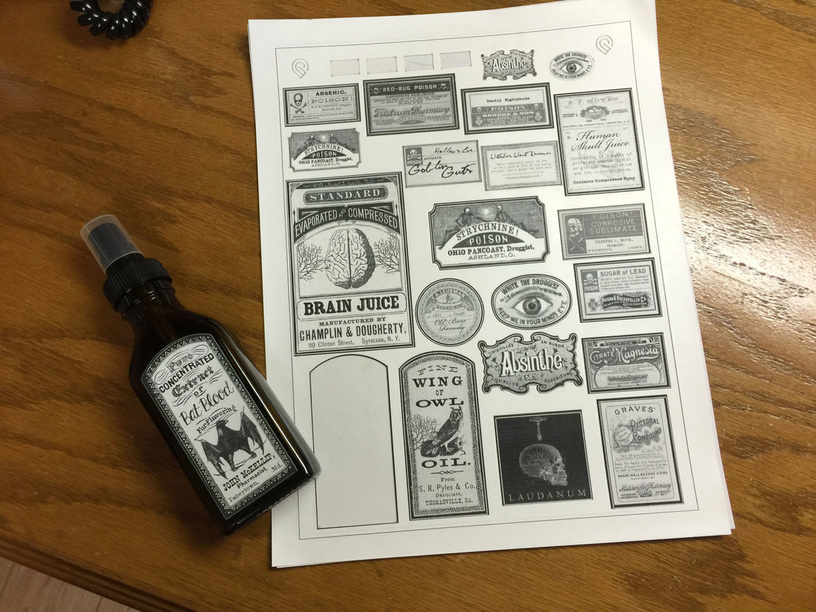
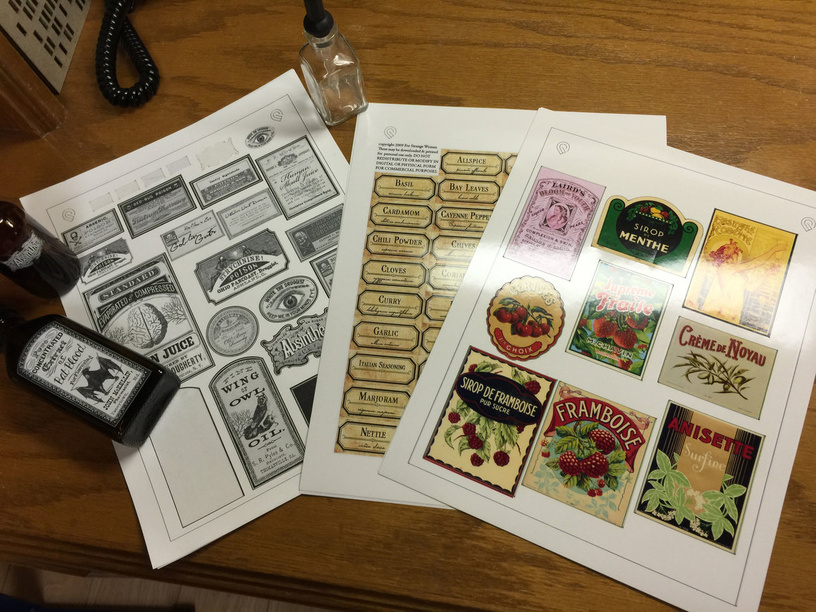
Some laser and inkjet polyurethane stickers for Halloween decoration of bottles and spices:

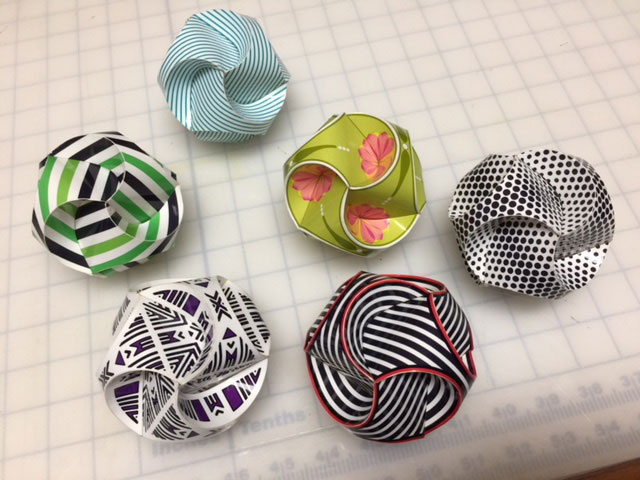
Last but not least, (because these things are fun), some triskele:

image

(And I showed the Pepakura earlier…that’s a prime example too.)

That’s probably enough for this weekend. :smile:

(Oh sorry, I just realized Dan used a few of these up top…didn’t mean to duplicate.)

20 Likes

I just got a good explanation from Bonny yesterday regarding my particular Snapmarks issue. It was apparently a glitch in the roll-out to my machine where they did not yet have the calibration dialed in for it. I apparently got Snapmarks activated before it was ready for my machine.

I’m looking forward to getting the feature!

6 Likes

Relative indeed! I would like this before I have grand-children, please… :slight_smile:

2 Likes

You should get the grandchildren first. They’re WAY better. :slight_smile:

8 Likes

Did you contact her or did @bonny reach out to you? Mine’s still doing the same thing (not finding the marks after I watch it go right over and laze each of them), and if it’s a calibration issue she can fix I’d love to get that hookup.

My issue is completely different than yours. My laser head never moved. It’s as if the routine that recognizes the Snapmarks on the preview image times out or something. Bonny contacted me a while back after I had first posted here. She said then that my particular issue was unusual and that they weren’t sure what was causing it.

I’ll just sit tight until they get it sorted out.

3 Likes

Love this example @Jules. Little froggy on the house is pretty sweet too.

1 Like

@Jules, what weight of paper do you use for your triskele-making? I’m assuming you’re scoring the fold-lines, do you score them from the front, or flip the design and score from the back?

I get my neurons all tangled when I try to think about how to use front-and-back snapmarks on stuff and get them to come out right. :stuck_out_tongue_winking_eye:

Those are a heavy gloss photo paper from Office Depot. (Just their in-house brand.) And I score the front. (It actually burns away the ink at the score, it doesn’t darken it, so having a white band around the artwork works best.)

2 Likes

@bonny
Similar to post #622
I recently got Snapmarks and just tried a couple of things. I printed the pencil jig with no problem. However, when trying to do the engrave on the pencils, the print was way off - like inches. Also, the printer head slammed into the railing in the upper left position and made a terrible sound. I have had no problem printing other things after this happened. No problem with centering, focusing and printing. I tried using Snapmark again, and once again the head tried to go beyond its home position and the “snapping” of the artwork did not happen after the scan occurred. I did not get an error message regarding Snapmarks. The head “homes” properly when not trying to use Snapmarks. Any suggestions?

After selecting the Snapmark magnet and the unit gives you the success indication, your preview image should be very close to the intended engrave. It will be offset exactly the amount that your particular unit camera image is in error. Usually this will be very close directly under the camera and up to 1/4" or so toward the edges. If it is off much more than that then the process didn’t work. Don’t bother to hit print.

You could run a light score over just the snapmarks and ignore the rest of the job to check positioning. I do that to be safe and it only takes a few seconds.

Thanks. The problem seems to be that after the snapmarks are scanned, the head does not return to the left home position. When I hit print after the snapmarks scan, the head crashes into the right railing (because it tries to travel the full distance of the bed, I think). Anyway, everything else works. I am able to align work closely as I have tested the offset of my machine. This just seems to be an individual bug that I am having. I sure hate the sound of the head trying to go beyond its capacity!

Almost all of the earliest machine would slam and bounce the sides occassionally during calibration. Support kept telling us that it wouldn’t damage the unit. Still sounded horrible.

Obviously your issue is different but the result is the same.

That horrible sound you hear when the head tries to move past a limit is almost certainly made when a stepper motor is forced to skip steps. I’ve heard that baleful howl many times in my engineering career.

In short, the motor is attempting to rotate its shaft by energizing its electromagnetic stator coils in a wave-like pattern, which should cause the teeth on the shaft to be attracted to the energized coils in turn. Imagine the coils “handing off” the rotor to each other with a powerful twisting motion. The sing-song vibrating sounds emanating from a smooth-running motor are the sound the rotor makes as it jumps from step to step.

When the motor is stalled, the energized coils are unable to move the rotor to the next step. Each time the coils are cycled, they exert a torque on the rotor/shaft on energizing, which is then released as the coils de-energize. This cycling torque and dropping of the step produces that loud vibrating howl as the mechanism is tensed and released with each skipped step.

Experienced only rarely and occasionally, this should not cause permanent damage to the motor or mechanism. However, high-energy vibrations like this are not good for the machine in the long run and should be minimized and avoided if possible. If your GF is experiencing these head “crashes,” it’s a good idea to not intentionally reproduce the issue unless you’re troubleshooting.

3 Likes