Haha I meant Glowforge.
1 Like
Yep, that was me too. (I was a clumsy penguin there.) 
I’m sure you’ve seen Martha is here too. 
1 Like
And it looks like they are still sending a PM to you when they enable it.
I see it on my machine, but how do I use it? Where are the instructions and tutorial?
I saw someone else say they received an email with a link. Do you have a PM, or check your spam folder?
They put the instructions with the other instructions in the Support link - Your First 3 Prints.
https://glowforge.com/support/topic/first-three-prints/snapmark
6 Likes
I actually got an email with instructions, and a link to the snapmark file.
Kind of ironic since I was an original tester, but lost it a few weeks ago when they had to replace my machine. Glad to have it back though!
4 Likes
I keep on looking at my browser and hoping to see the little magnet there. Not there. It’s really a bit frustrating as I know how much time this would save. Let alone materials. Please @dan hopefully we can hear something about adding this feature soon.
I’m not one of the chosen few but someone who is, can you answer a question?
Do the Snapmarks need to be the same distance apart from each other as they are in the template? I have a use case where the jig wouldn’t otherwise need to be that wide.
The distance between the marks has to be the same.
(Let me clarify that…if you have them set at exactly 4 inches apart on the jig, they have to be exactly 4 inches apart in the artwork file. They do not have to be exactly the same width apart as the ones in the sample file given.)
6 Likes
They don’t have to be a particular distance apart nor do they have to be lined up horizontally though the two Snapmarks need to be oriented the same way. There are probably practical limits on distance and orientation. Just try to be reasonable and not test the limits if you expect a good result.
8 Likes
Went through the tutorial today and made some pencils; process was very easy to follow and they turned out pretty well! I still need to tweak the engrave settings, but for a quick first attempt it was obvious how helpful this feature really is. Thanks for Snapmark!
4 Likes
What not to do: Don’t load the pencil template into the GFUI and then move the Snapmarks closer together so that you can fit them on your small piece of scrap template (pizza box top cardboard ;p) . That made the GFUI very put out that it couldn’t find the marks like the ones it originally loaded from my file.
What to do: open the pencil template file up, move the Snapmarks closer in, save and then load to GFUI, making sure not to move them again unless you are moving all the cuts/engraves/scores together.
Q: Anybody tried moving the other parts of the uploaded file, e.g. the jig/pencil art and not the Snapmarks before doing any lasering?
4 Likes
Yes.You lose the alignment that you are using the Snapmarks for. But if you want to just cut them somewhere else, you can in effect ignore the Snapmarks and just use your normal visual alignment. Your jig will not be reusable.
1 Like
Thanks! I meant to specify before cutting the jig if moving the other parts and not the Snapmarks would also break the file/programmatic connection? Meaning, do you have to move everything as a unit if you want to use the Snapmarks?
Yes, it breaks the connection. When the Snapmarks are reloaded with the file, it reverts to the original placement.
1 Like
Got an e-mail this morning saying that my Basic got the little magnet ;p Had to go try it out, but I only have mechanical pencils. Not to worry, found some popsicle sticks! Edited the pencil file so the popsicle sticks would fit in the boxes, found some flat cardboard (pizza box top), inserted into laser and uploaded to GFUI.
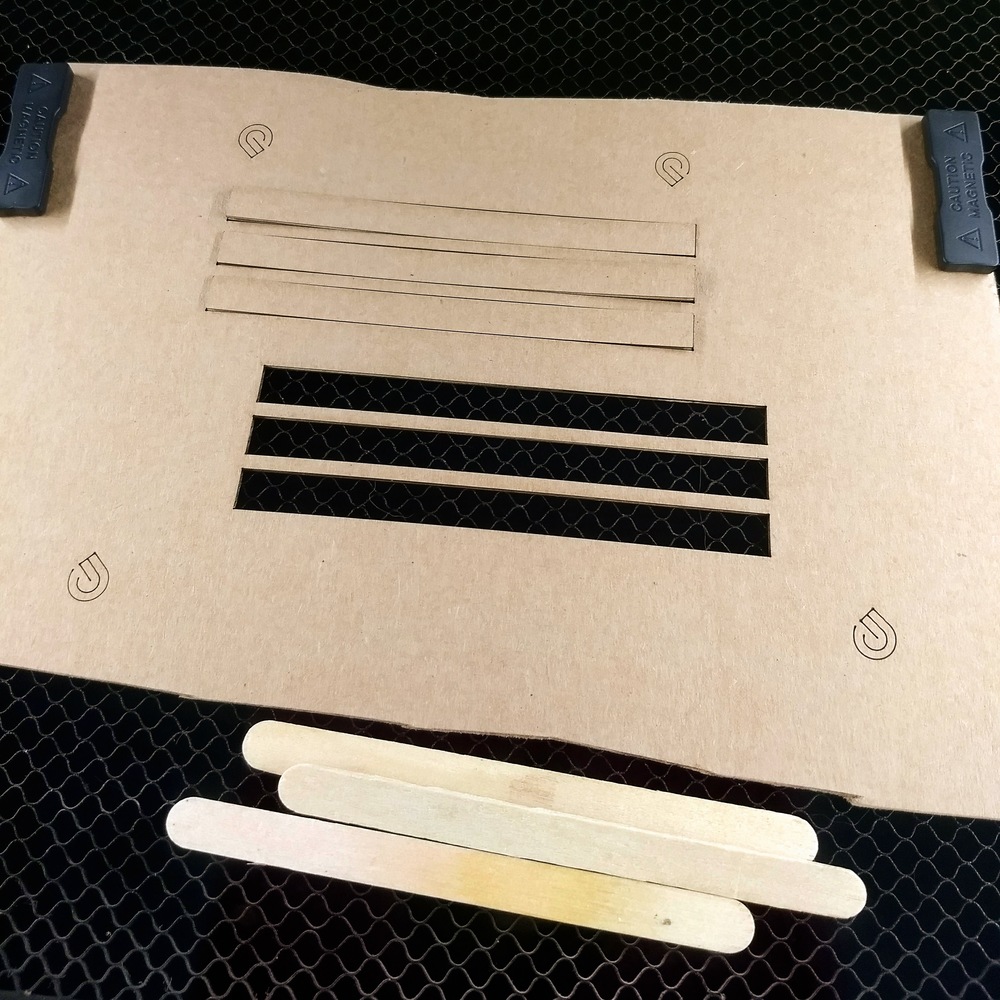
First attempt was a bust. I had moved the Snapmarks to my material so it would look closer to the tutorial image, and broke the connection to the file. I flipped over the cardboard and tried again.
Opened the template in Inkscape, moved the Snapmarks in, saved, loaded to GFUI. Lasered, hit magnet button… 3+ minutes later success! GFUI told me to happily Click Print to Continue, which I nearly did before remembering that I needed to change the laser settings on all the layers first.
Worked great, everything was perfectly centered on the popsicle sticks. For a tiny stress test, I tweaked the jig a bit diagonally, added some more scrounged up popsicle sticks, hit the magnet button again and after the “Search and go find” found the Snapmarks, hit print.
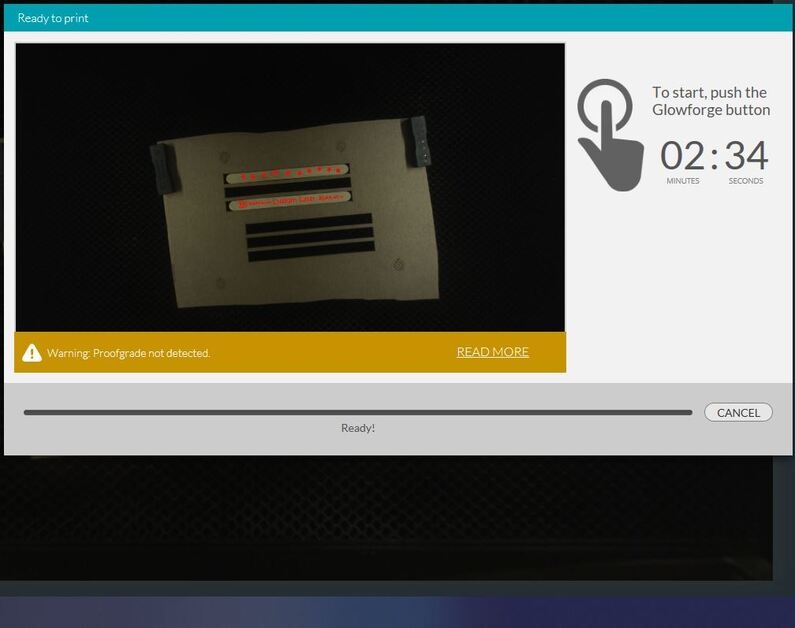
If you look closely at the cat head, it doesn’t look like it will line up perfect in the pre-laser image.
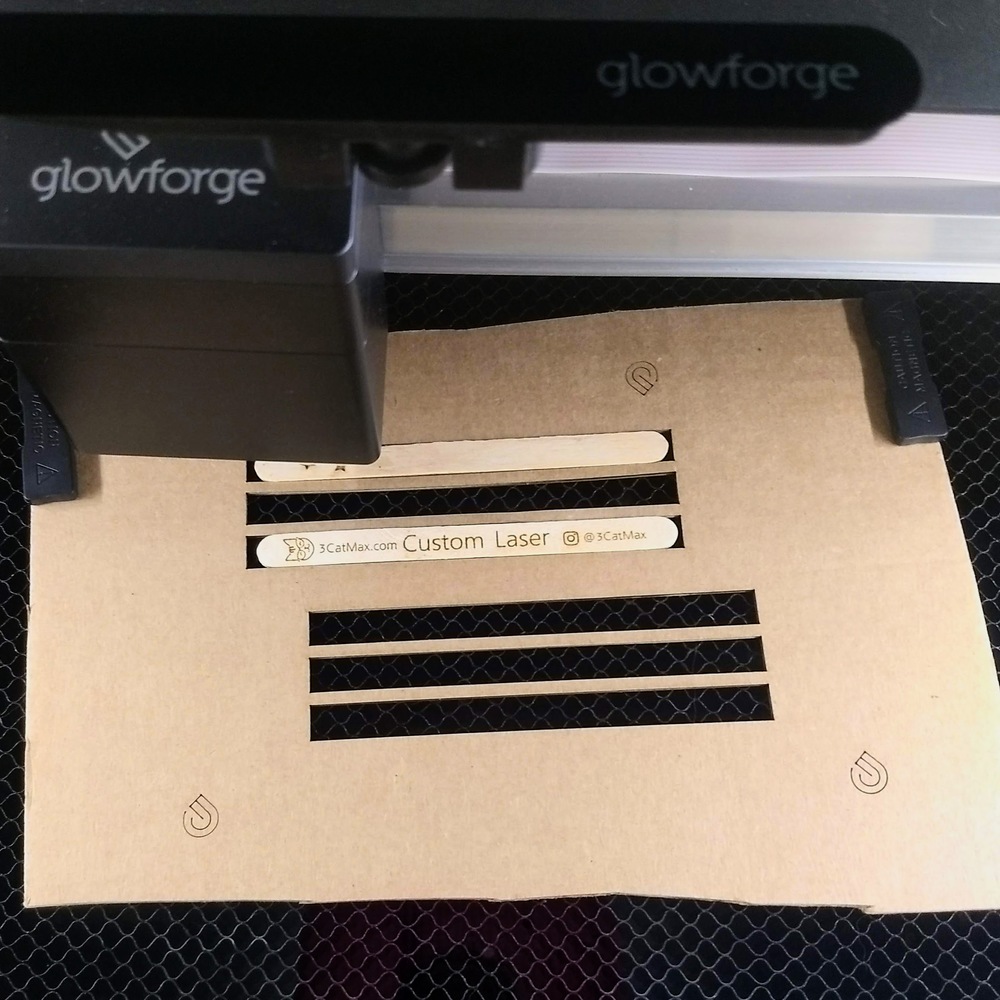
Worked Great! Notice the diagonal of the engrave.

Top is the first engrave where I hadn’t moved the jig at all, bottom is the second where it lasered on a diagonal. Here is a closer image of the more detailed engrave.
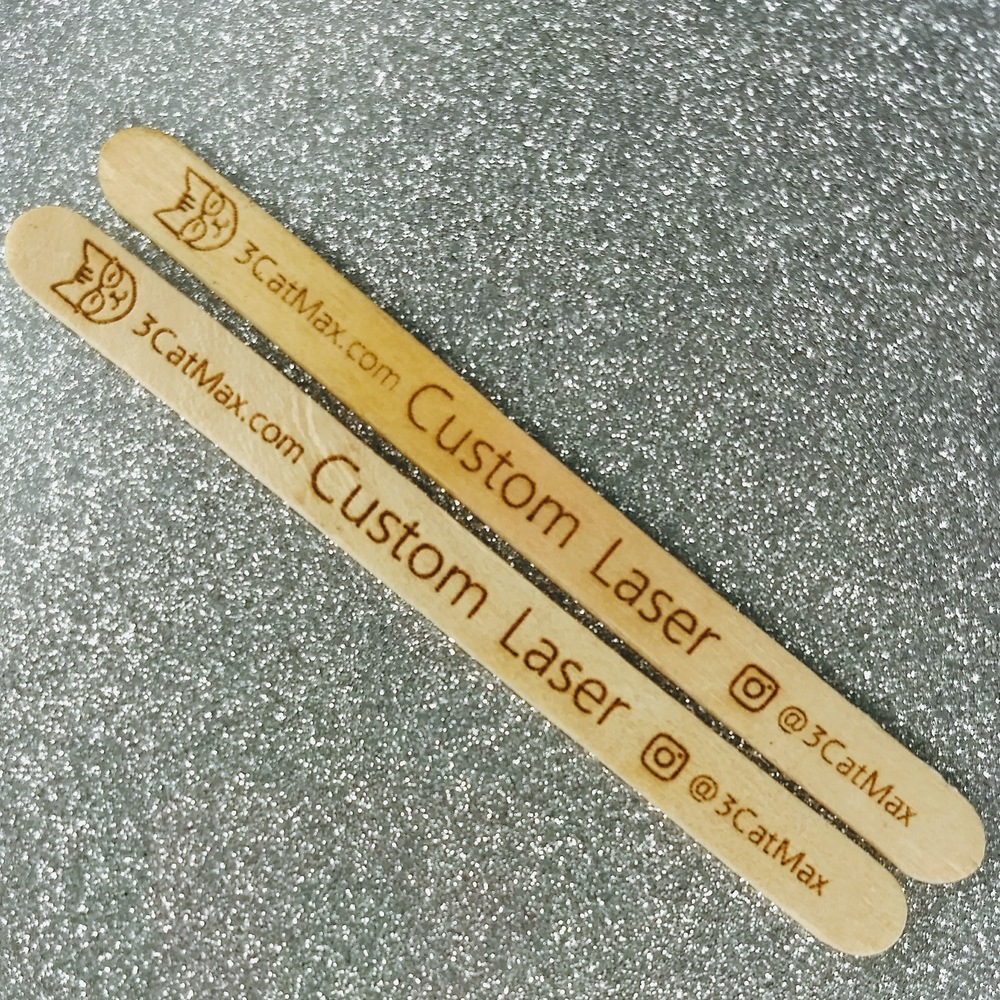
Verdict: Awesome.
Notes on the Tutorial:
- a.Either change the pic or change the file for the pencil template. The tutorial image shows a smallish piece of wood used as the template, but the Snapmarks in the file are spread out to the edges of the file. My first reaction was to move them closer in the GFUI, thus breaking the file link that enables the precision.
1.b. Tell people to right click and save SVG link as “Save Target as”. At least in Edge, it just pulls up a webpage with the SVG on it. - Add a starter list of “materials”, i.e. a bit of artwork, pencils, jig scrap of ~L"x W" size, settings to cut said scrap.
- Mention about remembering to color the individual layers that you want different settings on. I can imagine if the user set the Snapmarks and their art the same color, it would not work well.
- Clearly state not to move the Snapmarks. Or only if you move everything together.
- Maybe add to GFUI “Adjust Layer Settings, then Click Print to Continue” instead of just “Click Print to Continue” to avoid accidental follow through and re-cutting the snapmarks and jig again.
- Add somewhere to remember to re-connect to the Snapmarks by clicking the magnet button again before printing if the user moved the jig.
Thanks for the tutorial, it is nice and simple, even if I managed to get caught on a few snags. It only took 1 extra attempt to get it to work perfectly!
24 Likes
No, the engineering team is rolling it out with no input from us. I don’t even have it on my home machine yet!
11 Likes
That’s a good point. If Snapmark position needs to move for any reason, for example to fit on a jig, it needs to be done in 3rd party S/W before uploading. If Snapmarks are moved in the GF user interace before printing it will cause a fail.
It’s as if the original uploaded file is used for finding Snapmark position and any tweaking of positions within the user interface is ignored. It will cause a mismatch and fail. Same thing for using multiple copies of the Snapmarks in a file. It’s not possible to ignore one set and use another. The S/W will still use the first set it comes across for the alignment process, ignored or not.
This is the reason why there is some concern about the process being complex. There are rules. Fairly easy to understand but not fool proof for the new user.
7 Likes
Thanks for your answer :)! So i hope I get that message soon. For most of my projects I cant really use my forge at the Moment because I dont want to make jigs every time for a machine that was sold with the feature of precise alignement  with its builtin cameras. Hope to see some progress soon!
4 Likes