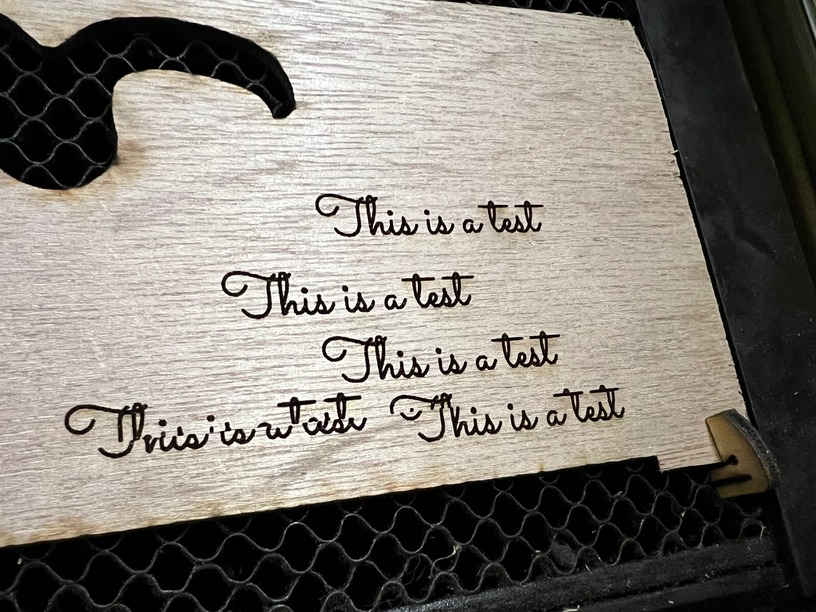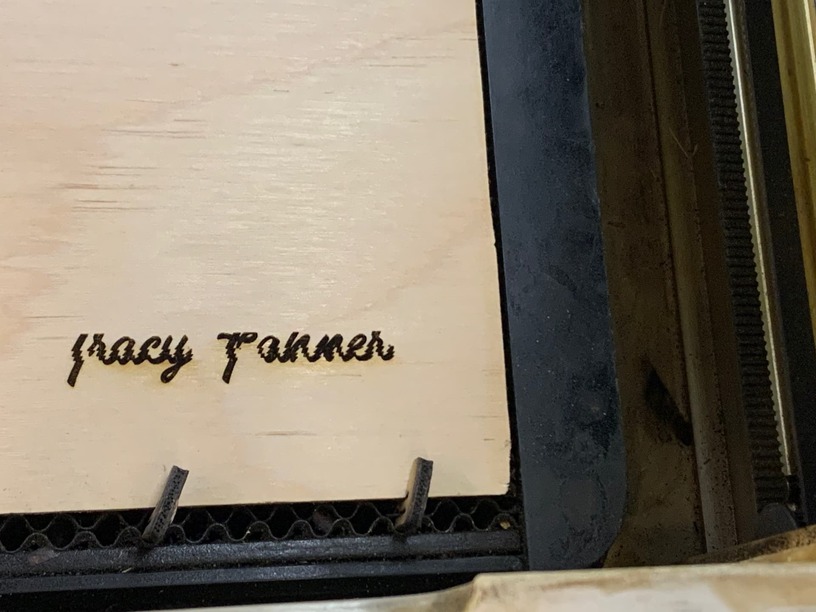
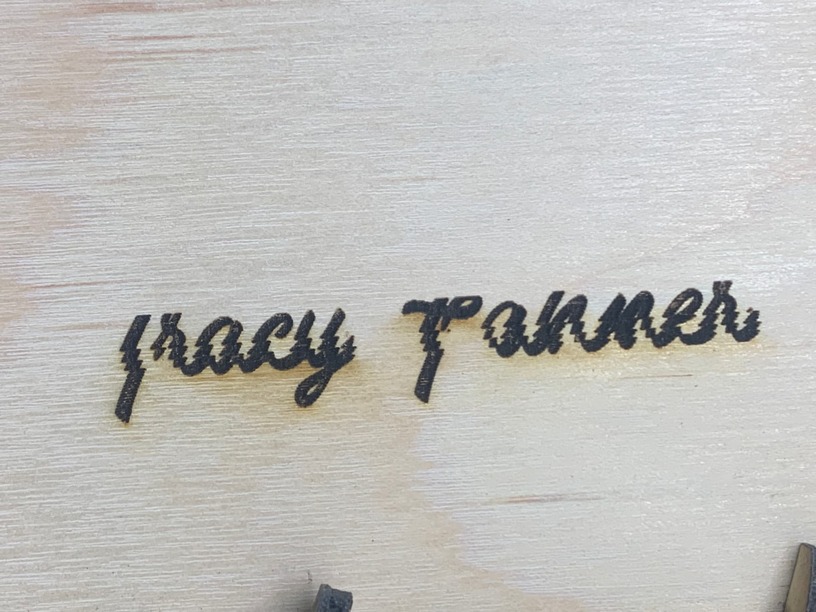
This irregular engrave/ladder appearance only occurs in the right lower quadrant of the laser and I was hoping the hive mind here had a solution to this.
Mahalo and happy holidays!
This irregular engrave/ladder appearance only occurs in the right lower quadrant of the laser and I was hoping the hive mind here had a solution to this.
Mahalo and happy holidays!
Move the design a few inches up and it doesn’t happen
Which makes me think it’s not the belt
And it’s very consistent that it does this.
Current print 8:05 AM Hawaii time. December 24
I would say you have some schmutz on the rail somewhere and it’s skipping. Just my best guess though.
I will check! the right lower quadrant side rail right? if it were the middle I would expect it to happen for all engraves, not just the ones in that location.
Yeah. That would be my first stop. Thorough cleaning of that rail. It looks like it’s skipping right to left but that would skip everywhere along that right side. Not just at the bottom. But since it’s two rails left to right it could skip on one side and not the other so… possible.
The head on mine gets bumped in that far lower right, and looks like that. My guess is that got bumped 3 times.
how do i stop the bump?
I just stay away from that right limit. Looking at how much the design was misplaced, it’s a small amount. Miffed me because I was close, but inside the grey border for full speed.
Thank you for setting a good example for others posting issues on P&S ![]() I feel like so many people don’t realize how helpful it will be for staff when they can narrow down a time segment to look at logs.
I feel like so many people don’t realize how helpful it will be for staff when they can narrow down a time segment to look at logs.
Oh no, I’m sorry to hear about the trouble @Aloha.
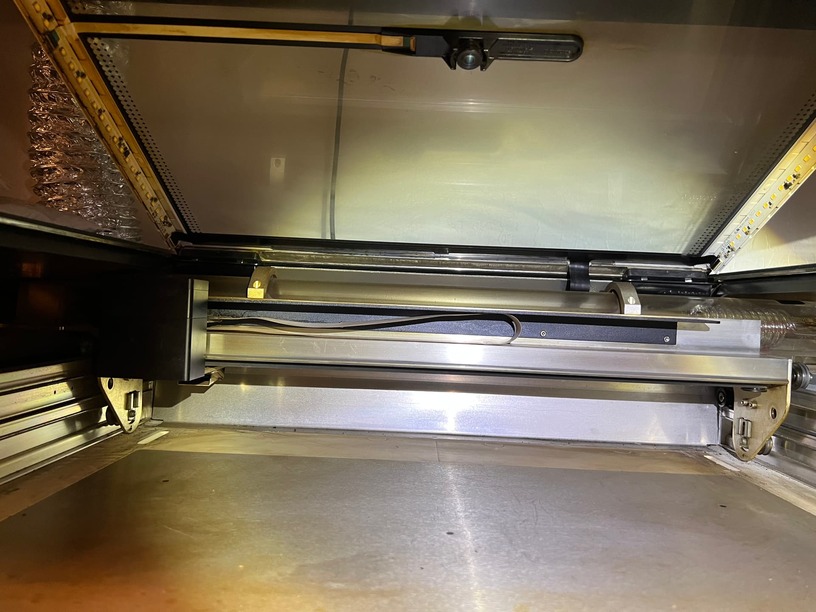
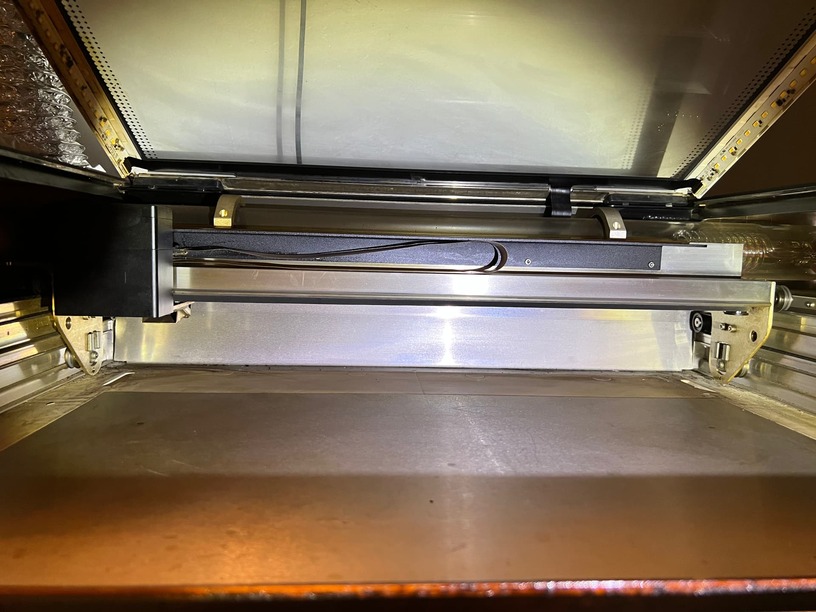
To help us better understand the trouble, would you please send me the following photos? First, power off your Glowforge and remove the crumb tray.
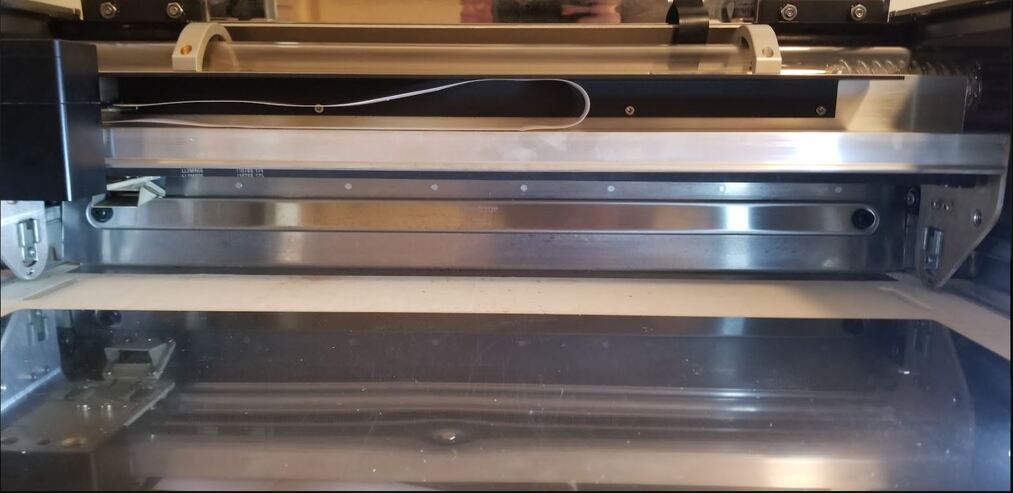
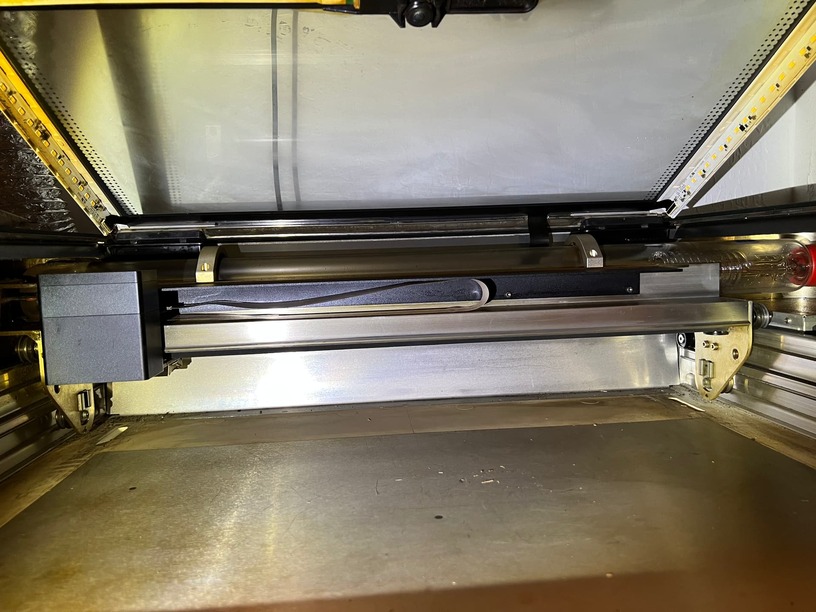
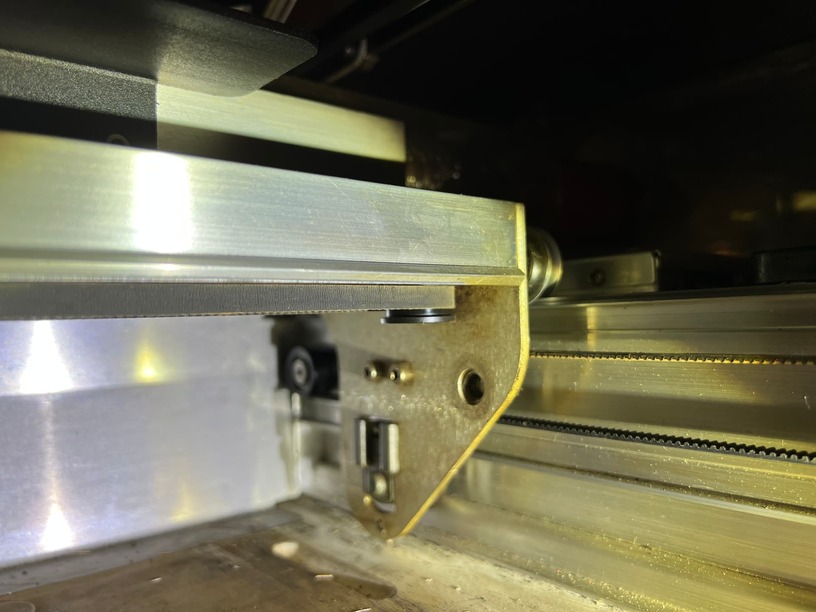
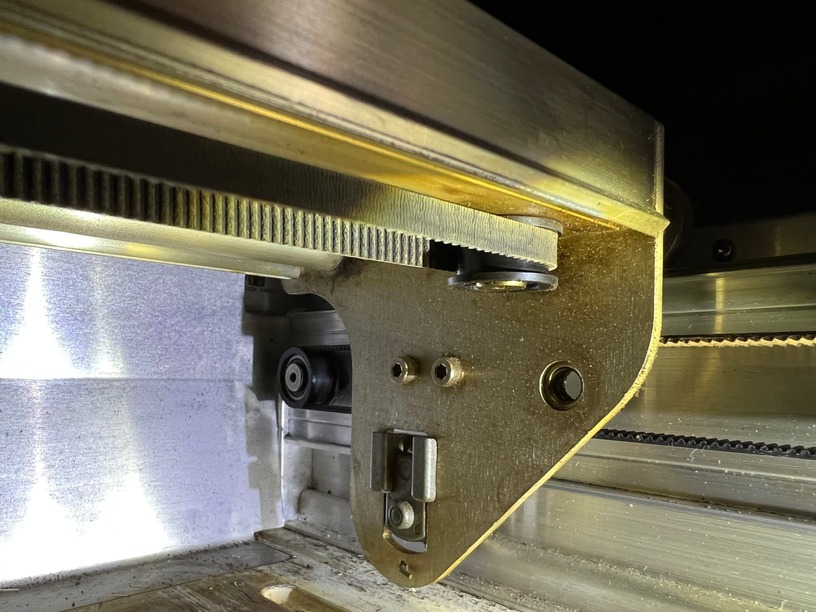
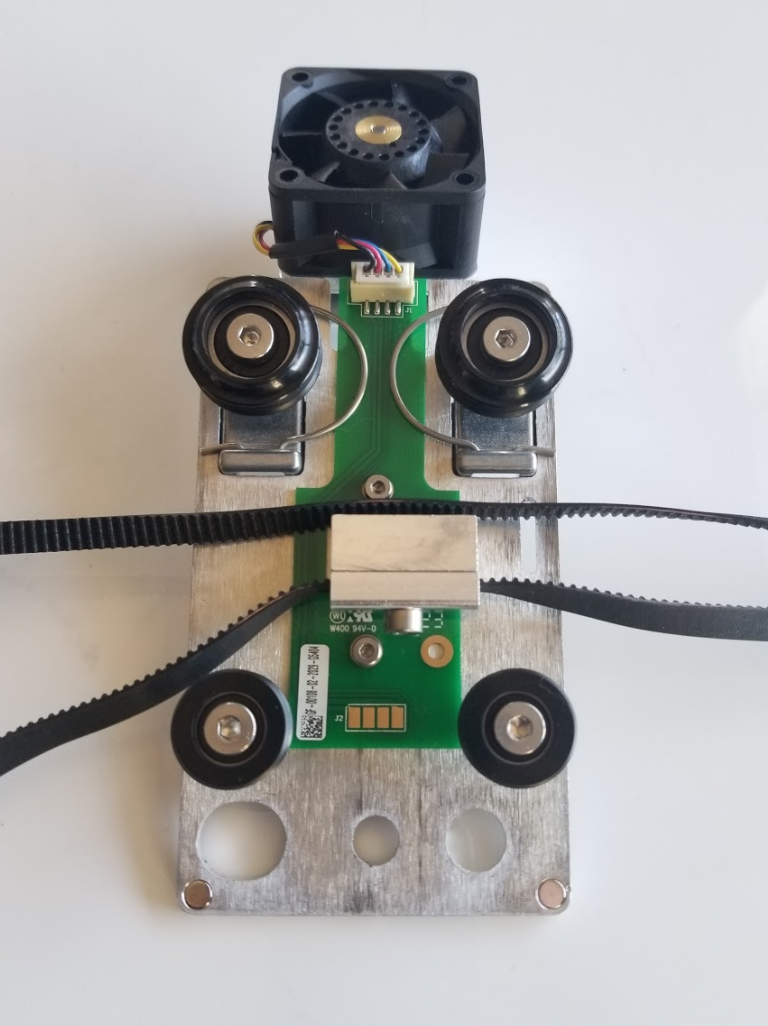
1. The belt under your laser arm with the head pushed to the left:
Attachments
![]()

![]()
Aloha Jeremy,
I am away from my laser for a week, I will no doubt go through withdrawal as this is the longest we have been separated. Can you keep this open until I get back?
Thanks!!!
Hi there - no problem at all we’ll keep this ticket open and just reach out when you’re ready to jump back into troubleshooting!
Thanks for the photos @Aloha
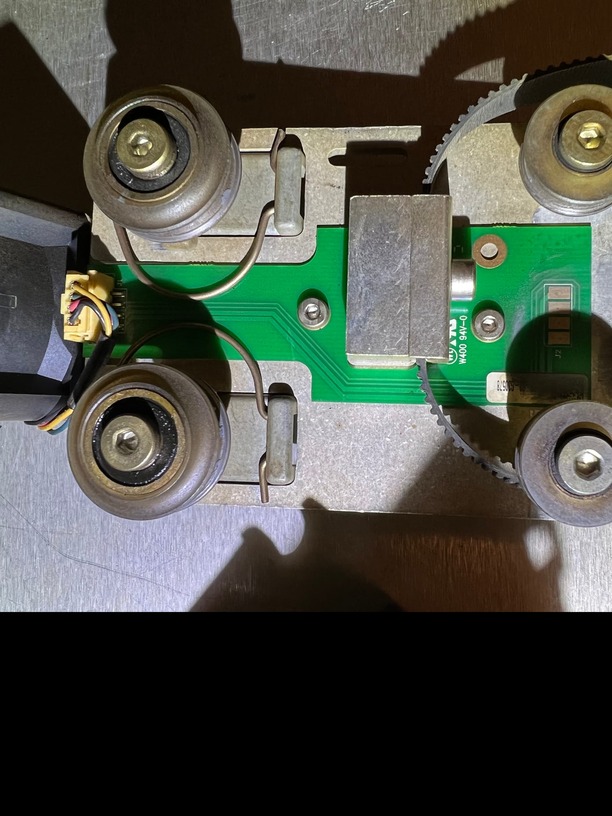
I’m not seeing any issues with anything in these photos. The next thing I’d like to check on is the wheels on your carriage plate.
Also, you’d mentioned that it seems like this problem only shows up in a certain area of the bed, that’s a really interesting detail! Let’s try something.
Could you:
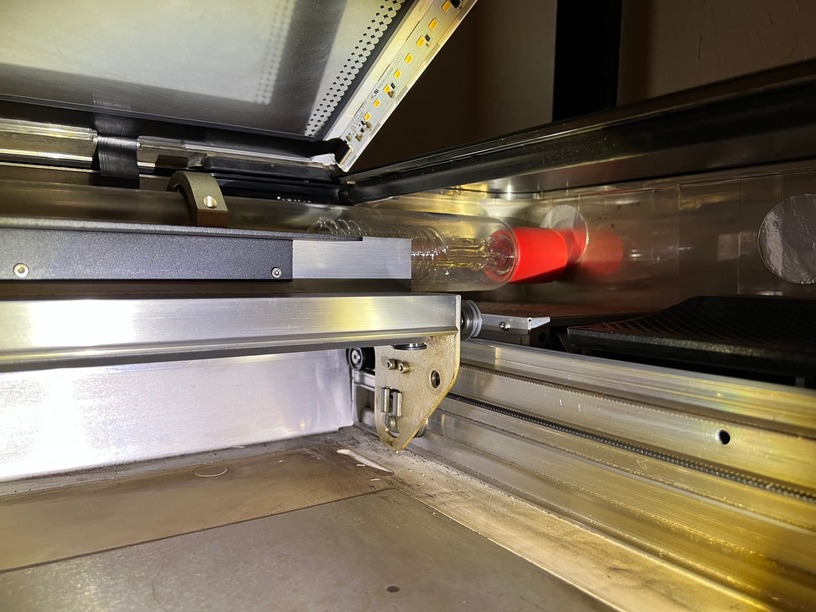
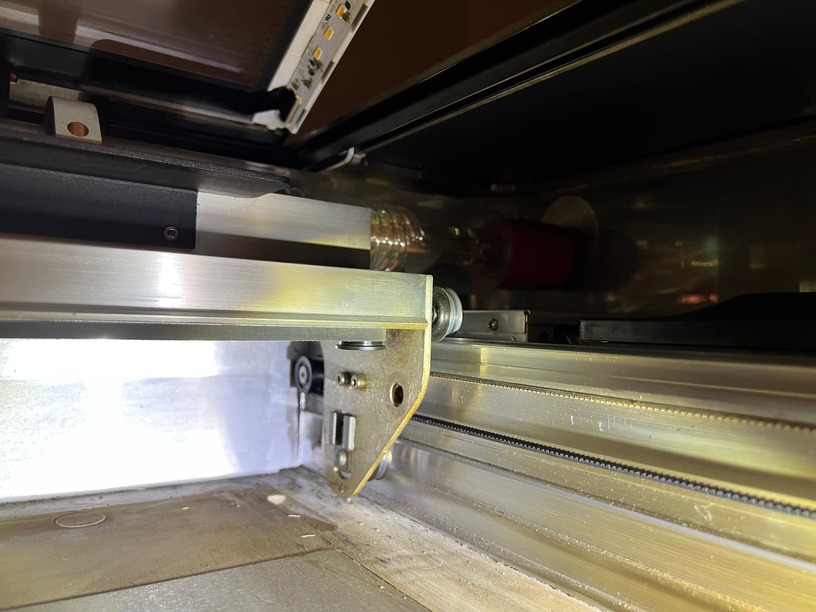
Turn off your Glowforge
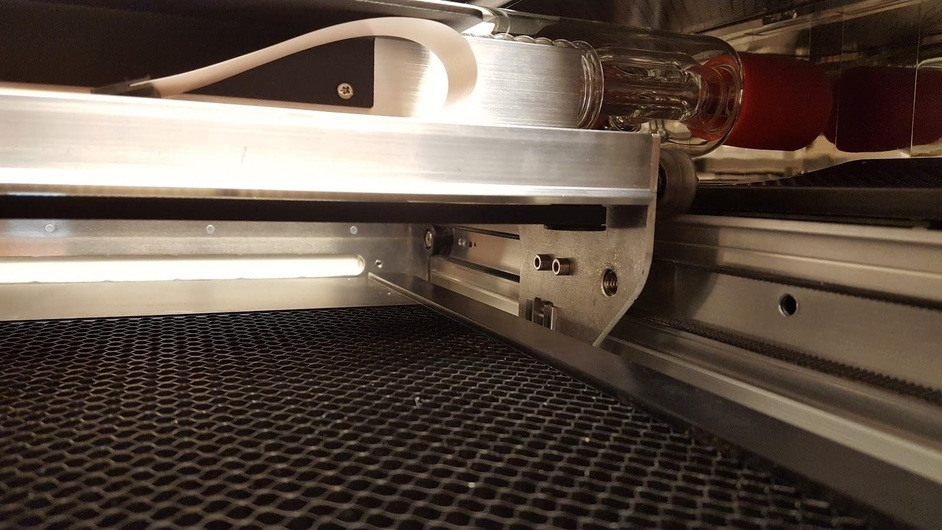
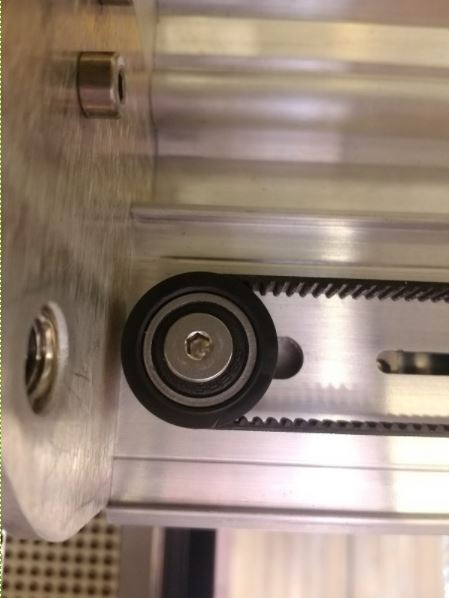
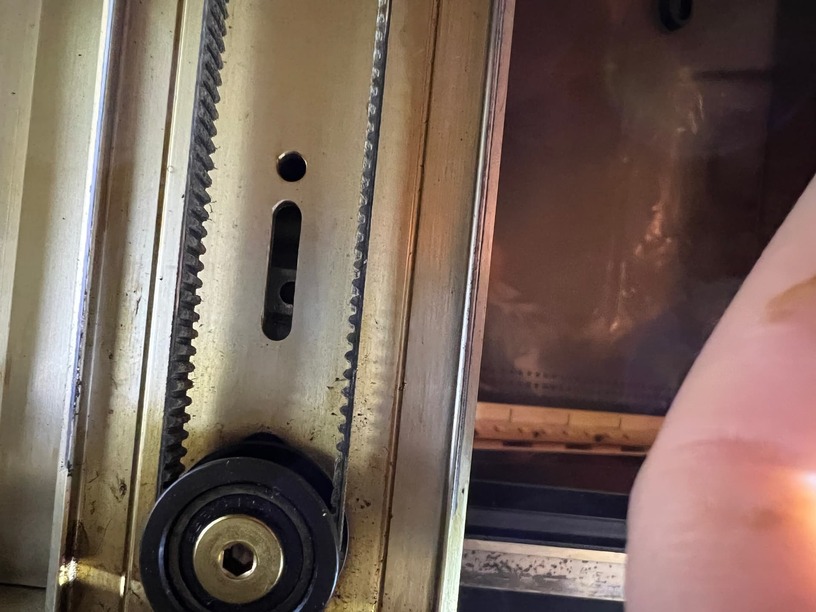
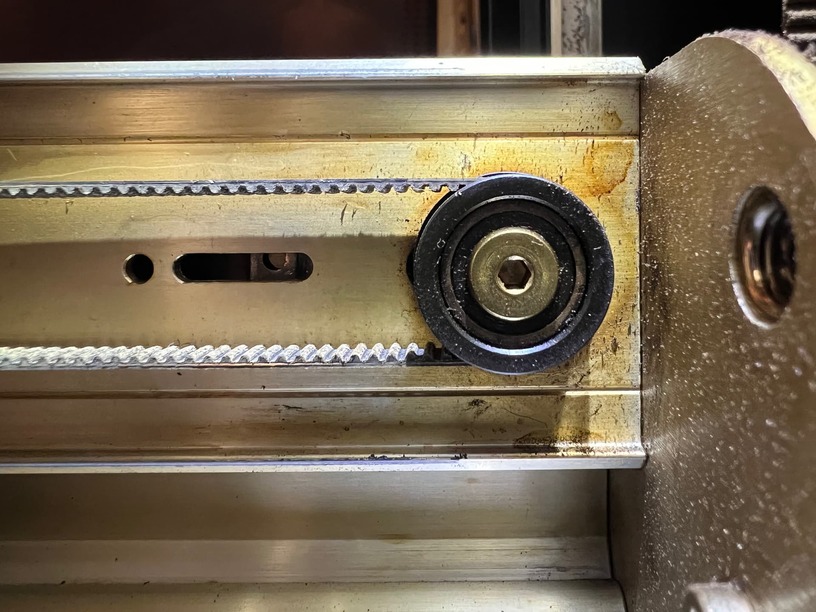
Closely inspect the carriage plate wheels from the top for any cracks or other damage
Closely inspect the sides of the wheels for any cracks or other damage
If you notice anything damaged or out of place, please take a photo and attach it to your reply.
Attachments


Hi Mike,
The head seems to move smooth with the power off to that region, I don’t feel it getting caught on anything.
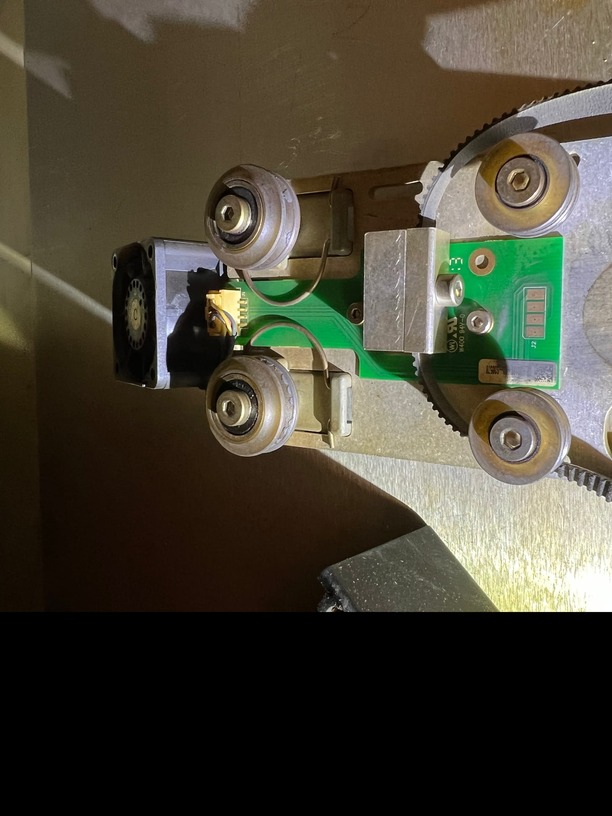
That is an area where the head ribbon wire undergoes the most amount of flex as it travels outside then underneath the black overlying guard rail, not sure if that is causing it?
When apart, the bearings could be a little bit smoother,
The head belt could be a little bit more elastic but I don’t see any teeth stripping necessarily.
After disassembling everything, cleaning everything and putting it back together it still does the same engrave glitch in that area, just tried it again within the past 15 minutes so it is currently 1 o’clock HST
We’ve recently announced that we’re switching the “Problems & Support” section of our forum to “Community Support”. Since you started this thread to have a conversation with our support team, we reached out via email on Wednesday January 18th so that you can continue to work with our support team directly.
I’m going to close this thread and we’ll keep the conversation going with you via email!