I am using Inkscape. My svg files upload to the Glowforge app without resizing but my png images do not. Is there some way to do this that I just don’t know about?
I’m making light boxes with multiple layers. I read that you can reduce the char/smoke staining on cardstock by engrave cutting, rather than cutting. I need to be able to size my pieces exactly though or they will not fit together properly.
I am making them myself. I have NO idea how to get my pixels per inch set correctly. Hmm.
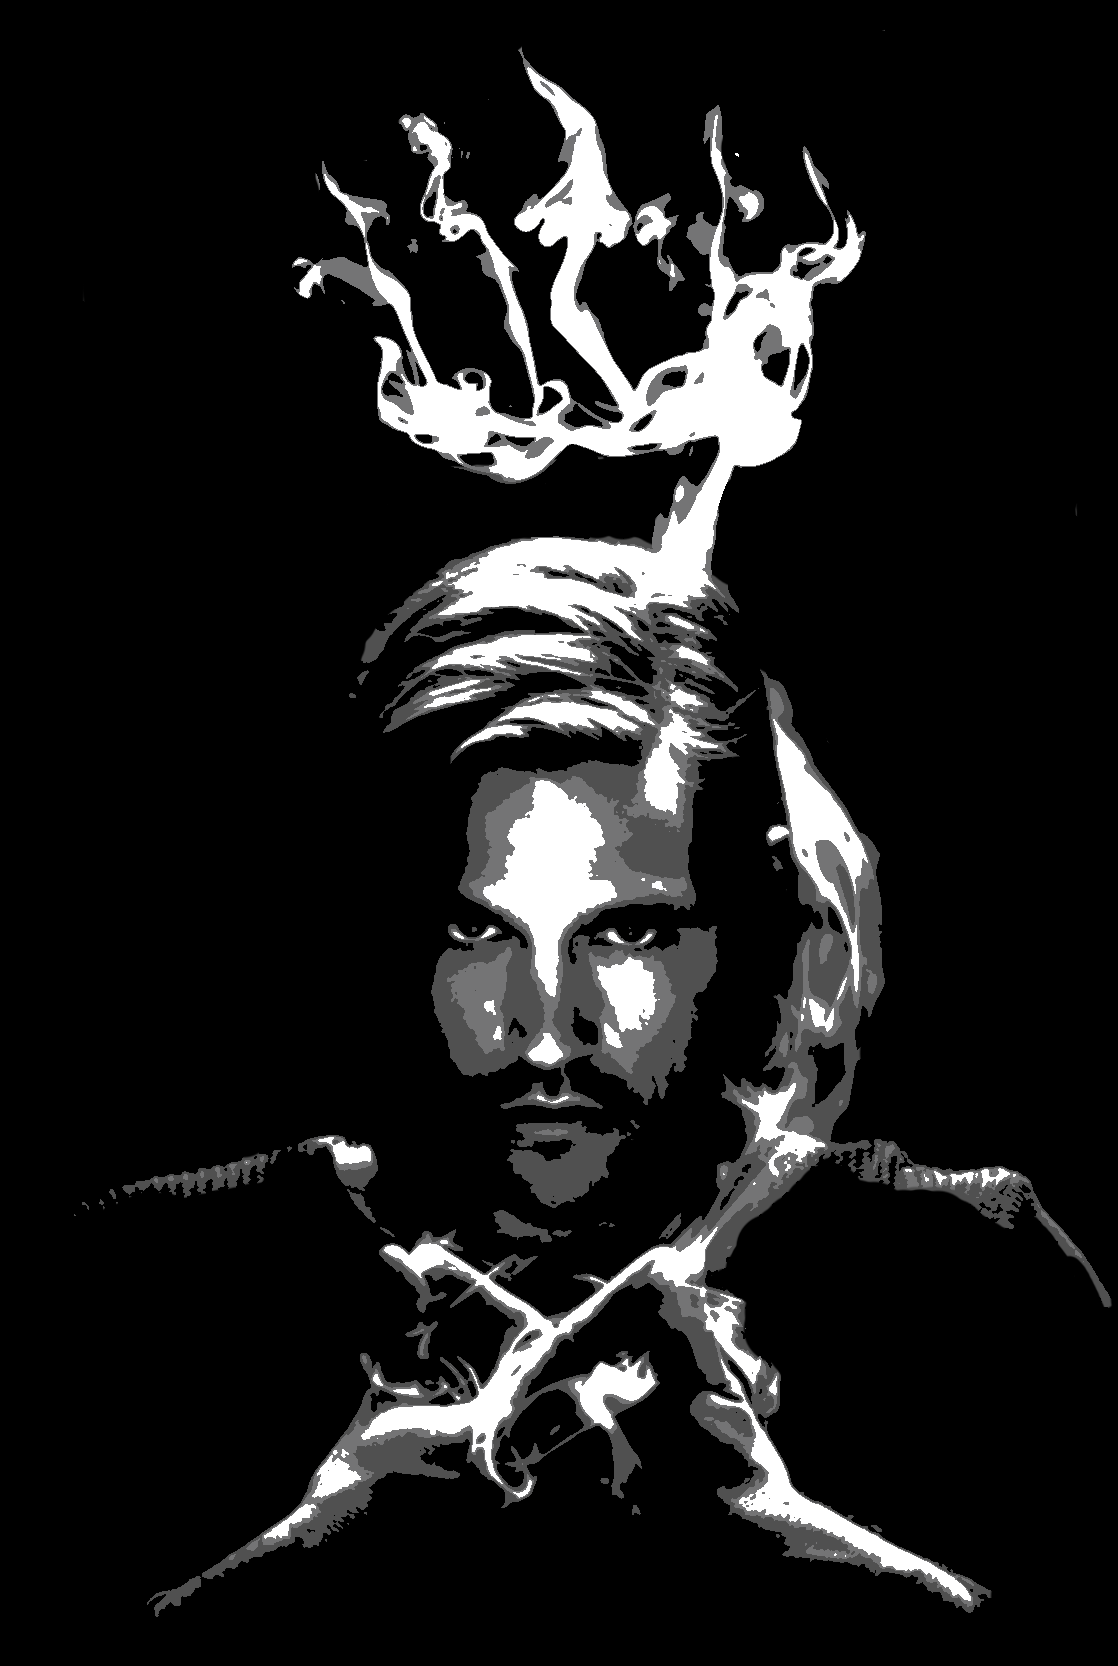
This is a very short form summary of my process. Take a photo. Mess with it in Photoshop to get different layers based on light, mid tone, shadow. Convert to SVG in Inkscape and mess with it to remove unneeded nodes and pieces etc.
I’m left with outlines only…no grayscale. I can cut these on my electronic die cutter but the GF is so much faster. The last time I tried this with white cardstock though, it was unusable due to smoke staining. I saw that a few people had been having great results engraving to cut rather than cutting to reduce char/staining. I wanted to try it. But I can’t get my png images (just outlines, exported from Inkscape) to upload in the GF app at their correct size.
Here’s an example of a slightly different project but same idea. I would cut one layer for white, one for light grey and one for dark grey. Those pieces would be glued on a piece of black cardstock. So no actual engraving…just cutting the outlines.
The lightboxes are kind of the inverse of this. In the above example, I’m saving the bits that are cut out of a piece of cardstock and gluign them. The lightboxes discard the inner bits and keep the piece of cardstock. The ‘holes’ are what I want there.
I’m working up something for you, but there are folks on the forum who can do the math in their heads for getting the resolution correct. If you are making the SVGs that are exported as PNGs, then you can tweak the export settings to get them sized correctly with the correct resolution so you don’t have to manually resize.
Has to do with how the GFUI imports bitmaps too. I’ll do some digging on the forum to see what is here.
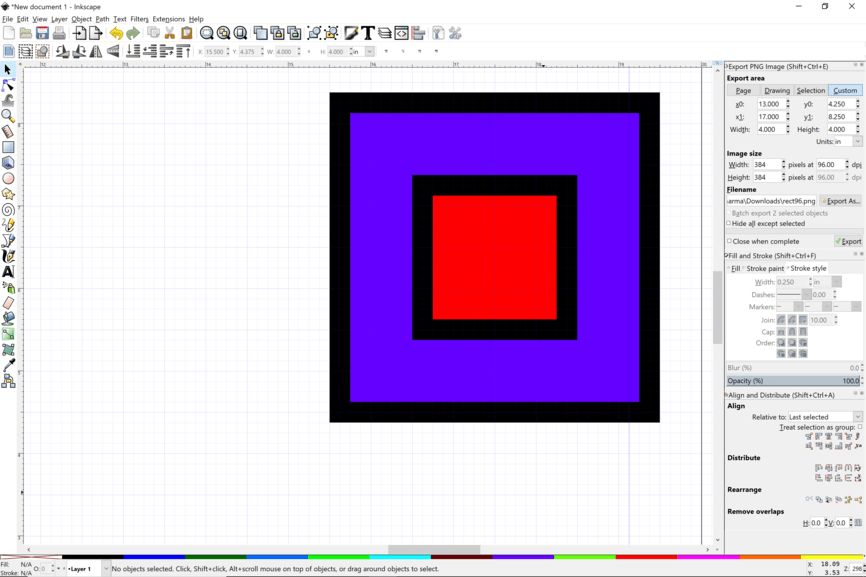
Inkscape use 96 pixels per inch for Inkscape .92 and above, I believe. Here is a 4"x4" image that is exported at 96 DPI. One issue is getting pixels per inch for screen resolution and dots per inch clarified. They seem to be referred to as the same, but might not be.
I don’t know how this translates as to resolution of an image, especially of a photo. Will details be lost or not. That is something that folks more used to raster editing can chime in on.
An SVG file is just a container. You can drag and drop your PNG into a new SVG file, size it the way you want it, and then save the SVG. It will come over as a raster image at exactly that size.
Just embed it into a SVG file and the size and resolution will be respected.
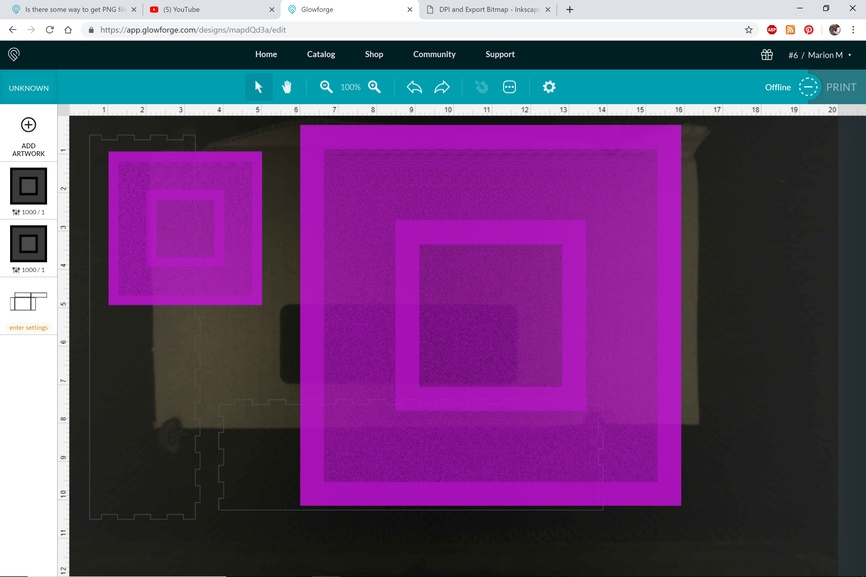
The browser doesn’t care about PPI. So if I set an image to 5x7” by 300PPI, it’s going to just take the number of pixels in the image, divide by the native DPI of the program and display it at that size, nearly 3x larger.
Thank you so much everyone. This was such a pain to try to figure out because I didn’t know what to search for.
One last question…since the svg and the png are exactly the same, once I embed and import it to the GF app, I can just tell it to ignore the svg and engrave the png. Is that right?
As you are cutting out very even work or cutting multiple layers it would seem to me that vectors would work better than rasters for cutting or engraving.
If you are starting out with vectors , great! Keep them. If you are starting out with PNGs then Inkscape has a great ability to trace edges to vectors and create either cut lines or engraves of a single strength.
For myself the only reason for pixels is if I want to vary power for 3D engraves.
With the correct settings you could set the size very precisely in Inkscape.
The reason I want to use PNG files rather than vectors is that I have seen others in the forum have success “engrave cutting” rather than cutting white paper and cardstock to eliminate char/staining. I have experimented with multiple settings to try to reduce the staining on the white paper without success. So I’m going to try engrave cutting it to see if that works better. If I try to engrave the vector files, the software wants to engrave the whole negative space, not just the line.
There was an owner who cut out an extremely intricate snake out of copy paper using this method.
I did some very intricate lace from paper, and engraving was the only way I could manage it. Ideally you want to reduce the power to just enough to penetrate the paper to minimize charring.
Any closed vector can be an engrave. If you want holes like in the letter “O” you subtract the inside from the outside. To do this you must have the list of objects up and the outside below the inside. Alternatively you just use the difference pick in the Path → Difference pull-down and if it doesn’t work undo and then go to the Object → object to pull up the list. In general the last thing created will be at the top of the list but from the list you can move stuff up and down.
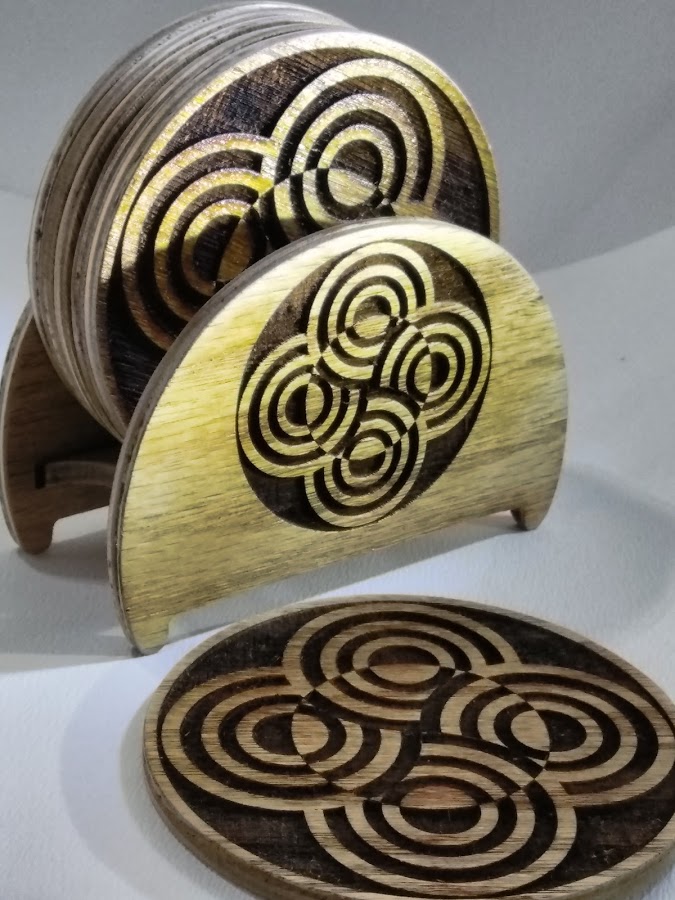
Created in this way the vector files can be engraved with better control and sharper than pixel graphics like these coasters:
I’m sorry I guess I’m not making myself clear to you. I do not want it to engrave those areas…I just want it to engrave the line. If I upload an svg to the app and tell it to engrave, it wants to engrave the whole space enclosed by the lines. That is not what I want it to do.
Did you make it from copy paper weight paper or cardstock? I want to try both. For the project that I referenced above it needs to be cardstock though as copy paper is too flimsy .
When you use trace on a thin line Inkscape will put a vector all the way around it such that if you use cut; it will appear to cut twice. in that case, what is a problem for some is what you are looking for
An alternative case is like the letter “O” where the line closes so Inkscape makes two circles creating the issue you are talking about of two filled solids. However, as you can subtract the inner circle from the outer you will again have that “line” you are looking for as the black part will be all that would be and the inside of the circles will be empty as you are looking for.
Here is a simple example;
There are 4 lines but as an engrave would be two circles. By making the shapes different colors you can engrave each of them differently, both sharper and more controlled than an image.