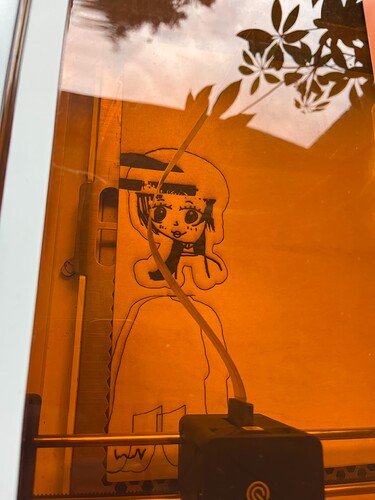
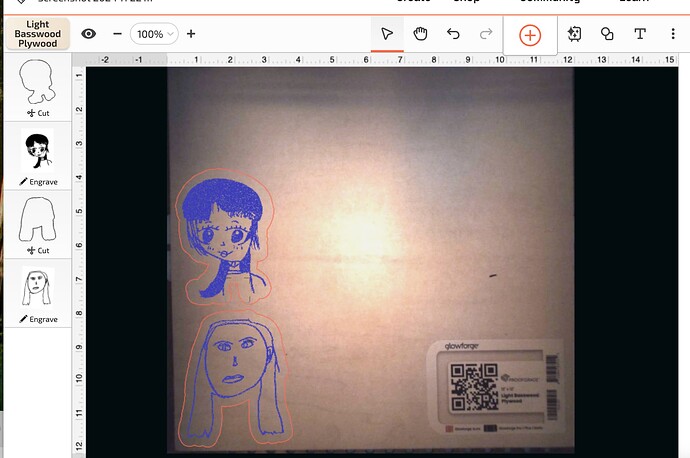
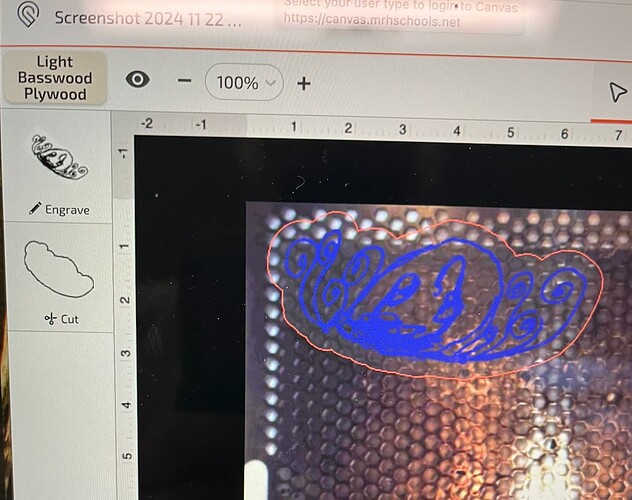
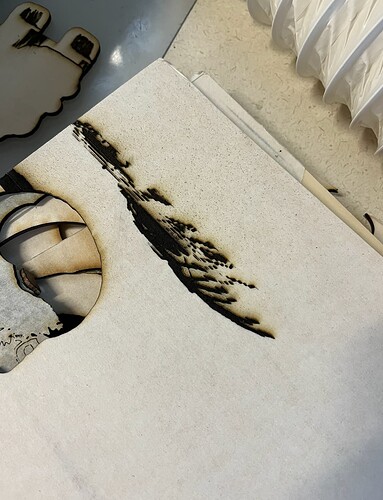
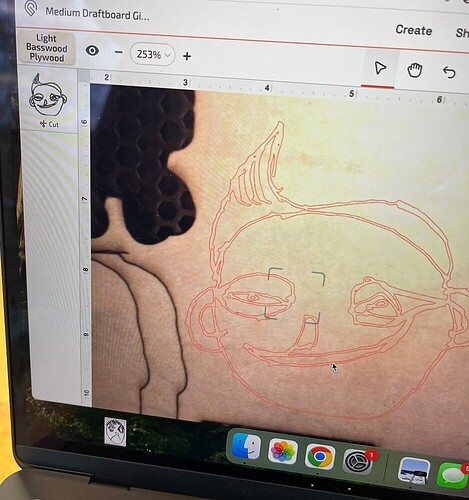
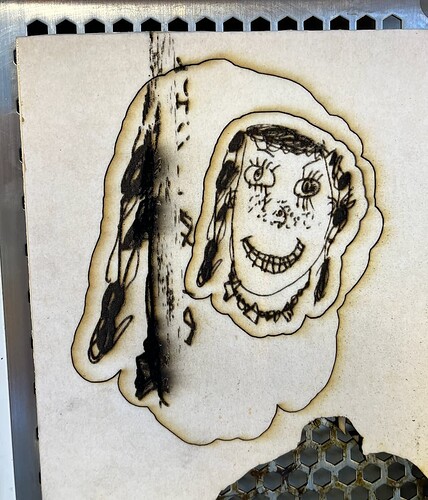
What is HAPPENING!? I have had this machine for about 9 months. I stopped using it out of frustration for about 4 of those months. I am trying to cut out and engrave these little drawings from my class. (Yes, I know this is not the recommended model for an educational setting but I am not planning on giving it that kind of a ride, and it’s all I could afford.) Sometimes it works great and then I start something else and its a mess. Same settings, same proof grade materials… I clean the rails, EVERY use, I use every trouble-shooting method in the chats. Sometimes I use the exact same settings, same images, 2 totally different outcomes. Sometimes it cuts all the way through, sometimes it doesn’t. The worst is when I walk away and come back 20 mintues later and the image is “off.” I have wasted so much teacher time and money on materials for this. ![]()
I don’t know if you are requesting assistance or simply venting. Either is ok. The first thing I notice about this project is that for each picture you are cutting before engraving. I urge you to reverse this because when an item cuts, it can drop down and the engrave will be off. The second thing is you should not walk away for 20 minutes.
I’m trying to find a solution to why this KEEPS happening. It happens even if I don’t “cut,” just engrave. You can see that the bottom "cut is off, and thats all it’s doing, cutting. I’m in the same room with the machine. “Walk away” means not staring at it.
The Aura has become notorious for not tolerating any crud on the rails and skipping if the rails get too dirty. I would clean the rails and do one image, and then clean the rails and do the next one. I have a pro so I am not familiar with the specifics. I do know that all the machines operate on real numbers and as long as they do not change and the machine has not skipped that will be where it cuts no matter how the image lines up.
I frequently cut the outside first and then engrave each side, but it is the mechanical numbers and not the image I use in those cases.
Cut first or last makes no difference to the accuracy of the engrave for me, but I never use the camera for alignment. I also do a lot of double-sided engraves, and I will have both sides aligned in my design app, and simply set one to ignore while the other is engraved. For things like medallions/coins where back-to-back rotation is important, I might cut and engrave the first side with a “tab” extending out, then have a short cut to remove it once it’s been flipped over. That short cut is ignored during the first print, and the other shape is ignored during the second.
I don’t the aura so my exp is slightly different. Two thoughts I might throw in here.
-
i am glad your back at it working through the challenges once you find a solution this will be such a cool tool to have in your teaching tool kit.
-
One small change I made early on was to just accept that the edges were part of the overall extra unused material. Unless you have a design using the full area of the material I found that I wasted less material overall material by not trying to be so precise in the edges.
I often do things like @eflyguy ignoring the camera and using other strategies for aliment when I need precision.
I hope your able to get to the other side of this challenge!
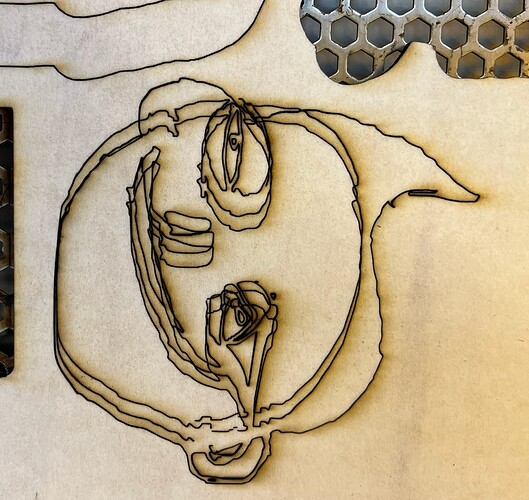
UGH, I could seriously cry. I came back to this project this morning. Unpluged and replugged the machine, cleaned the rails, used proof grade materials…I gave it a full fresh start. And I got this craziness. What is happening!?
With the Aura, the first thing to do is clean the rails and magnetic points, then clean again. Please print the Gift of Good Measure on a scrap of material and share a photo.
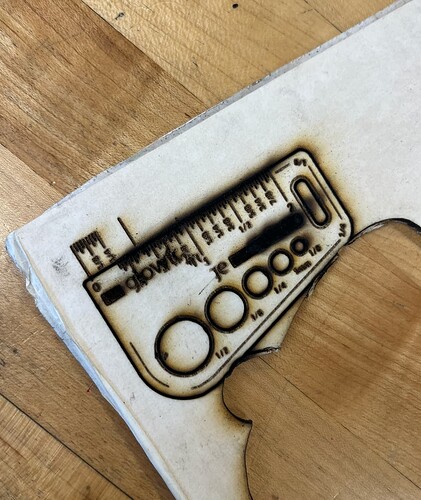
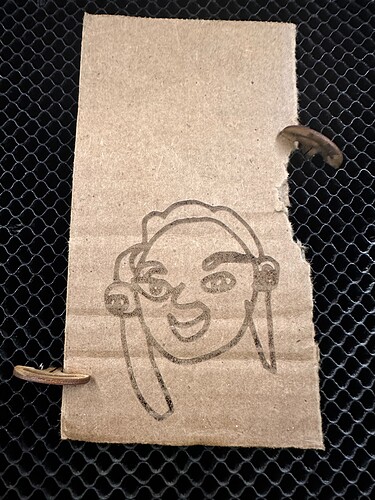
I super appreciate you being willing to try to diagnosis this. The first good measure printed like this. It moved on the scrap. You can see where the numbers started is where I placed it on the wood.
Then, I decided to print it again out of curiosity. You can see that even on the one where it skipped over, it didn’t cut all the way through.
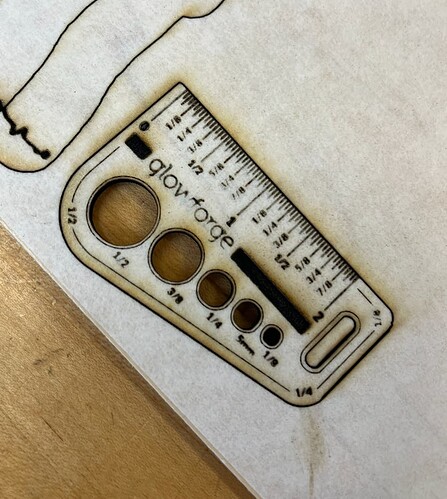
Then, when I printed again, it worked?
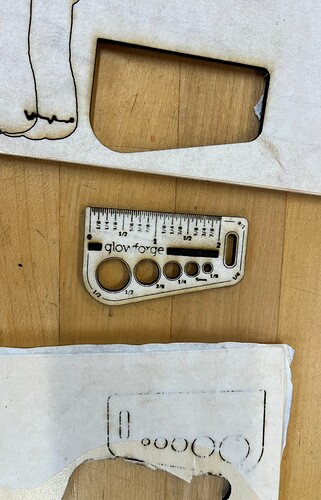
So, I decided to print one of my pieces… and it didn’t???
Images are in order of my printing process.
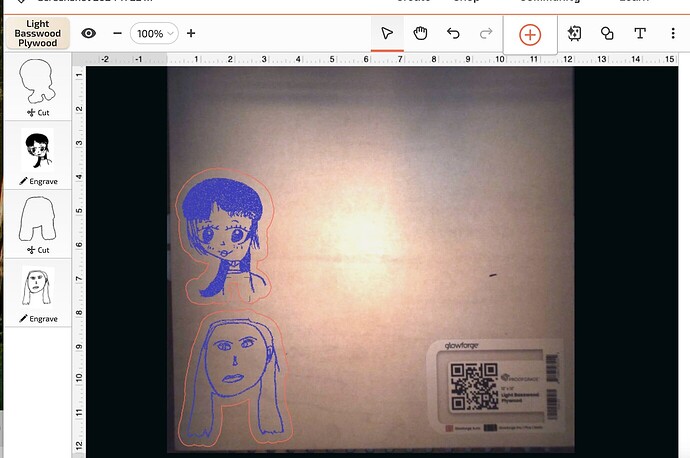
I think that fact that one of the Gift of Good Measures printed correctly is a good sign, but obviously you still can’t cut your drawings. Partly I think the file is the problem. First you must make sure the machine can/is operating normally. Clean the lens and diffuser really well. Put in a scrap and set focus prior to placing your design. Add a small circle to engrave and a couple of small shapes to cut. Screenshot before clicking print and after the print and share here.
I am sorry you’re having so much frustration.
wow cutting all that out like that is going to make very fragile pieces.
you are using proofgrade wood right? plywood from other sources can have filler in them which not laser friendly.
that last pic, is there a way you could just score that and then create an outline around it?
If you share the file, one of us would be happy to print it on a scrap of cardboard or similar, to eliminate the file itself as the problem.
I have about 100 of these SVG’s to print. PLEASE? THANK YOU.
(attachments)
What I don’t get it why it’ll not work, work, and then not work, all in 2-3 hours of printing. EVEN with cleaning in between 20-minute cuts. Same files, same materials, same settings…
I am glad that worked, but I think that the OP sets these to cut, not engrave.
This thread has gotten a bit confusing. In one photo they have it set to cut AND engrave,
then the next photo shows just cutting…so I’m not really sure what the problem is.
My gut reaction is though that it’s something wrong with the printer.
Yes, good to know it is not the file. Its like every other print works.
I am doing some cutting and some engraving. My settings depend on the image that the kid provides me. I also don’t have time to turn all of these drawings into SVGs.
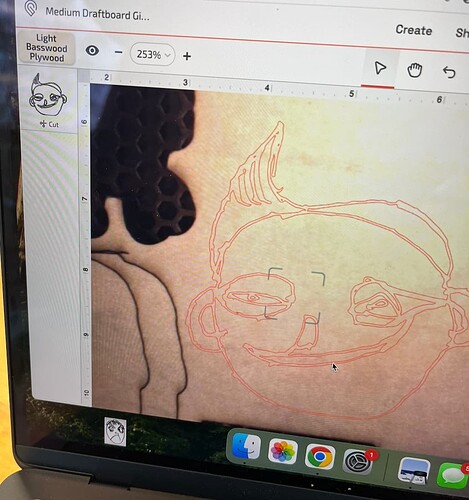
This is today’s trial. I set the big one to engrave and cut and it went all nuts. So, I cancelled the print and made it smaller, then put it inside of the original cut so that I didn’t waste as much material and it cut fine. I have NO clue what makes it work or not work.
