Hi @jotinpro! Thank you for the update. I look forward to seeing the test print result, so I can help get this resolved for you. In the meantime, please let us know if you have any questions.
Hi @jotinpro! Thank you for the update. I look forward to seeing the test print result, so I can help get this resolved for you. In the meantime, please let us know if you have any questions.
Hello,
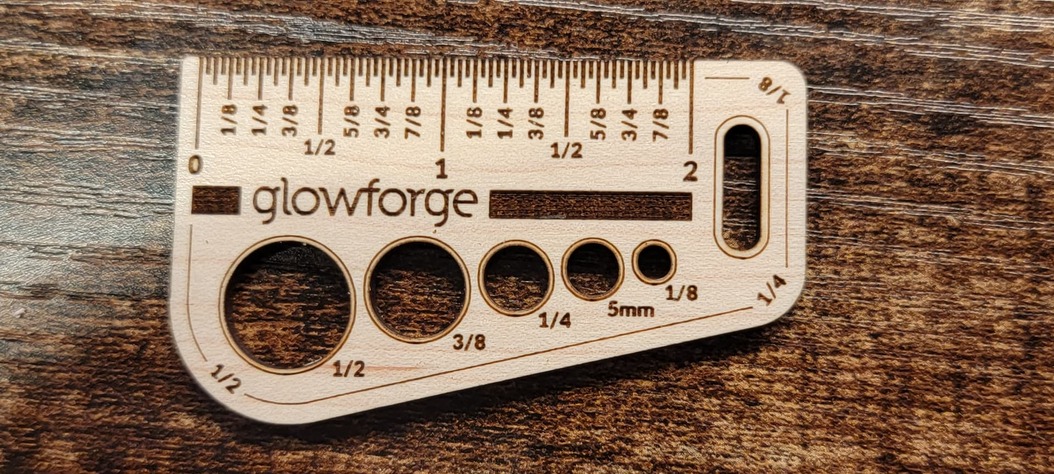
The gift of good measure is printing out on proofgrade maple plywood now.
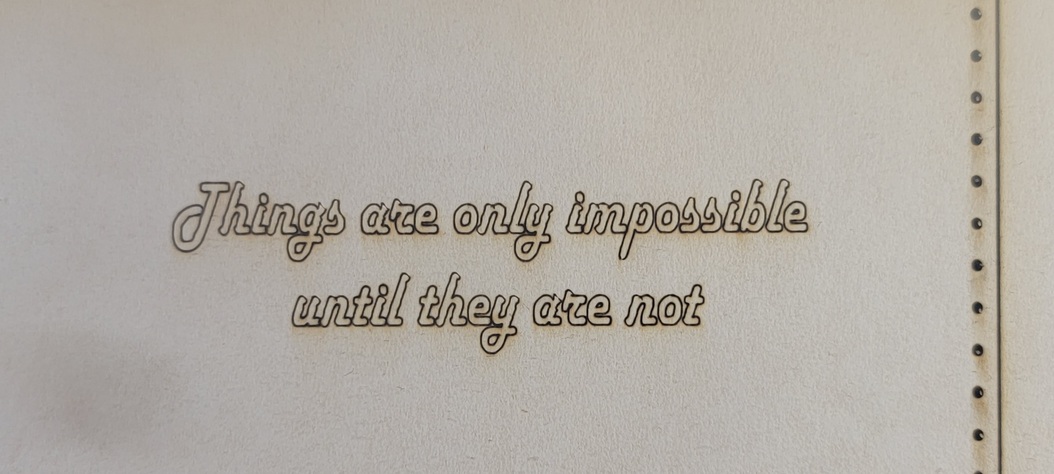
I just tried to do a score on leather using proofgrade settings with some text and it came out really bad this time.
Please see the attached.
Here is the proof of good measure which to me looks really good :
The score lines on the Gift of Good Measure look smooth to me - unlike on your text. Perhaps try the same text score but at a slower speed.
It’s strange that they are still jagged even though I used proofgrade settings.
How are you holding the leather in place?
honeycomb pins
Try the same file on something like cardboard and see if the “wiggles” are in the same place or if they exist at all.
It did get better with the slower settings and lower power. I wonder if I just need a new belt.
I doubt that you need a new belt. I think the speed was the issue.
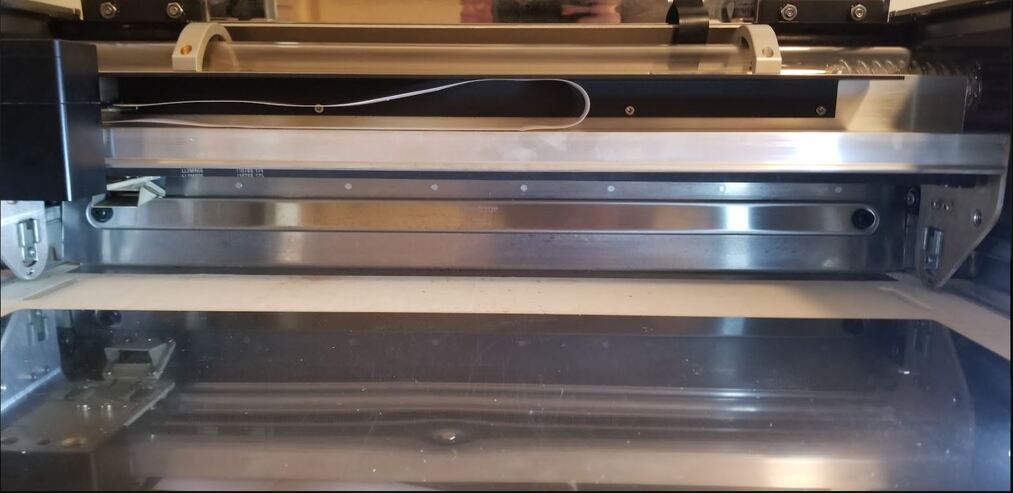
Hi @jotinpro My name is Mercedes and I’m part of the Technical team here at Glowforge. It’s possible that it could be your belts, could I have some photos to review?
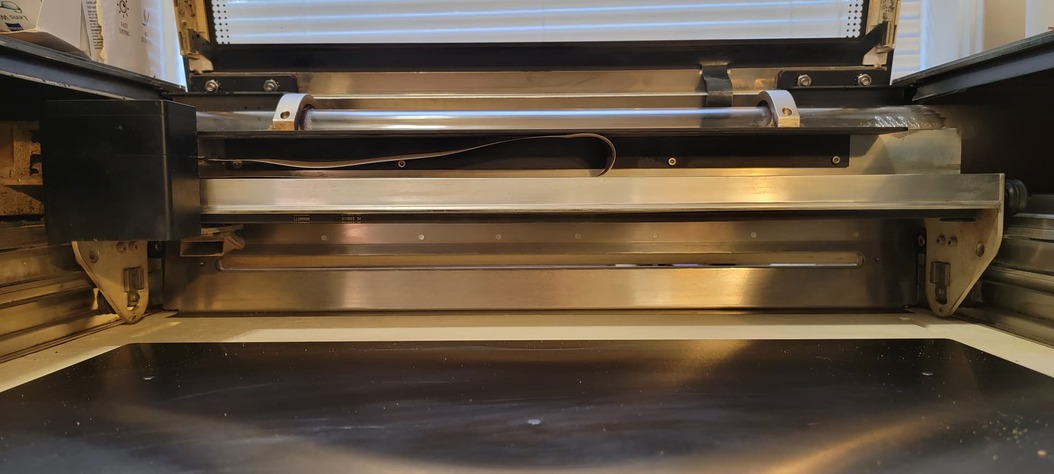
First, power off your Glowforge and remove the crumb tray.
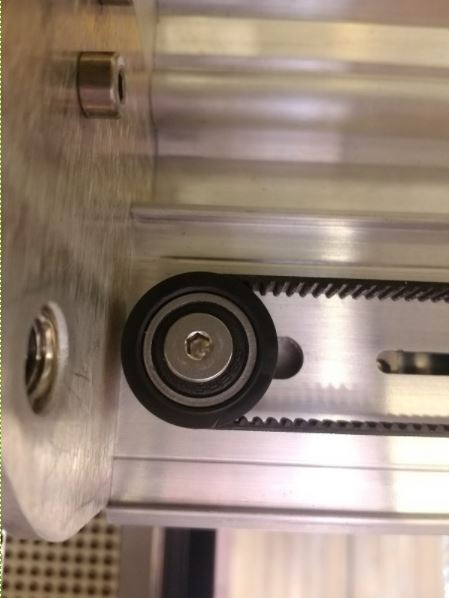
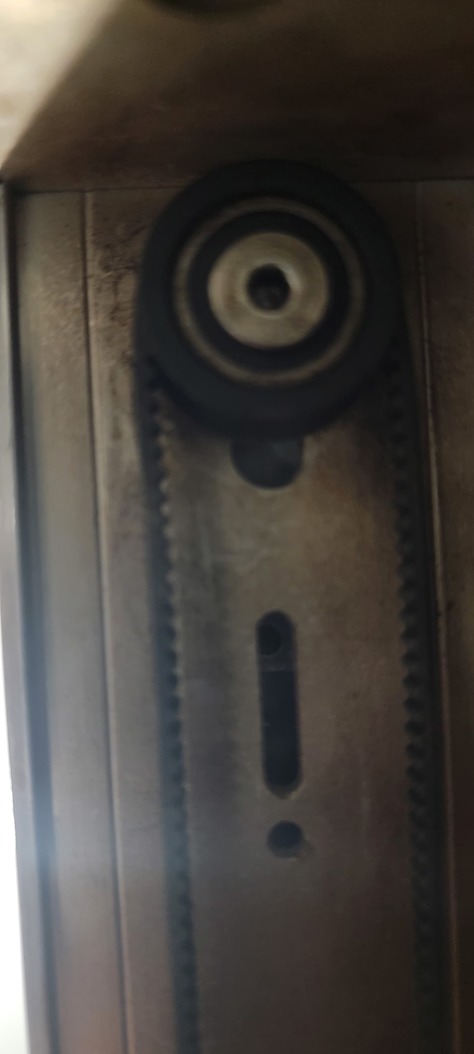
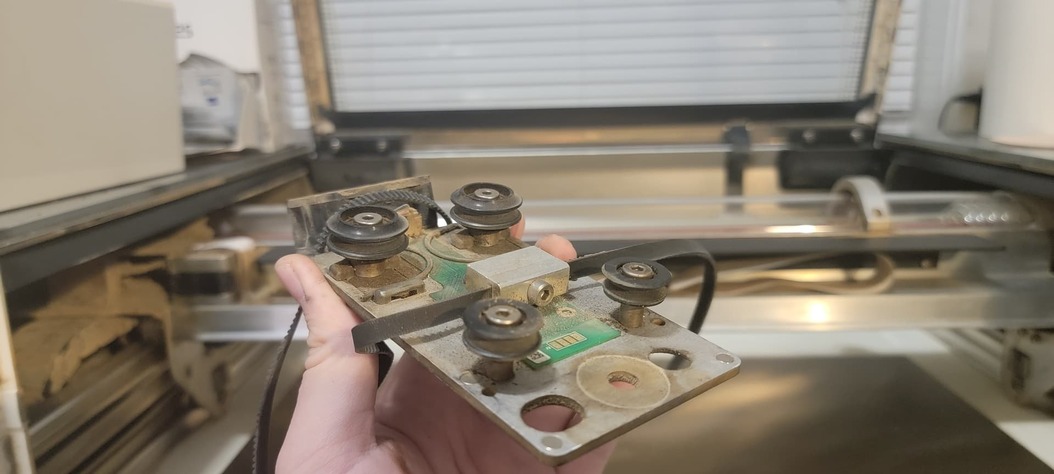
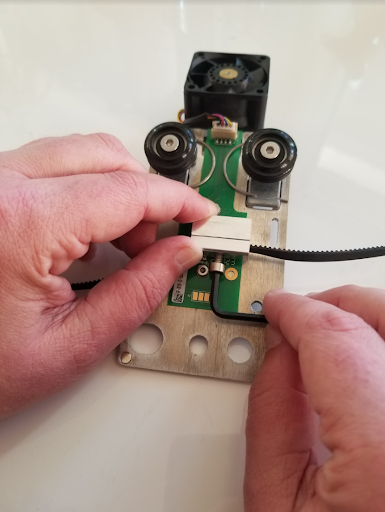
1.The belt under your laser arm with the head pushed to the left:
Attachments
![]()
![]()

A new belt could make sense.
It looks easy enough to replace. Can you tell me length and type I need or can you guys send me one?
Hi @jotinpro
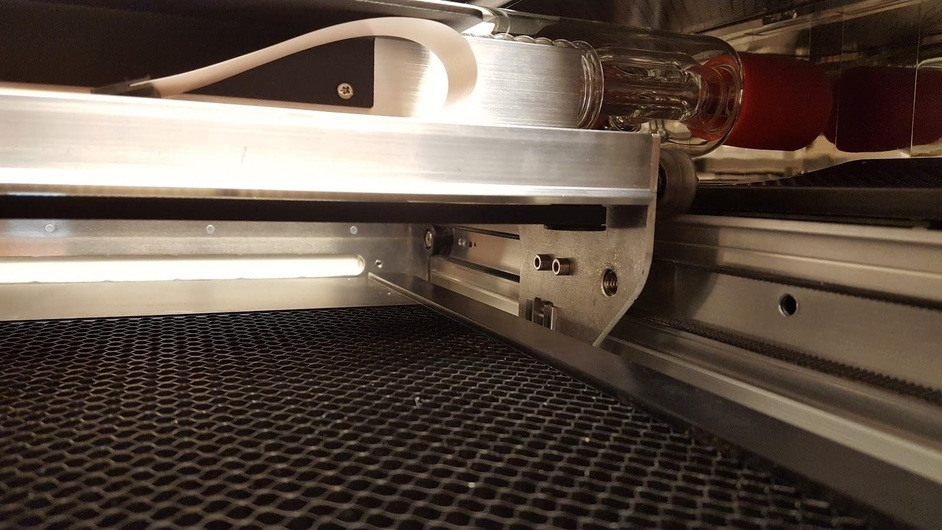
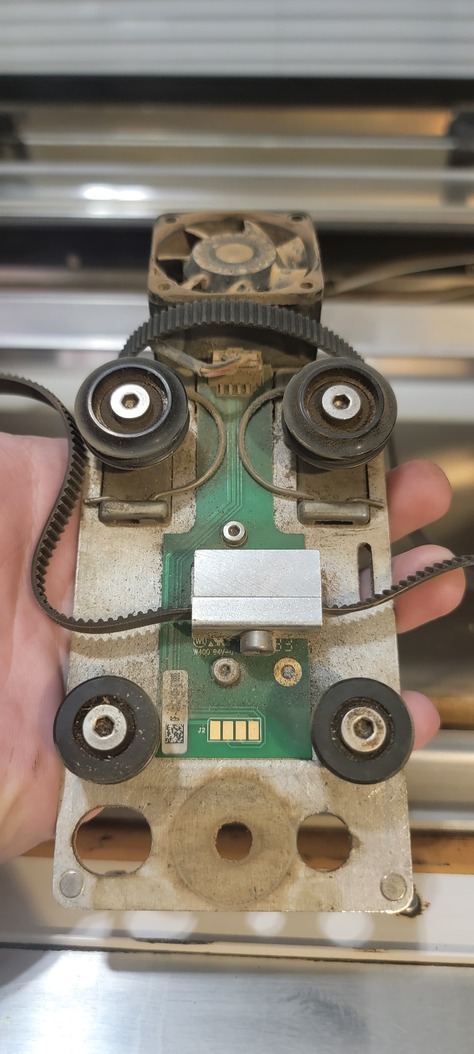
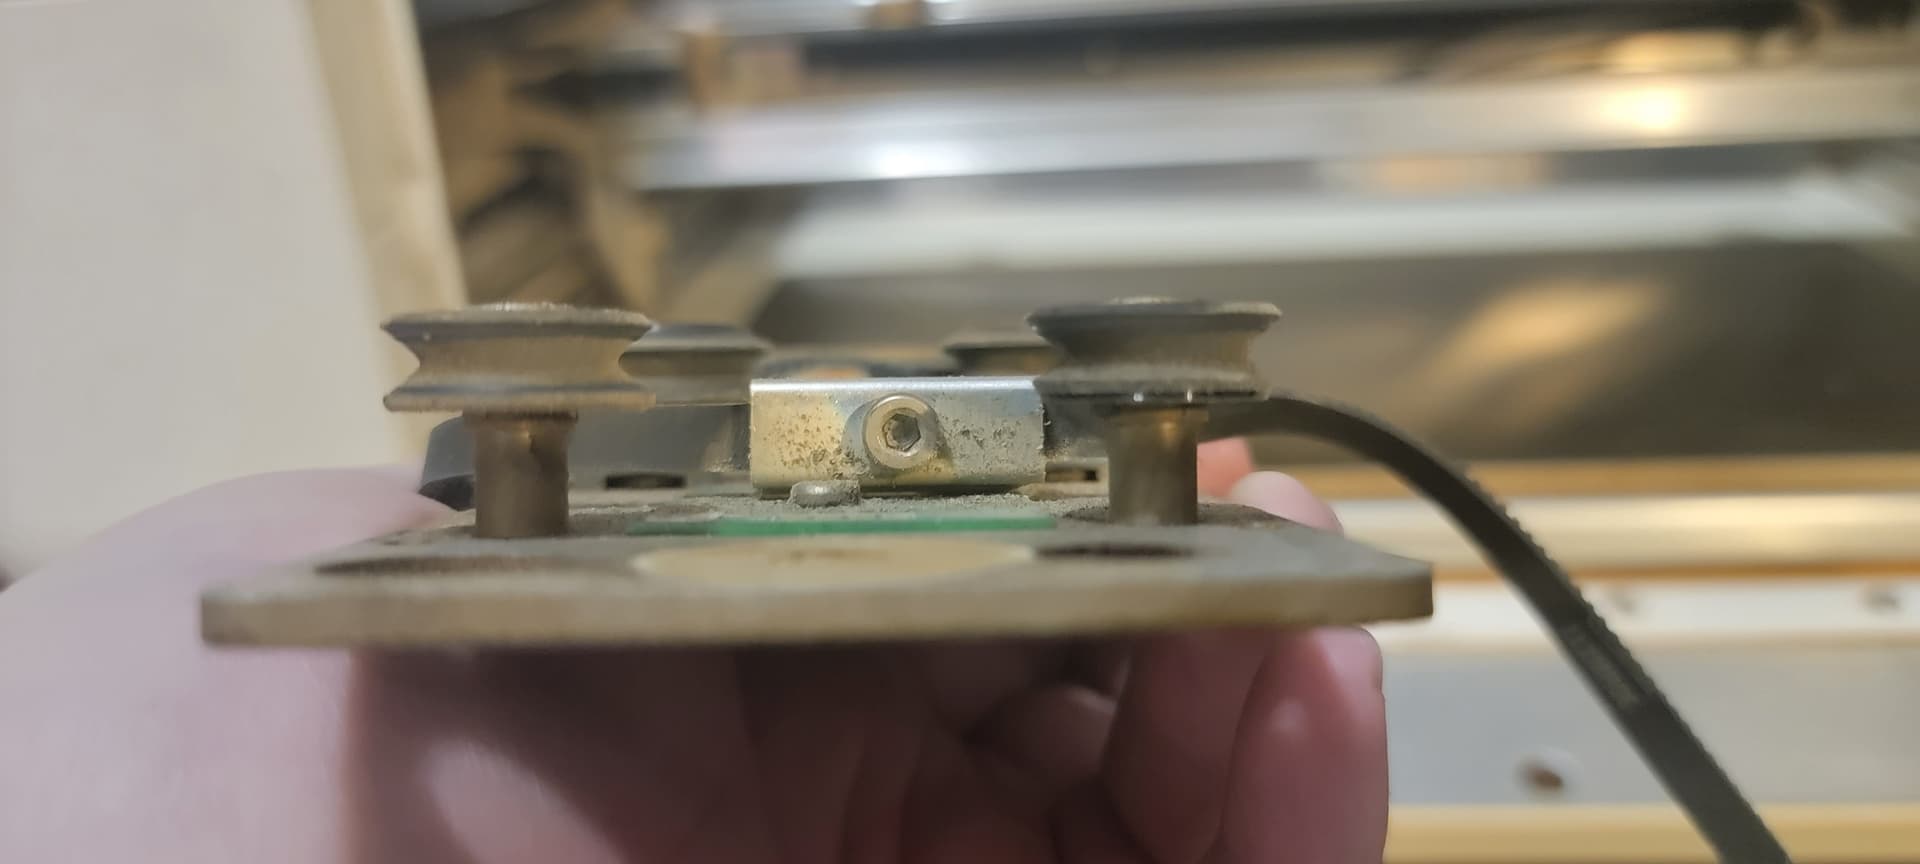
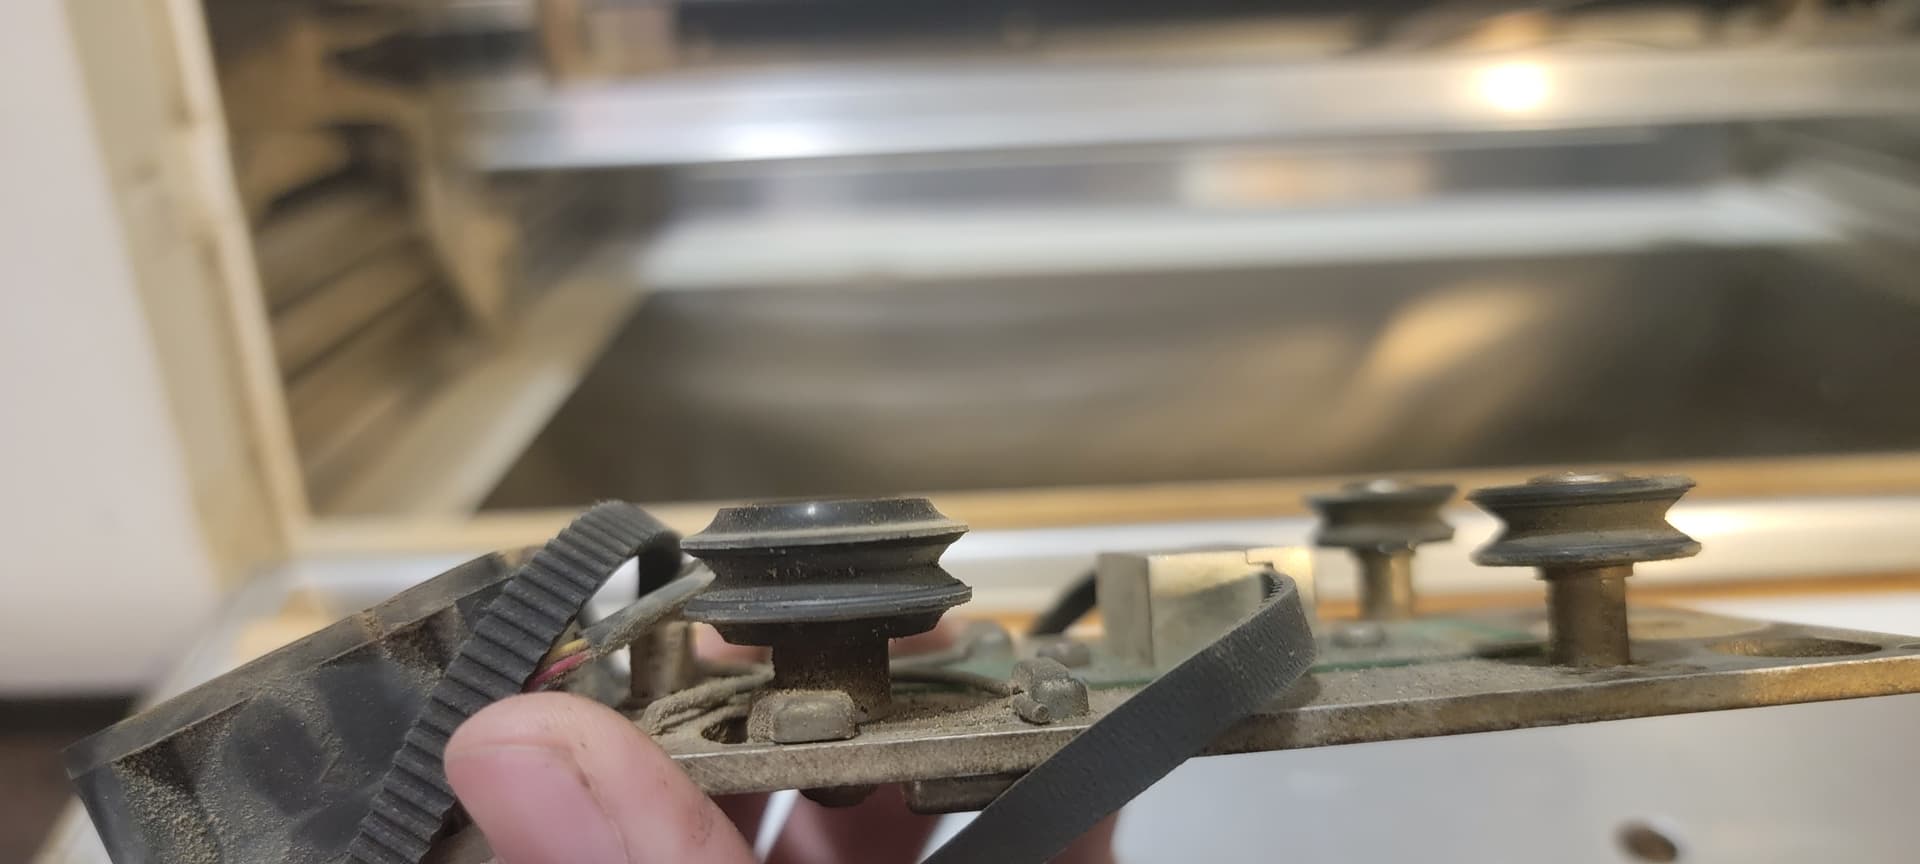
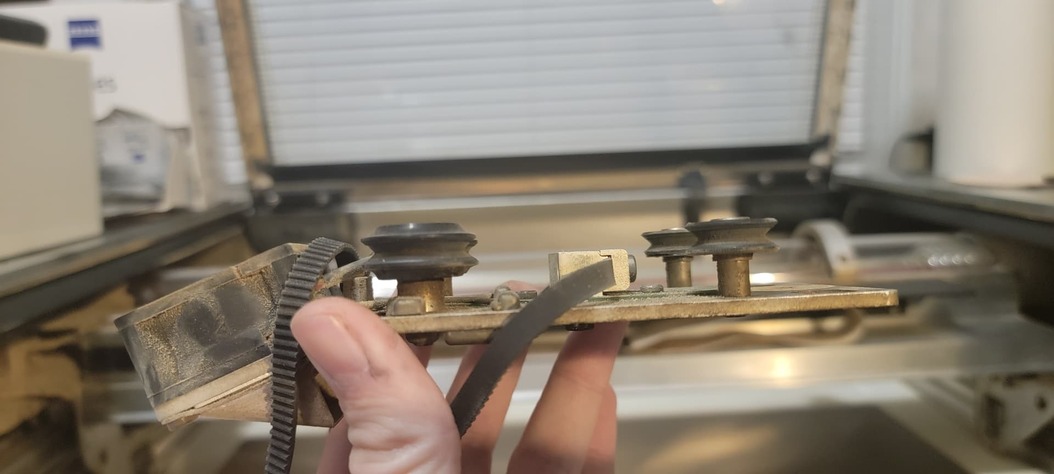
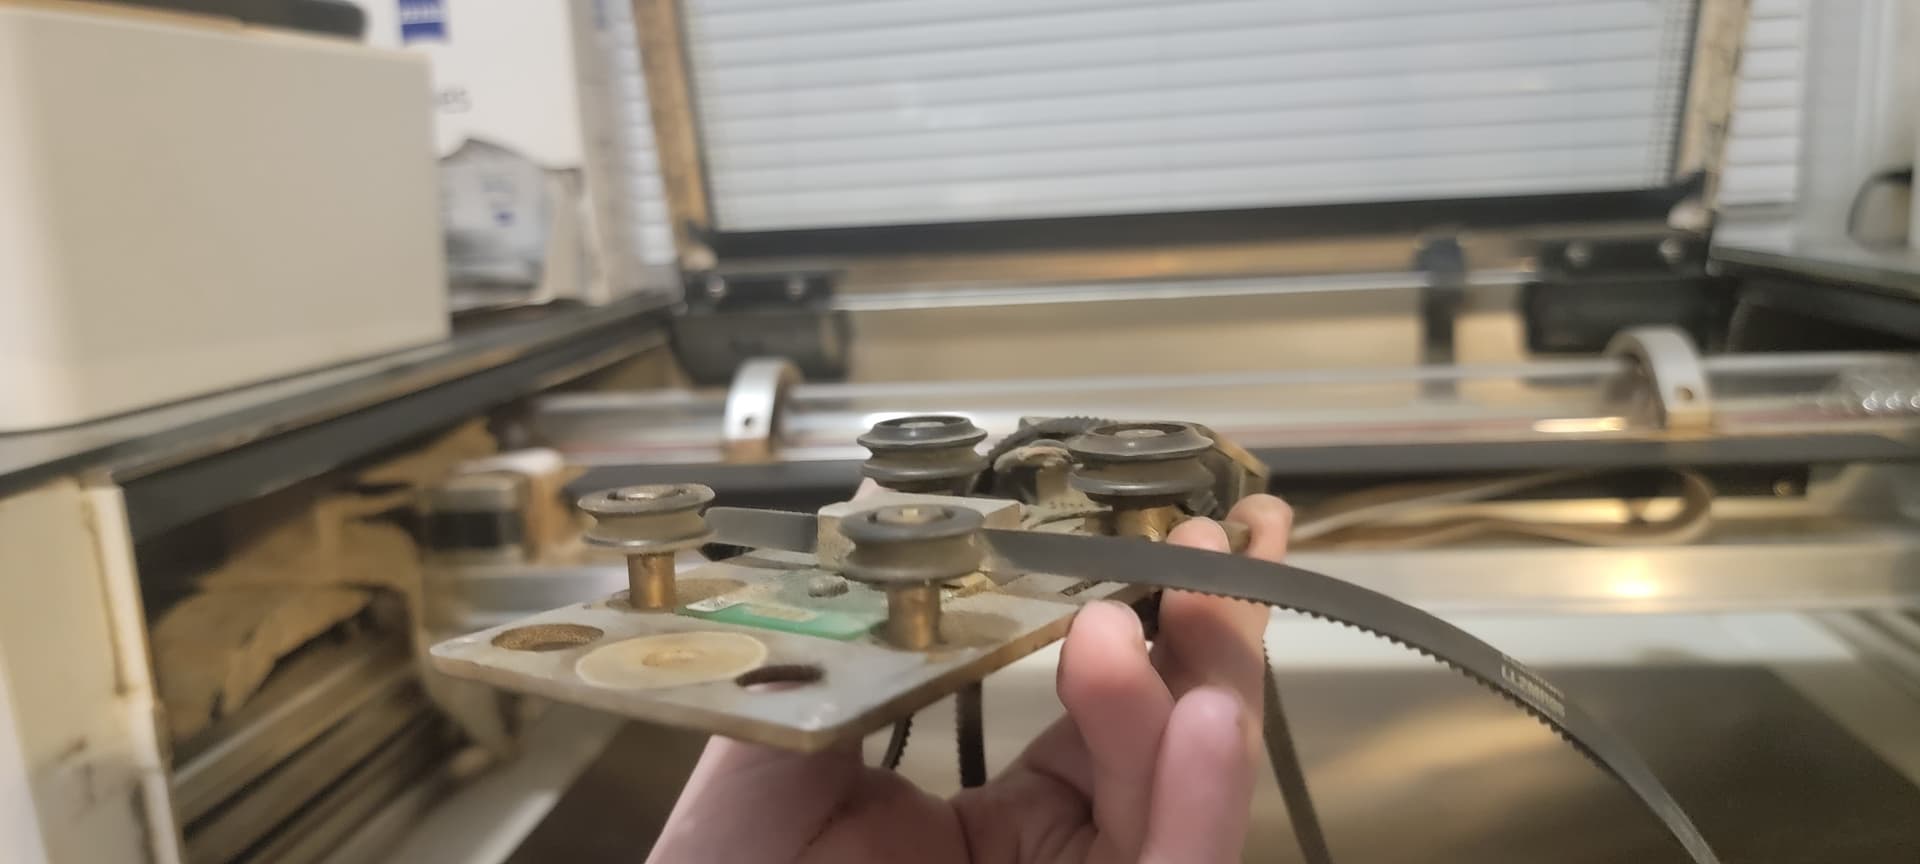
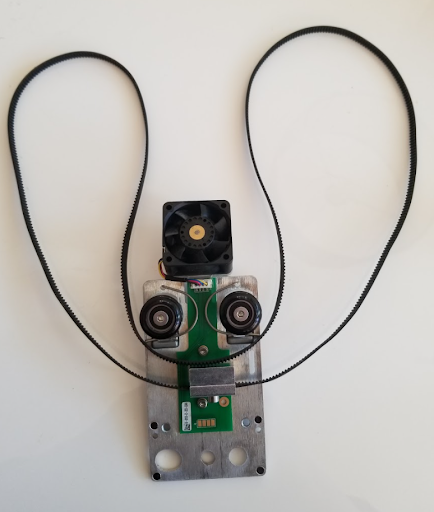
Your belt looks good from what I can see. Can I also have you check these wheels on the carriage plate for any cracks or bumps and abnormalities?
This suggests that you could be having trouble with a wheel on your carriage plate.
Could you please do the following?
Turn off your Glowforge
Closely inspect the carriage plate wheels from the top for any cracks or other damage
Closely inspect the sides of the wheels for any cracks or other damage
If you notice anything damaged or out of place, please take a photo and attach it to your reply.
Attachments


I have checked before, and I don’t remember seeing anything. I will take photos anyway and send to you to see if you can notice anything.
Thanks.
Hi @jotinpro
Thanks for checking your wheels and sending over those photos, your wheels look great!
I spent some time going back through all of your previous photos. And while I think your belt looks okay, I can also see that it might need to be tightened a little bit more.
Turn off your Glowforge.
Remove the carriage plate following the instructions here: Remove Carriage Plate.
Use the 3mm hex key to loosen and remove the screw on the belt clamp.
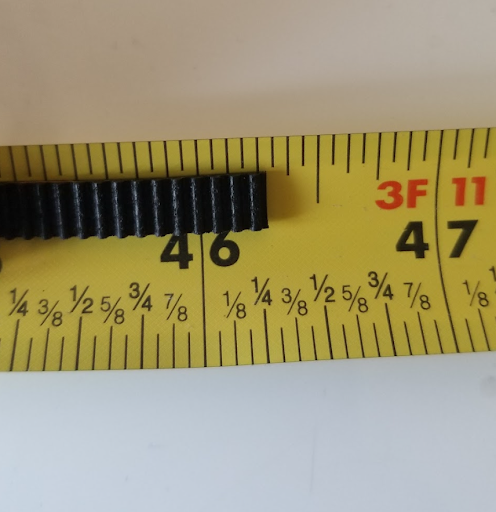
Now that the belt is removed from the clamp, stretch it out flat on a long surface and measure the length using a tape measure. Using a pair of scissors, carefully trim the end of the belt to 46 1/4 in.
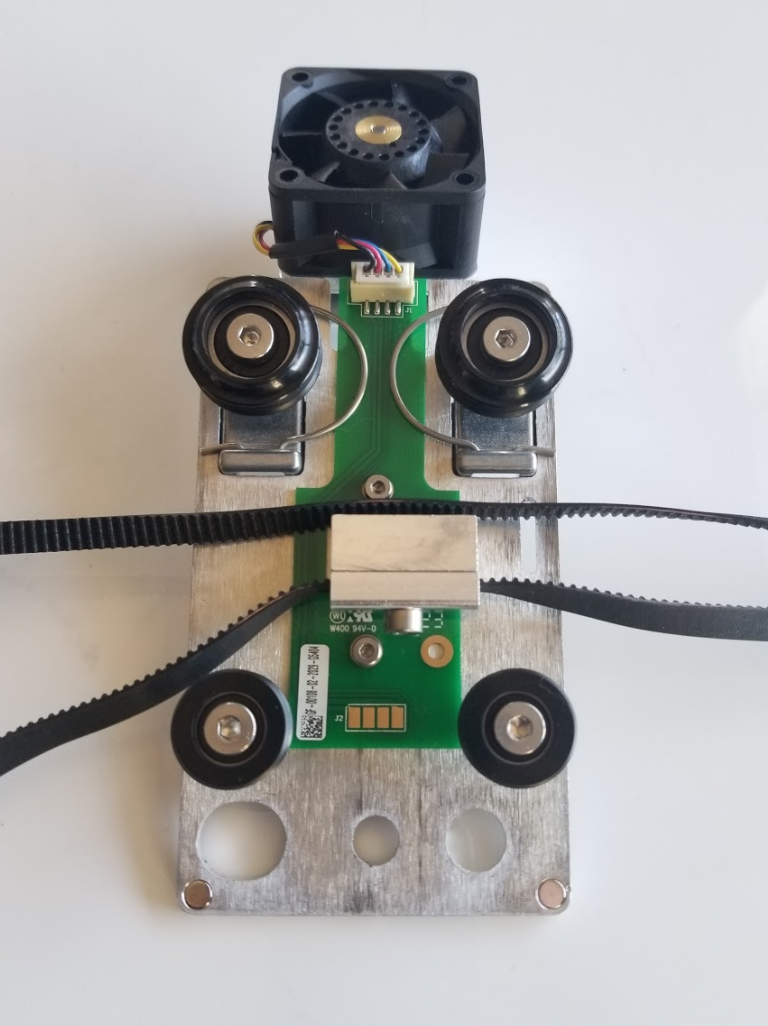
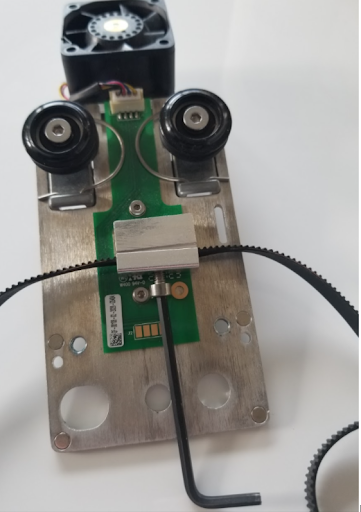
To reinstall the belt, place both ends to the belt into the clamp, with the teeth pointing up toward the air assist fan, like in this example below:
Hold the bottom of the clamp to the top with one hand and Secure the clamp with the screw using the 3mm hex key and screw.
Check that the belt isn’t twisted and the teeth are pointing to the inside
Reinstall the carriage plate.
Run a test print to see if the print result has improved.
so I’m only cutting off what looks like 1 tooth of the ribbon right?
@jotinpro
It depends on how long your belt is currently! For some people, it’s more than one tooth and for others, it’s less.
Ok, I’ll do this and get back to you! Thank you for your help.
So I did this and tried the text file from 29th and it was about the same.
Can someone else try the text in this file at 200 speed score and see if it also has the same issue?