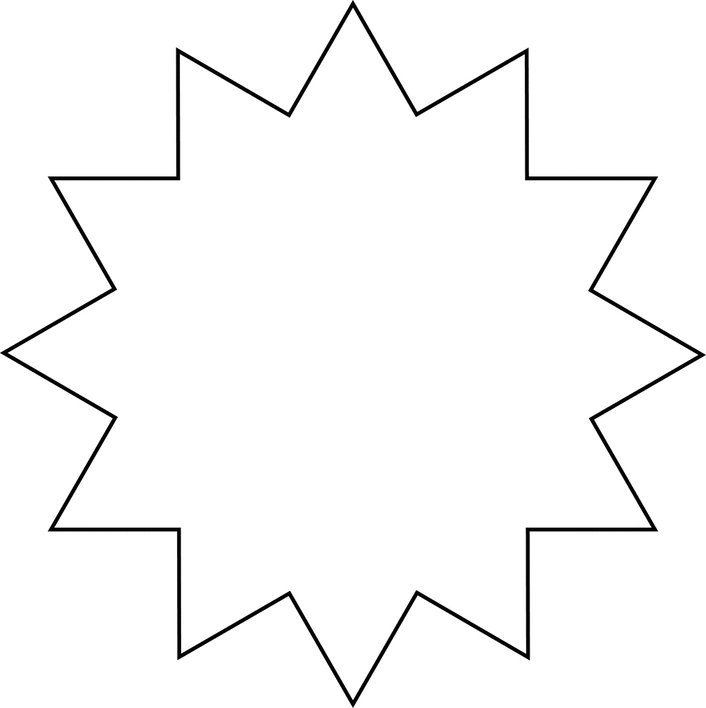
and I had to turn it into a vector in illustrator. BUT the autotrace vectored it as a double line, and no matter what I do, I can’t get rid of the additional line…
I have orders piling up, and I ruined already 300 feet of expensive unobtanium wood, my jobs are backlogged and my cat is in heat…
back in 1893 the wood from 100 year old dead bonsai trees, where shipped to Italy, where they where turned into pulp by Italian women stomping on the dead branches, while pouring sake (high alcohol content) on to the wood, then that was put into pasta machines to turn it into sheets, which where then pressed together to make the final product,
unobtanium wood is sold by finer woodworking stores, by the gram.
Use the star tool in AI to draw it. Vectorizing simple shapes from PS is just not good practice, introduces all sorts of easily avoidable issues.
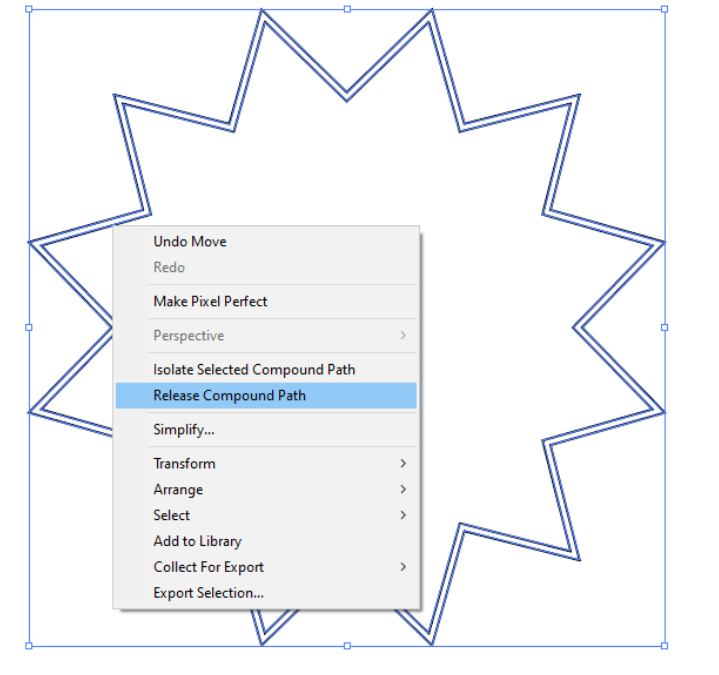
Also - the easiest way to get rid of the inner line is use the direct select tool (white arrow) to select just one of the inner anchor points and hit delete twice.
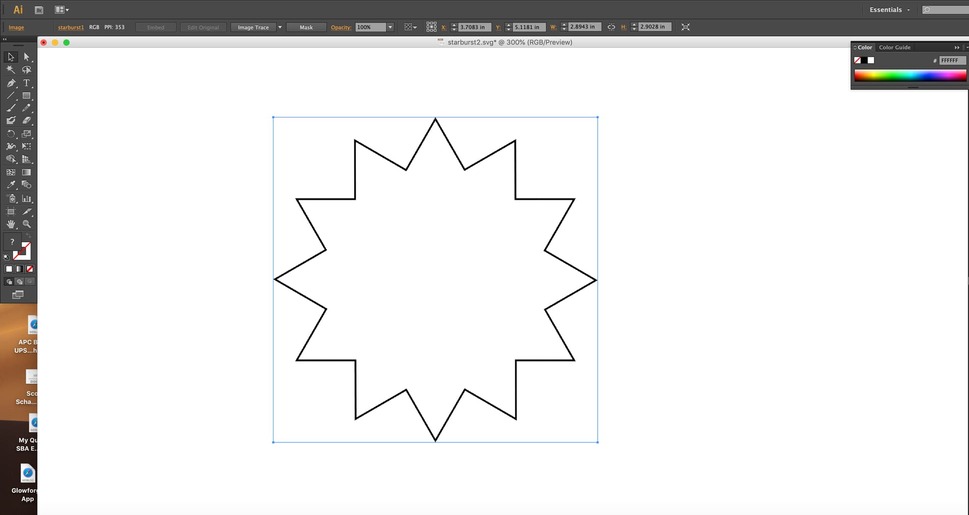
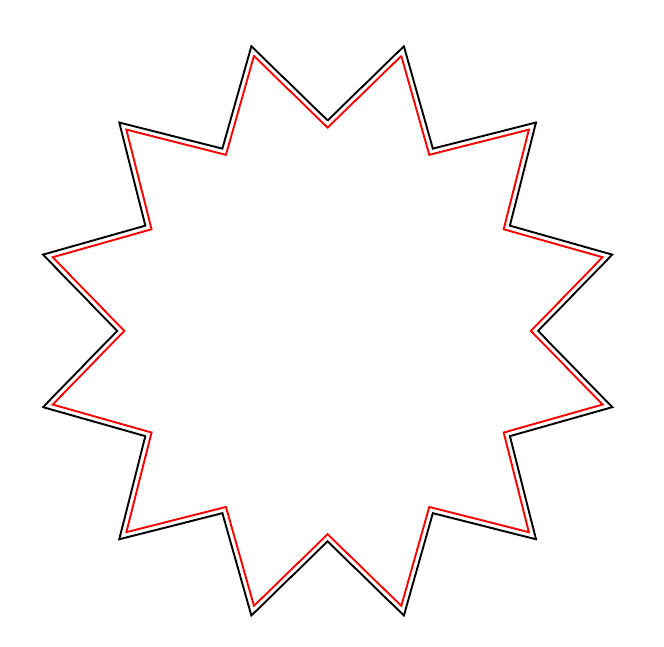
Thanks @ekla, I did as you suggested, and neither works (well) - i tried white arrow deleting, and that failed, and the star tool, makes a great star, but the lines are too long, and i cannot modify the ‘shape’ of the starburst, I haven’t used illustrator in years and have forgotten everything
You do so by setting the number of points, the inner radius and the outer radius. (activate star tool, click ONCE on your artboard, an option box will pop up) If you want to modify an existing star, select all the inner points with the lasso then scale around center (holding down alt)
This is by far one of the most helpful tutorials there are on the forum. I remember referring back to this a couple of times early on in my GF career, thanks for the contribution(s)!
Feature depends on intent and usage. While a lot of us use Illustrator as a tool for designing on the laser, that’s not necessarily its core use. It’s a program that fills a lot of different job roles and end-product formats/uses from print to web.
For most print and web uses, a centerline trace isn’t always/usually what you’d want. You’ll run into scaling issues if other options aren’t set up correctly (scale strokes), it can get goofy with corners and miters, and so on. A compound path generally is more forgiving in lots of use cases, except a laser.
It’s always worth reaching out and giving feedback to them (Adobe) about more laser-centric tools.
Traditionally, Corel Draw has been the go to for laser design, but I have the feeling (no data), that Illustrator is quickly catching up and their subscription base is growing because of laser designers. A few more intuitive tools in the toolbox designed for lasers could be nice.
corel draw was in part because of their sales model and the fact that it was bundled a lot. but also because it was the default for a lot of the sign making world and on vinyl cutters before laser cutters became more available.
I don’t know about illustrator, but in iInkscape if you set the linewidth equal to your kerf, and then split them into two lines, and then use the outer line for the inner cut, and the inner line for the outer cut, the finished line should be the desired cut, if you have judged the kerf correctly.
If I understand correctly, this is similar to what you’d be doing in Illustrator by offsetting the path but probably saving a step vs expanding the stroke.