How to get a Centerline Trace in Illustrator 🤔

A Centerline Trace is important if you want to take an image that consists of unfilled lines, like a coloring book page, and place just one path for cutting or scoring down the center of the lines that you see on the page.

The default Live Trace option in Illustrator doesn’t create that kind of result without special modifications being made to the Live Trace settings used. The normal default will result in a filled compound shape, with vector paths placed into the interface wherever there is a color change, but not down the center of the line. This happens even for very thin lines that look like they will just generate a single vector path. (It’s how double cutlines happen in Illustrator files.)

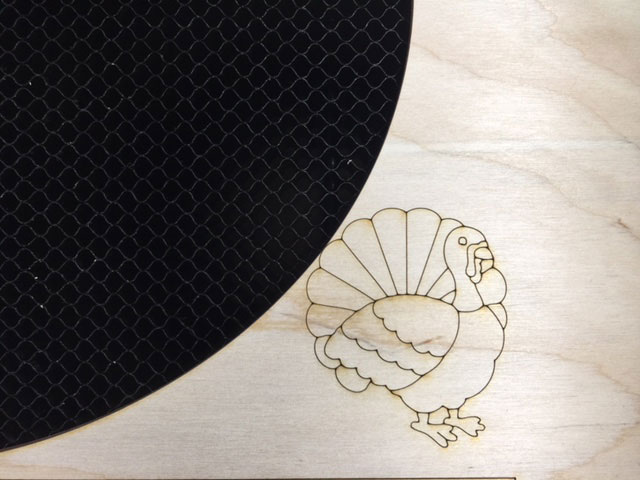
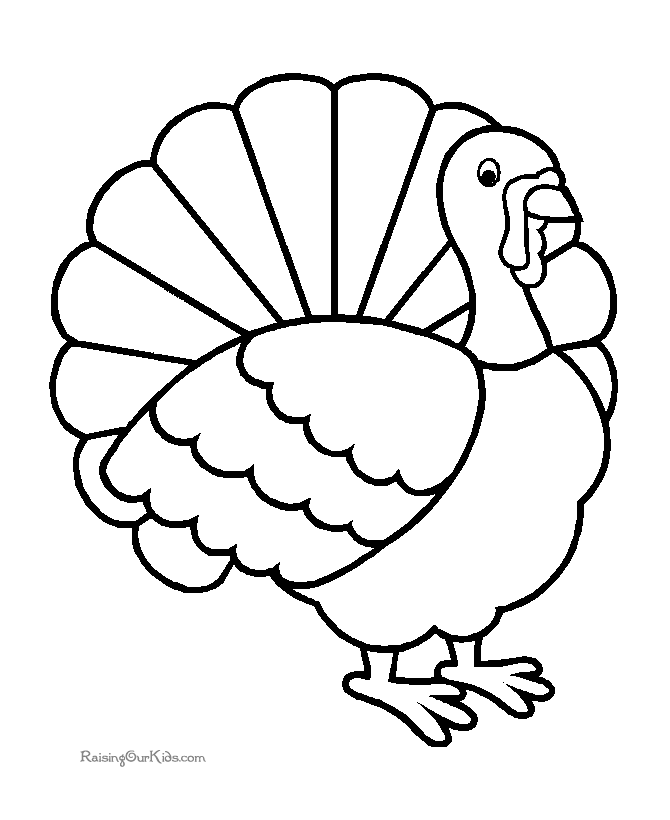
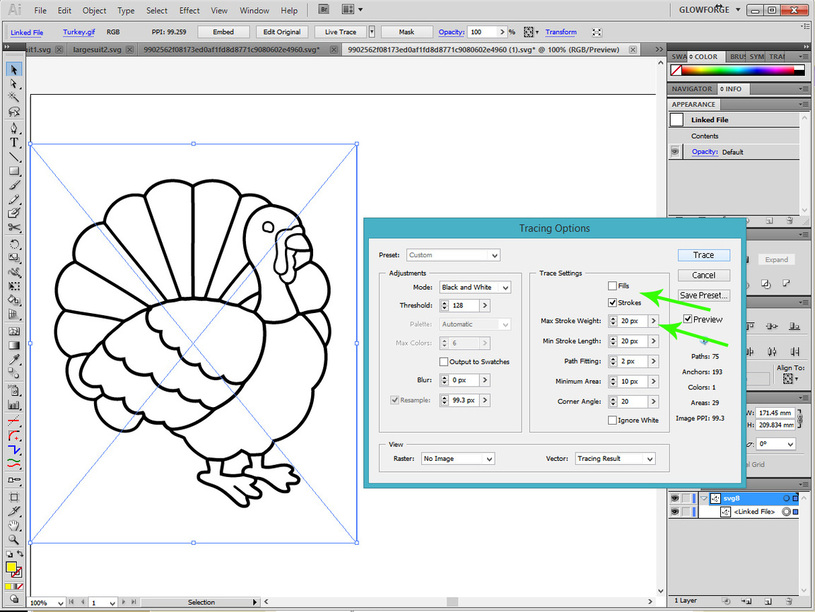
Example: Say I wanted to do a Centerline trace on the turkey coloring book image below:

The results of the default Live Trace will create paths that look like this:
(I changed the fill color so you can see the nodes and paths more easily. It started out black.)

You can see the nodes on the paths on the outside of the original lines. Not what we want in this case.


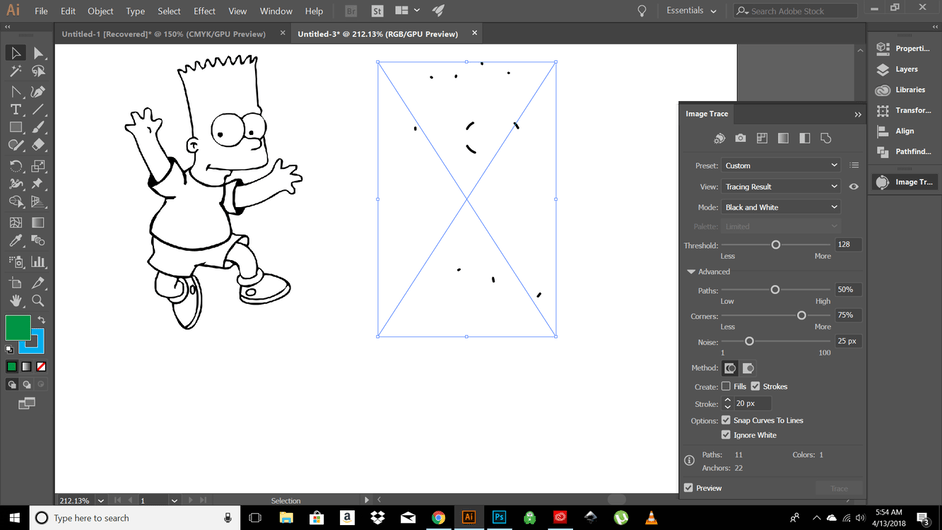
To create the Centerline trace, bring your raster image into Illustrator and select the Advanced Tracing Options.

Uncheck Fills, Check Strokes and set the Max Stroke Weight to be something really high. (The thicker the lines, the higher the number.)

When the Preview looks about right for what you want, click the Trace Button, and then the Expand button on the top row.

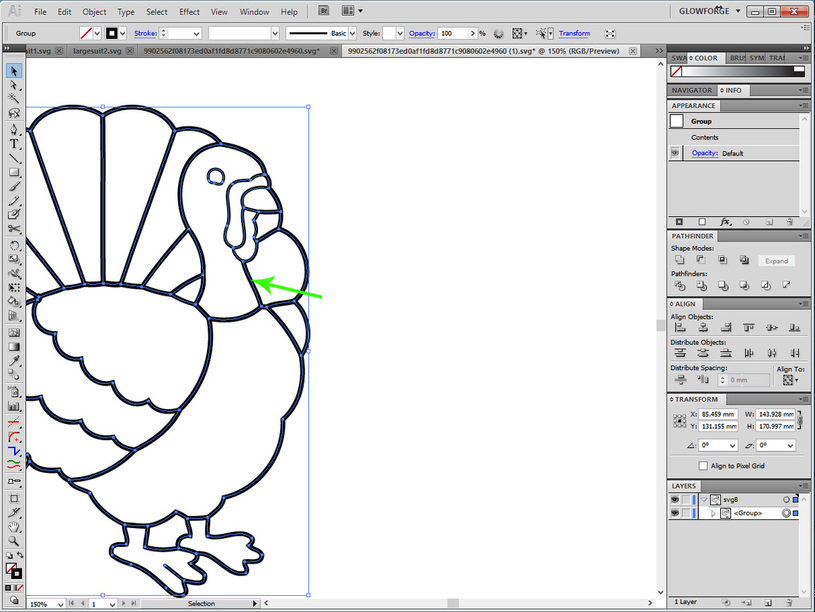
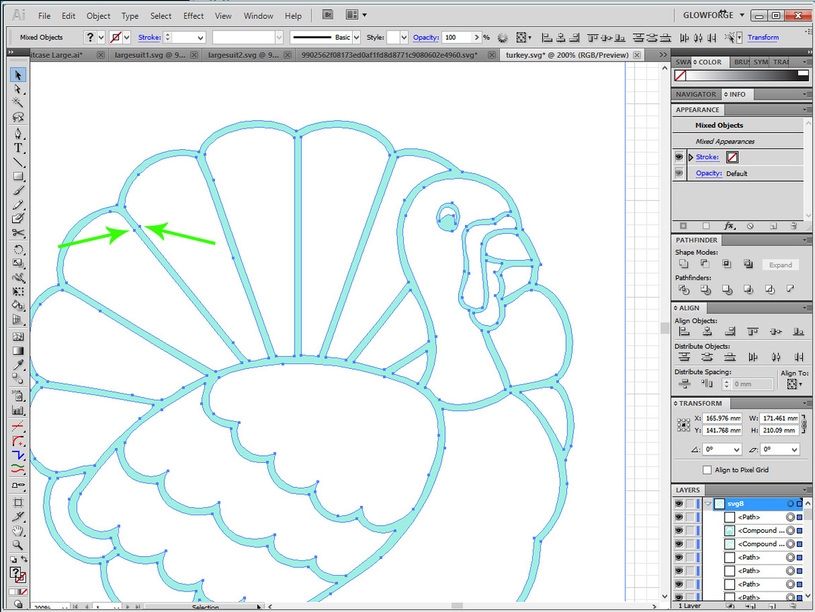
If you change the stroke color to something a little lighter, you can see the path running down the center of the lines for the original drawing.

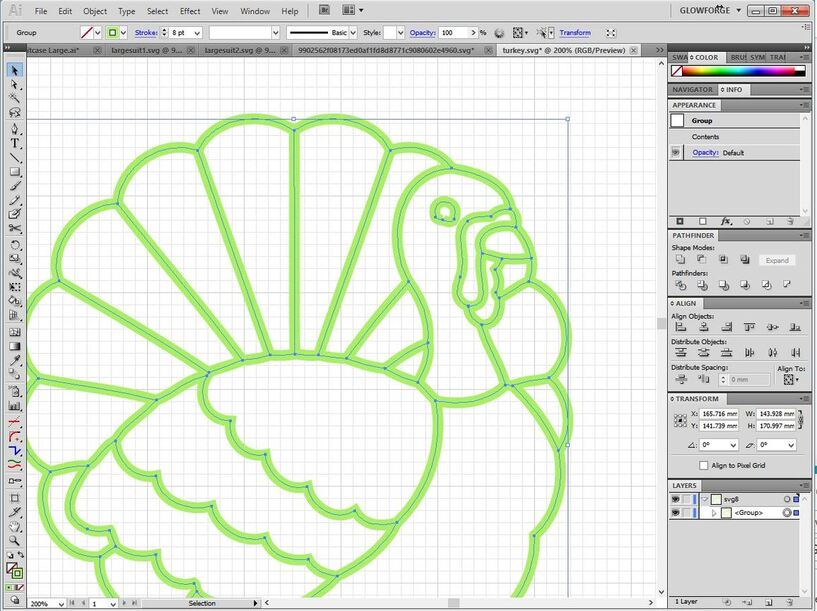
The thickness of the stroke color doesn’t matter for Cuts and Scores. The laser is going to follow the path in the center, and now there’s just one of them.

And that’s exactly the result you get in the Glowforge interface.

IMG_4232

83 Likes

Great tips. It looks like there are a couple of plugins to do this in inkscape, too, but I haven’t tried any of them. I wonder if some Inkscape wiz has already tried it?

6 Likes

Thank you @Jules :hedgehog:

I knew I COULD do this, just hadn’t figure out how to do it. This will definitely be in my tool box from now on.

3 Likes

Neat! I always delete the inner shapes. This would help on more complex objects.

2 Likes

I don’t use Illustrator … but, @Jules this is so very kind of you to put together!

2 Likes

Oh my pleasure…it came up in another thread and I deleted it when I realized the OP was using Inkscape, not Illustrator. But I figured some new AI users might not know about it yet, so what the heck… :grinning:

5 Likes

OMG! (Hug) :dancer:t4::dancer:t4:

3 Likes

Excellent writeup @jules! This is how I’ve always done it but your explanation is exceptionally clear. Thanks!

3 Likes

Thanks!

2 Likes

Thank you. This is very helpful!

1 Like

Thanks for this tip, I will be using it on my next trace project!

1 Like

Thanks Jules, I’ve been fighting Inkscape and debating upgrading to Illustrator or Draw. This tip alone might push me over the edge. Do you have a trick to go the other way? Meaning, start with a line drawing and turning it into a double vector version?

Absolutely, and that is even easier. Take your single line stroke, set a really wide Stroke width for it, and then select it, and do Object > Expand. (Boom! Two lines.)

1 Like

An inkscape version of this tutorial would be great if there are any inscape gurus out there!

2 Likes

Inkscape has a plugin. There’s a link in the Matrix (just added it when I wrote this up.).

Sweeet!

1 Like

@Jules, I could hug you! This is just what I needed for a project I’m working on now. Thanks for saving me the time!

1 Like

Thanks!

1 Like

I am having some serious with this and I’d really appreciate some help. When I try to do what you said it takes away most of the image and just keeps a few random black segments of the outline. I have no idea what I’m doing wrong. I have a line drawing a bart simpson. I want to engrave the inside line art and then cut out the outline shape of bart. How do I do that? This centerline trace is something I really need to figure out because I’ll need to use it a lot. PLEASE HELP!

If you want to engrave the inside lines and then cut out around them, you do not want to do this kind of trace. (This will make cut or score lines out of the whole thing.)

All you need to do to engrave the image is Embed the jpeg image into the SVG file. The Glowforge will take care of engraving the image for you. Then you would need to create a Cut line around the image. You can do that with the Auto-Trace but it takes a few steps.

I will put some screen shots up later that show how to do it using Auto-Trace.

2 Likes