Toby would you mind dearly direct messaging this file to me? I can only access the community chat site through my work computer, so I can’t download all of this goodness! funny timing that I came across this as I am in the midst of trying to create keychains right now in Silhouette, which is what I use for my svg files.
thanks in advance if possible. if not no worries, I’m trying to fix my mac to be able to access.
2 Likes
It is an online tool, not a file. You access it thru your web browser, just like the Glowforge UI.
3 Likes
Welcome to the forum.
Click on the link and you should be directed to the cuttle webpage. This is not a file to download.
4 Likes
ooohh! thank you that’s even easier for me ![]() thanks so much!
thanks so much!
2 Likes
I can’t tell you how much I appreciate this tool!! thank you so much! I have one question/suggestion. I was not able to find a way to inverse, like a negative result - wondering if I missed it and if not please would you consider adding it?
Thanks again SO MUCH!!
2 Likes
I believe you can edit within Cuttle to eliminate the fill from the text and instead fill the background. Is that what you are trying to accomplish?
2 Likes
Cool idea! I recorded a 5 min video showing how you can “Edit in Cuttle” to make an “inverse” engraving:
I tried to go slowly through the process but let me know if you have any questions! ![]()
Also I’m super interested to see how this comes out. Please post a photo of your results when you get a chance to try it!
9 Likes
Thank you! This is fabulous! Curious: where did you find the material for the word Eleanor? Blue with a white core? Sorry! Just found your note on Inventibles. Thank you again!
2 Likes
Hi Toby, Yes this worked perfectly thank you for taking the time to help me out! I hope you add this to your variations as I will likely need it again :).
3 Likes
@photographee2000 Glad my explanation worked for you!
I added the video to the list of variations on the bottom of the Keychain Generator documentation. Thanks for the reminder!
I’d love to see a photo of the laser’ed result of this, if you have one. I’m curious how the “inverse” treatment looks.
2 Likes
I just started and can not figure out this cut thing when making design files for the life of me! This is amazing. Thank you so much!
2 Likes
@raymondking32 I’m finally able to follow up on this request! ![]()
You can now upload any font file for use in the keychain generator, or anywhere in Cuttle. Click the “Add Font” button in the font picker.

The fonts you upload will only be available to your account.
While the keychain generator and all basic features of Cuttle are free for personal use, uploading your own fonts is a Pro feature.
3 Likes
Hi I’ve not done acrylic yet, but I want to learn. I’m curious how you paint the outside of something such as the blue around your Eleanor keychain ?
Your keychain generator is awesome and I would love to take advantage of your generosity!
@m1979breanne Acrylic is definitely fun to laser cut!
The blue and white Eleanor one is made from an acrylic that has a thin blue layer on top and white underneath. When you raster etch the name, it etches off the blue, leaving the white underneath. No painting required.
I used this acrylic from Inventables.
Rowmark also makes a similar product.
If you scroll down on the Keychain Generator page I document the GF settings I used. You can also search this forum for other people’s examples and tips.
When working with two-color acrylic, I recommend peeling the protective layer off the top before engraving. You can then clean it up with some soap and warm water.
Hope this helps! Would love to see a photo of your results if you end up trying this ![]()
2 Likes
Hey @tobyschachman !
How would you do this around a jpeg or png? How do you make an offset like this for a picture, or a picture with text (that isn’t a basic shape like a circle)?
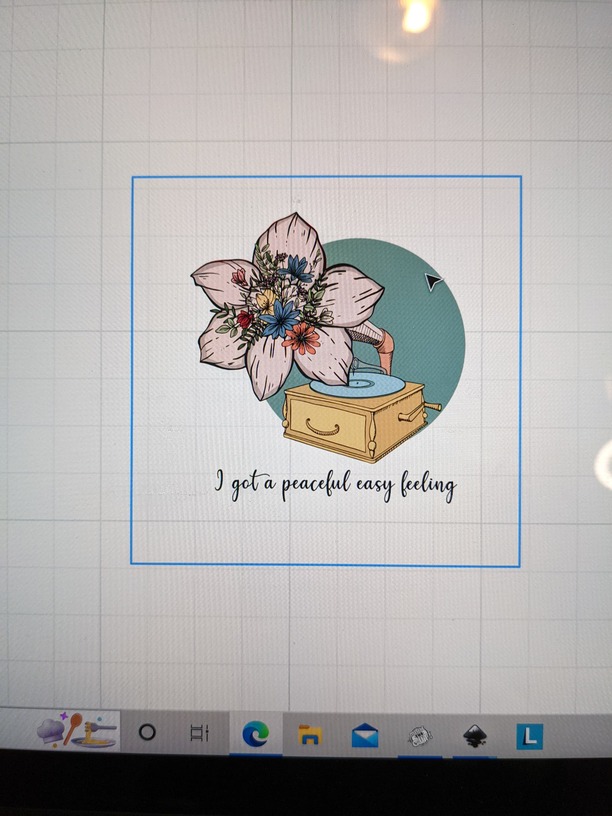
It’s for stickers. I downloaded a jpeg from creative fabrica, and it imported in, but when I try and use the expand modifier on the duplicated layer it doesn’t work. Also, I tried the fill option on the duplicated layer and it just filled a square, even though the picture in the square isn’t a square, it has a bunch of transparent background with the picture inside. I hope I’m explaining that good enough.
The simplified question, is how can I make an offset of a picture for stickers?
Also, I watched your newest tutorial on youtube, with the picture of your cat…how would you go about taking a picture like that, and instead of cropping a circle, you crop an odd shape, like around it’s ears, and then you make an offset of that? If you wanted to turn your cat’s face into a sticker that isn’t the shape of a circle.
Hi @shronimo!
Not Toby but he asked me to look at your question while he’s away on a trip.
I made a short video explaining how I would do this on a shape that is not a circle. I think the trick is to have a duplicate of your shape: that way you have one that contains the image (with a boolean intersect) and a second copy that you apply the offset to (with the expand modifier) .
Then you put the expanded one on the bottom layer.
Hope this helps, let me know if you have more questions or I can make it more clear ![]()

3 Likes
Thank you for making that @federico! That will work for some of my stuff for sure, but I’m still hoping to figure out a way to make a more detailed offset…one that follows the outline exactly…that doesn’t take me forever to do. TBH, I hate messing with nodes, as I’m really slow at it, and I’m hoping to avoid a lot of that, and to outline something exact by nodes…well, it would take me longer than I want to put into a sticker.
I spent a full day (probably 10+ hours) the other day in inkscape trying to do the same thing. I watched numerous youtube videos and I must have a different version, because none of them worked for me. I still haven’t been able to figure it out. I have another program that does it with one click, and takes me about 5 seconds, but it’s an old, outdated program that has been crashing every time I try to open a detailed image. And then I moved to Cuttle, because I know a way was recently made to import pictures in.
Here’s an example of something I was trying to add an offset to. You can see when I hover my mouse over it that it’s a square. So duplicate and fill didn’t work (edit, that was for inkscape, not cuttle). And I would love the detailed outline you get when you apply an offset, instead of me tracing around it with a pen, and then editing and rounding them. I’m just so slow at doing it that way.
I really appreciate the time you guys have put into Cuttle! It’s becoming one of my favourite programs to use, and I’m so excited every time a new update is added, like the ability to import photos.
Thank you so much for your reply! I’m going to spend some more time today messing with this.
Hi @shronimo, I think the feature you’re looking for is called “tracing” — the idea is to take a bitmapped image (PNG or JPG) and then “vectorize” it. Essentially the computer is using the Pen tool to approximate some region of the bitmapped image with a Path.
Cuttle doesn’t yet have a tracing feature but this is definitely something we’ll add!
In the meantime, you could try using https://cutecutter.com/ which is a free webapp where you upload a JPG and then it helps you make an SVG that you can download. It’s optimized for cat photos ![]() but I know plenty of people also use it for graphics, logos, etc. (Also FYI my wife and I made Cute Cutter several years ago!)
but I know plenty of people also use it for graphics, logos, etc. (Also FYI my wife and I made Cute Cutter several years ago!)
Anyway, I definitely would like to add full-featured automatic tracing to Cuttle, so you could take a JPG or PNG and have the computer “trace” it with the Pen! Hope this response helps in the meantime while we’re still designing the feature. Also Inkscape has a tracing feature that you could probably search for a tutorial on — that might be a good way to do it.
5 Likes
Thanks for your response Toby! I wasn’t sure if there was a way with cuttle and I just couldn’t figure it out, or if it didn’t exist yet. You guys are doing an awesome job with it, and I love seeing where it’s going! I use several different programs to design things, and cuttle is quickly becoming a go to!
I checked out cutecutter, and I’m going to have to mess around with that too! At first glance, that looks like what I was trying to do with cuttle. Thanks for pointing me to that!
Cheers!
2 Likes
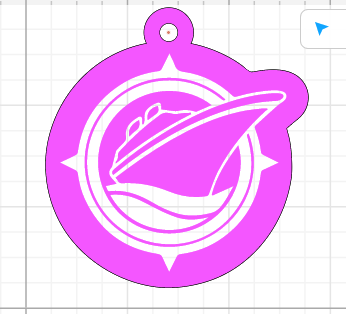
I just released a new variation of the Keychain Generator with a “Long Shadow” effect ![]()

It generates a layered cut file with an inset score line as a reference to help with aligning.
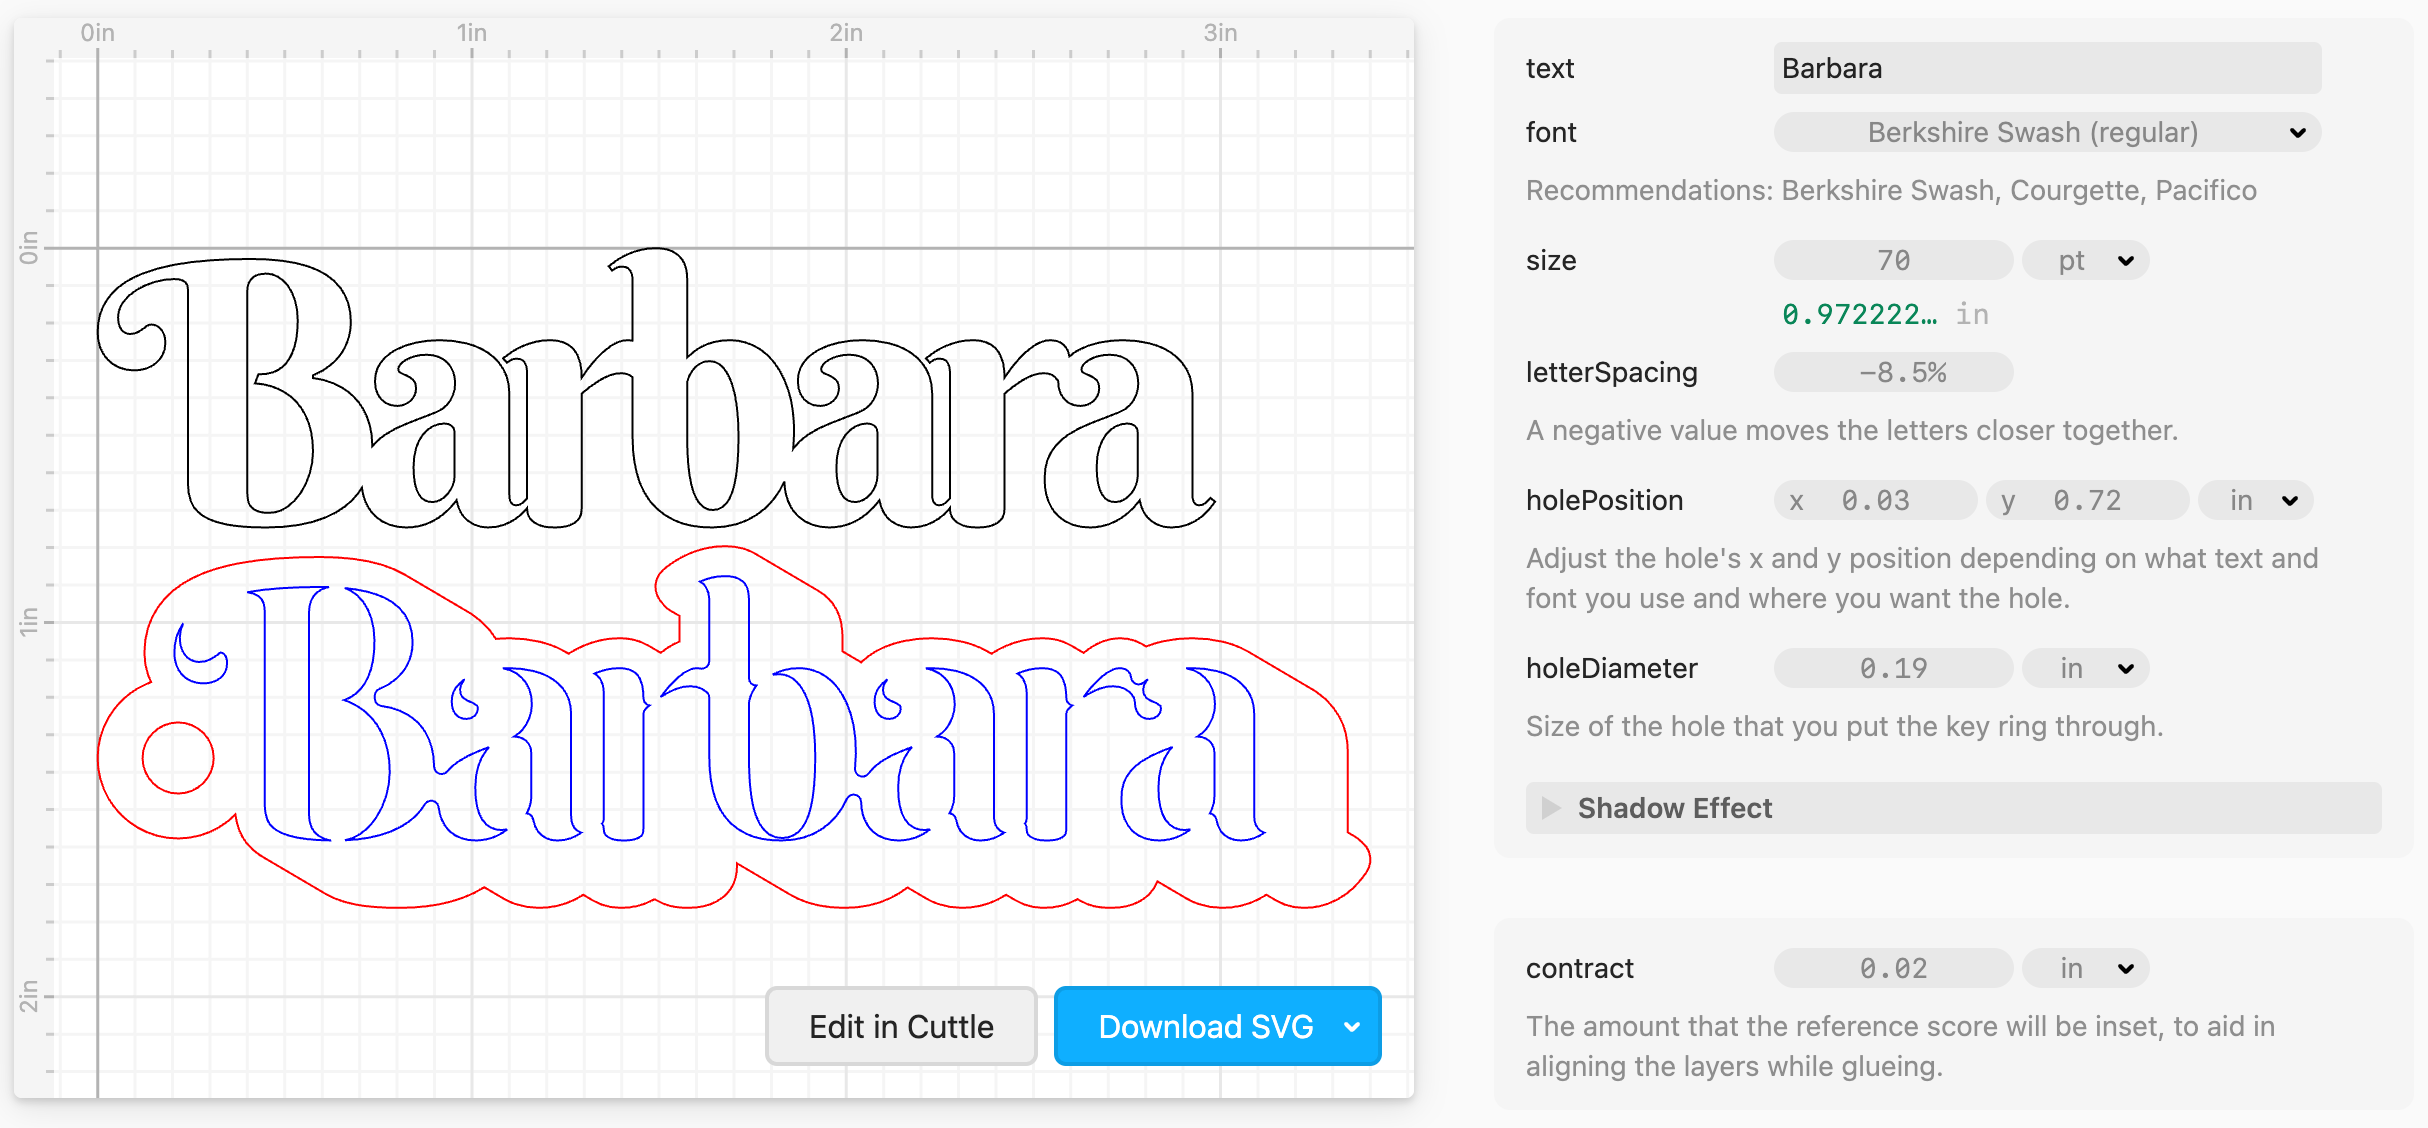
I cut the above examples from 1/16" White Cast Acrylic for the top layer (I recommend using a thinner acrylic for the top, looks a lot nicer IMO) and then 1/8" Cast Acrylic for the bottom. I used Metallic Hot Pink from Houston Acrylic (Barbara) and Glowforge Proofgrade Teal (Kendall).
I used 3M 468MP adhesive which you apply to the back of the top layer before cutting, then you cut it and peel the liner when you’re ready to stick it to the bottom layer. I highly recommend this technique for a clean, permanent bond! 3M’s similar products 467MP and 300LSE work just as well.
Here are the experiments I did on the way to dialing in these material combos, for reference:

The new “Retro” keychain is Cuttle Pro only, the original classic Keychain Generator is still free.
12 Likes