If you are really interested in etching, look into getting an airbrush compressor and an “air eraser,” which is like a tiny sandblaster. It is MUCH easier to get good results with an abrasive blast than with that goop. I find that I have to stir the goop a few times to get an even etch. With a vinyl stencil and an abrasive blaster the etching job is done in minutes, with no worries about irregular finish.
No reason not to start with the goop if you are just trying one or two things, but if your ambitions are greater, look into different tools. You can even get photo-resist materials, so you can etch super detailed things like halftones. I can’t wait to see what kind of masking I can do with the laser…
The top of the caliper wasn’t on the foot, and the metal surface grid isn’t significantly recessed, although I see how it looks that way from the picture. I included the picture for flavor and it was not intended to be a clear illustration of the orientation and assembly of the crumb tray. Hard to explain without a CAD diagram or a lot more pictures, but if it helps: the bottom of the tray is on the photo’s right. (and probably doesn’t quite look like what you’d assume).
I love to do it. Sometimes just takes me a while to catch up.
A final caveat: we’re experimenting with the autofocus mechanism to maximize range, speed, and accuracy; the final measurements may be a few mm less or more than 2". We’ll publish final #s before we ship.
material depth, I belive that laser effective range is still un altered. Ie still 1/4 one pass 1/2 with flip. but now instead of engraving a 1 1/2 blank at 1/4 penetration we can engrave a 2 inch blank at 1/4 penetration
Well, it’s not as easy, but it’s possible…I did a really nice circumferential deco-style design on a 10" diameter curved globe fish bowl one year. (It was a gift so I never got a picture.)
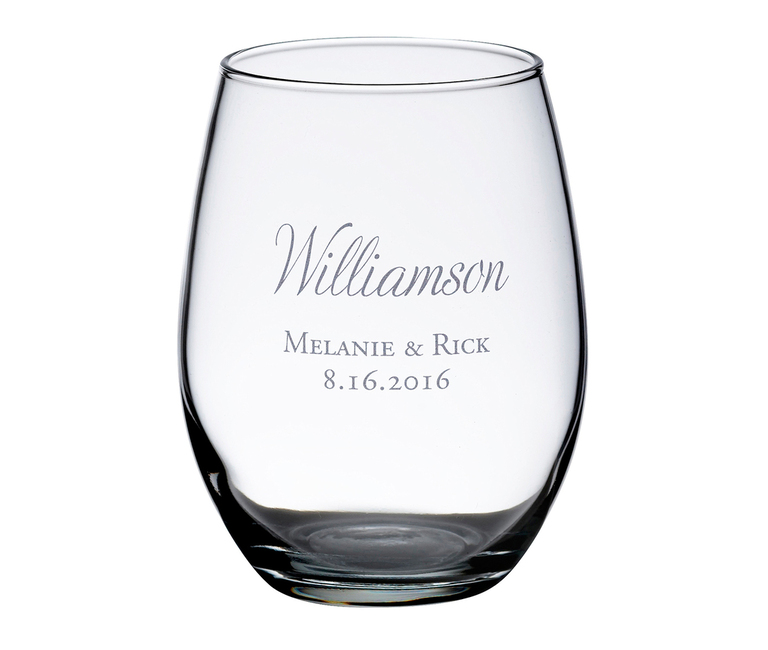
You have to be a lot more careful to make sure you get the edges of the mask sealed down, but it’s definitely doable. Wine glasses are possible as well with the right mask. (I think I used frisket film on the bowl.)
That frisket film looks like good stuff! Does it stretch?
I could see maybe masking off one or two of these, but I couldn’t see myself being willing to do more than that. My hat is off to anyone with that kind of skill! (and patience)
Actually… I think I would have to be the one getting married to try that with a mask. Phew! I’d love to learn some tricks to do it if it’s not as hard as it seems.
Chuckle! Yeah, masking tiny script takes real dedication! (For that you hire an engraver.)
(No the film doesn’t stretch. You can use adhesive vinyl, which is a bit more flexible, but you can’t cut that with a laser…you’d need a craft cutter.)
Most heat transfer vinyl is, in fact, not vinyl and is laser cut-able. I plan to experiment with that for heat transfer purposes when I get my GF. In the meantime, I’ll experiment with using some of my HTV scraps cut on my Silhouette as masking for glass etching/sandblasting.
The Imprintables Warehouse HTV I use has a little bit of stickiness on back. I’m hoping it will be enough to adhere to the glass. I haven’t tried it yet. I have used scrap decal vinyl as masking for sandblasting and it works pretty good. But that stuff is not laserable.
Let me know if it works. I don’t think any of my HTV has unough stickiness. Most of the stick is on rhe carrier sheet. If it works for you, I’ll have to see about picking up some of your brand. Another thing that may be a work around is to use a spray adhesive to stick the laserable HTV to the glass. Sand blasting would probably cut through the thin layer of spray glue. I’m not sure if etching cream would go through it.
Well, if you spray the adhesive on the glass, then apply the mask… that leaves a thin layer of adhesive to penetrate (I agree the sandblaster should have no problems doing so).
But if you spray the adhesive on the mask, then apply to the glass… no layer on the exposed area you want to engrave, and both methods should be fine.