My brilliant coworker @madebynick posted this clever little fix for his bike, and I thought you all might like to see it.
In Nick’s own words:
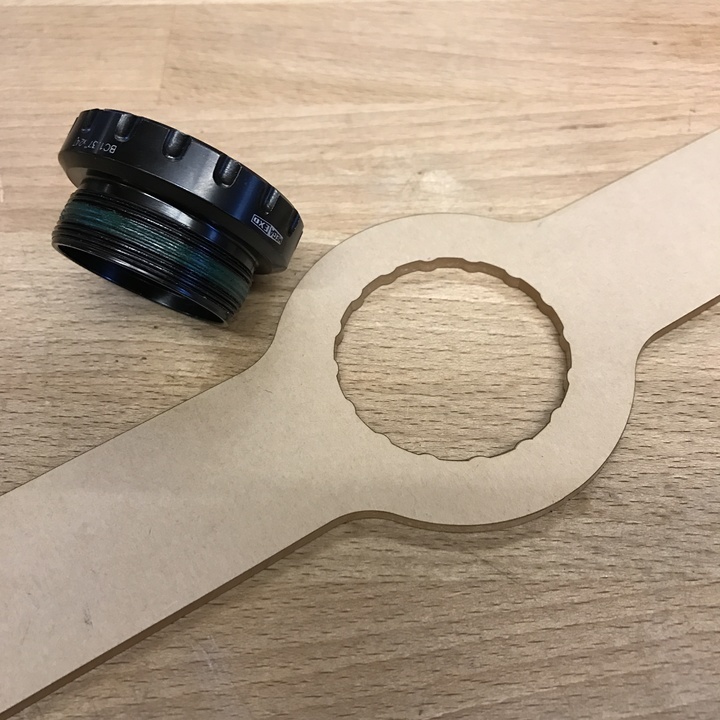
“One of the primary reasons for me buying my Glowforge was to make tools, fixtures and jigs. Here’s an example. This one is for installing an external bottom bracket cup. I’m likely only to use this tool once a year so there was no point buying the real thing, plus, by laser cutting it from acrylic, it won’t marr the soft aluminium surface of the part!”
I’m not a bike person, so here’s a little more explanation of what this actually does:
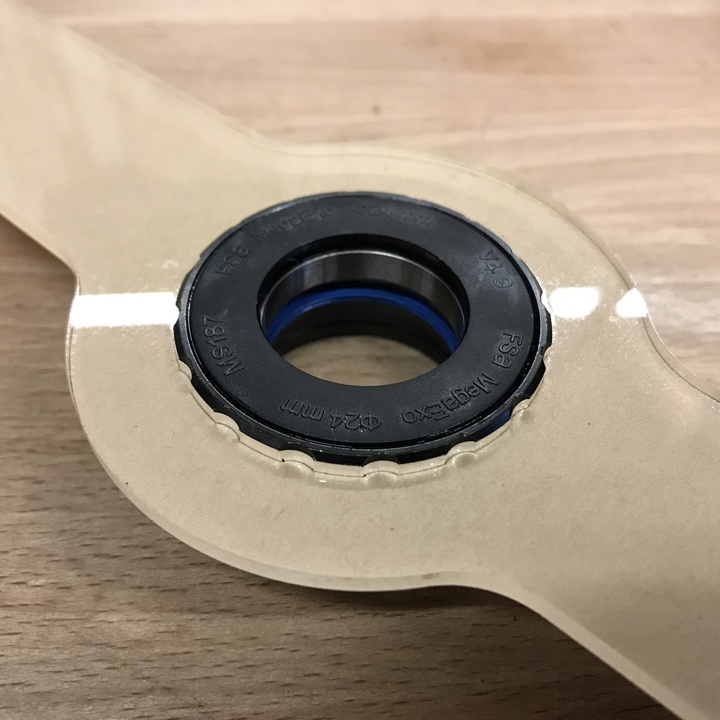
“On your bike, the pedals attach to the crank arms. The axle of the crank arms go through the bottom bracket, and the bottom bracket is screwed into the frame. It’s basically the housing for the bearings that allows the axle of your crank arms to spin.”
Replaces this part, which costs about ~$20.
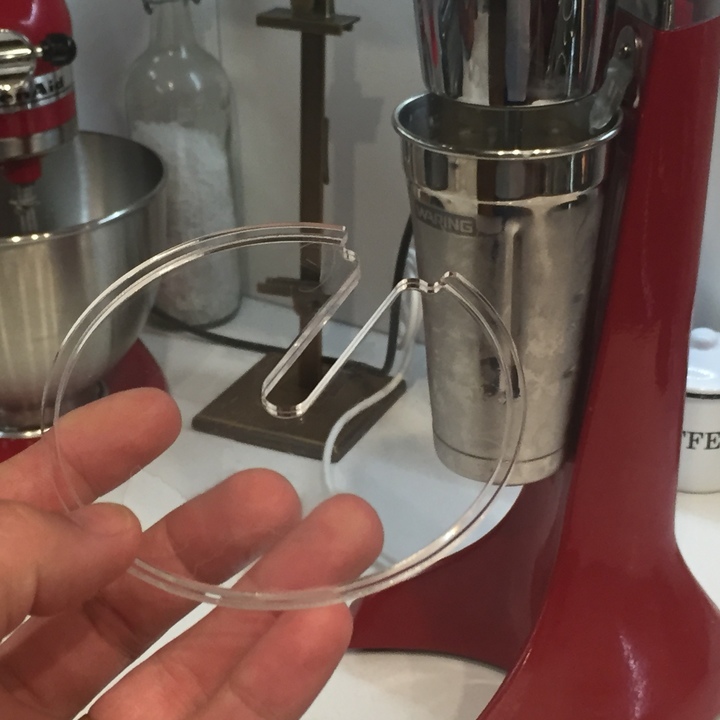
Nick also shared this acrylic splash-guard he made for his milkshake maker. I had no idea he had a milkshake maker so I’m going to invite myself over for splash-free milkshakes ASAP.
You can see our Kitchen Aid mixer in the background Jules. It’s not nearly as splashy as the milkshake maker so I hadn’t thought of making a guard for it. Now you mention it though, I think I’ll add it to the list of upcoming projects
I don’t think the spanner will make it as the first time the bottom bracket is left long enough to snug itself up that spanner will snap. Great thinking though and if the proof of concept works he can trade some laser cutting for someone to cut him one out of aluminium.
The splash guard, on the other hand, should out last the milkshake maker.
I’ve got the shield for mine and kind of hate it. Poorly designed, it tends to pop off of the bowl at the most inopportune times. I love the idea of making a good one with acrylic.
Also, @madebynick, if you do one for the catalog, there are two sizes of KitchenAid mixers…the Pro model is a bigger one, but there are a lot of people with either size.
(And I don’t know any woman who likes that shield they offer with the mixers…except maybe Martha Stewart. And she’s got staff to clean the thing when she’s done.)
This version was made to install the cup, not remove it, and so there hasn’t yet been a need for a 6 foot extension tube and a heavy friend
Should the time come where I need to remove the cups, I’ll likely make a more rigid handle using a ribbed structure of interlocking pieces, and make sacrificial inserts that engage with the cups. In fact, I’ve often thought about making a universal handle with different inserts to suit different applications.
Nothing fancy here. This was two layers of acrylic with an engraved line to aid in alignment. The parts are held together using an off-the-shelf acrylic cement.
Given the low viscosity of the cement, the engraved line also served to prevent the cement from running further under the part than I wanted. This would be less of a problem if you used an opaque material
Or use 1/4" acrylic and etch the edge about 1/8" deep. It’ll still fit nicely on the bowl without the need to cut out another circle and gluing it (although you could get a 1/4" or deeper lip by layering one or more additional rings on the shield).